This post may contain affiliate links, which means I make a small commission off items you purchase at no additional cost to you. Please read my disclaimer page.
If you haven’t tried putting fresh cranberries in cookies, then you need to try it ASAP! These Almond Cranberry Cookies are deliciously sweet with a hint of tartness. They are fluffy yet crisp on the bottom, making them the perfect comfort cookie.
Nutritional benefit of this recipe
- I use coconut sugar in my desserts, which is natural, lower gylcemic, and unrefined. It’s just the dehydrated sap from coconut trees!
- Cranberries are rich in antioxidants and are great for urinary tract health, oral health, heart health, the digestive system, and more. They are a good source of vitamins and minerals like vitamin C, E, K, and manganese
- I opt for grass-fed butter opposed to conventional because it’s much healthier. Feel free to do the same!
- I love the flour from Sunrise Flour Mill because it’s properly grown as well as properly milled. It’s non-GMO, organic, unbleached, unbromated, and they use pre-1950’s wheat which is more nutrient-dense and easier to digest. They also use Unifine milling techniques which creates flours that are packed with many times the nutritional value than commercially milled flours. It has almost four times as much dietary fiber, more than twice as much potassium and three times as much magnesium.
Ingredients for Almond Cranberry Cookies
Cranberries
White flour – I use Sunrise Flour Mill
Grass-fed butter – at room temperature
Pure maple syrup
Eggs – at room temperature
Baking soda
Salt
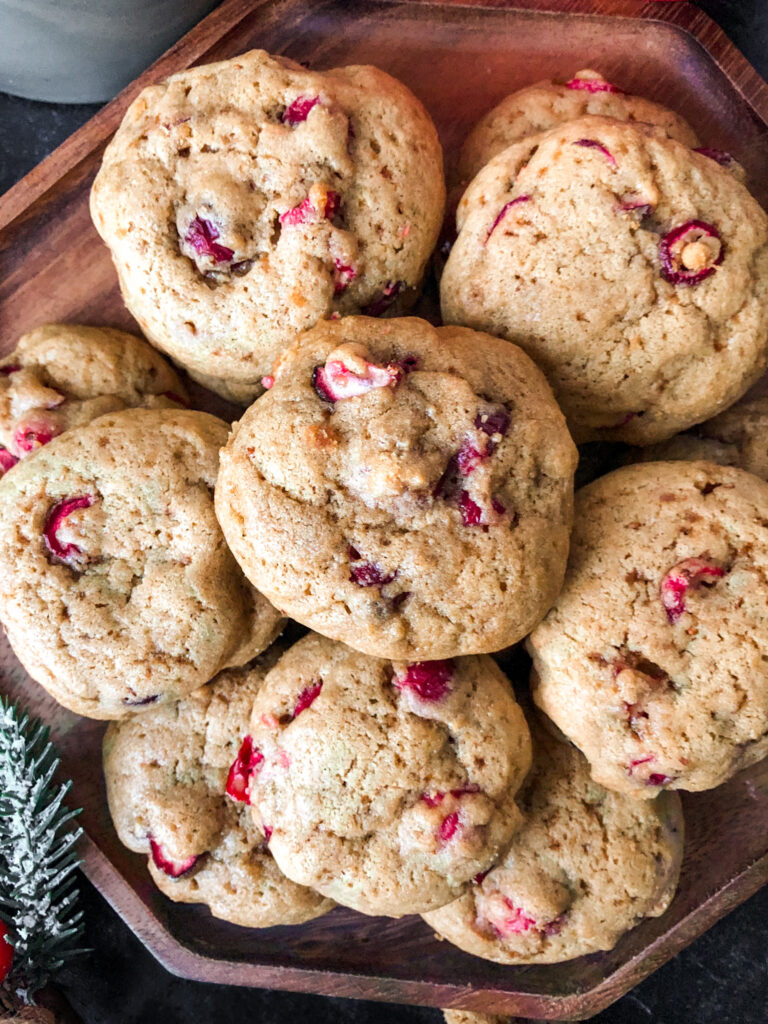
Method for Almond Cranberry Cookies
- In a small bowl, combine the flour, baking soda, and salt.
- In a large mixing bowl, beat the coconut sugar, softened butter, almond extract, vanilla extract, and maple syrup until creamy and lightened in color, about 2 minutes. Use an electric mixer. Add one egg and beat well. Add the remaining egg and beat well again. Gradually beat in the flour mixture, 1/2 cup at a time.
- Fold in the chopped cranberries.
- Transfer to the refrigerator and cool for 30-60 minutes, or up to 2 days if you want to prep ahead of time (make sure it’s covered well if storing for more than 30-60 mins).
- Preheat the oven to 350ºF. Read through the rest of the steps to get a good idea of what you’ll be doing for the best outcome.
- Roll the dough into balls, about 2 Tbsp (40g by weight) for each cookie. I used a #40 cookie scoop and did rounded scoops. Put them directly on the pan (I don’t recommend parchment paper for these). Keep the cookie dough in the refrigerator between cooking sessions, as this will take a few sessions to cook it all.
- Bake 10-13 minutes. Since coconut sugar already makes the dough darker, these are just a bit harder to tell, but they should be slightly browned on the bottom edges and no longer gooey in the middle. It may be helpful to start by cooking 1 cookie first to see how it cooks for you according to your oven/altitude/etc. Better to commit to one than all!
- I know it’s hard, but let the cookies cool on the baking sheet for 10-15 minutes before enjoying. It’s well worth the wait because the cookies have time to set!
- Repeat for the leftover dough, or you can freeze the dough. Read through the post to see instructions for freezing the dough (and also for freezing cookies). Enjoy!
- Please leave a review and a comment if you made this recipe! It helps my website more than you know and I truly appreciate it!
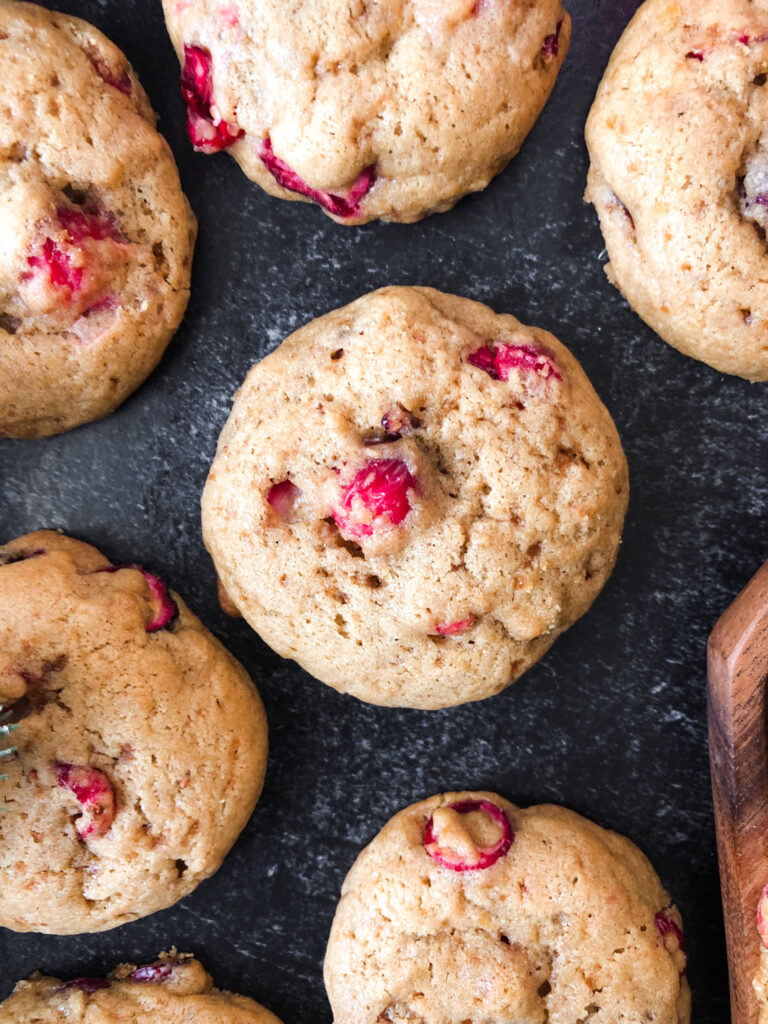
The Most Important Cookie Baking Tips
- Use softened (room temp) butter, not melted. This ensures that it doesn’t coagulate with the other ingredients or slightly “cook” the eggs. Using melted butter also creates a flatter cookie, whereas room temp butter will prevent the cookie from spreading too much.
- ALWAYS use fresh baking soda. It makes a difference! Replace your baking soda 1-2 months after it’s first opened. Just write the date to replace it by on the container so you don’t forget. Fresh baking soda is very important to ensure proper rise in baked goods. I honestly buy a new container of baking soda every month! I simply write it on my grocery list at the beginning of each month. If you don’t like the thought of throwing away containers of bakings soda regularly, then remember that baking soda has lots of other uses. It can be used for cleaning, de-odorizing, laundry, etc.
- Test a cookie before you bake the entire batch. It’s always a good idea to test one cookie before baking, since altitude and ovens vary and you want to make sure you do what you need for your specific baking conditions.
- If you want thinner cookies, then check out my Refined Sugar Free Nestle Toll House Cookies.
Storing & freezing chocolate chunk cookies
- To store: These chocolate chunk cookies will stay good at room temp in an airtight container for about 4-5 days. If you’re going to keep these cookies longer, I’d suggest freezing the dough or the cookies themselves.
- To freeze dough: Freeze the cookie dough for up to 2 months. You can either freeze it as cookie dough balls or as a log (If freezing the whole batch, then freeze it in two logs)
- For freezing cookie dough balls: Step 1: Place a piece of parchment paper onto a cookie sheet Step 2: Roll the cookie dough into balls, 2 Tablespoons (40g) of dough for each ball and place the cookie dough balls on the parchment paper. Step 3: Put in the freezer for 30 minutes. This is called a flash freeze, and will prevent the cookie dough balls from sticking together when you freeze them in a container. Step 4: Transfer them to a freezer-safe bag or container and place in the freezer for up to 2 months. Step 5: When ready to bake, remove the cookie dough from the freezer and put them on a baking sheet to allow them to warm up a little at room temperature while the oven preheats. Preheat the oven to 350ºF. Once the oven is preheated, put them in the oven and bake for 10-14 minutes.
- For freezing a cookie dough log: Step 1: Roll the cookie dough in a log (or two of them if you are freezing the entire batch). Step 2: Wrap it in Saran Wrap then place in a freezer friendly container. Step 3: Keep in the freezer for up to 2 months for best flavor and texture. Step 4:When ready to bake, remove the cookie dough log from the freezer then preheat the oven to 350ºF. Once the oven is preheated, remove the cookie dough from the Saran Wrap and slice it into thick slices (about 2 Tablespoons of dough (40g) for each cookie). Place the slices on the cookie sheet and bake for 10-14 minutes.
- To freeze baked cookies: You can freeze baked chocolate chunk cookies for up to 2 months. Step 1: Let the cookies fully cool down to room temperature. This will prevent them from freezing with too much moisture on them and creating freezer burn. Step 2: For freezing, you have two options: a) Individually wrap them before placing in a freezer friendly container, or b) Transfer them unwrapped to a reusable freezer-safe bag or container lined with parchment paper, and place parchment paper between each layer of cookies – So you can stack the cookies in the container, but in order for them not to stick (since they’re not individually wrapped), put parchment paper between each layer of cookies. Step 3: Place them in the freezer for up to 2 months. Step 4: Once ready to eat, simply thaw out at room temperature on a paper towel. I would not recommend thawing them in the container that they were frozen in because they may become soggy.
Modifications
- As mentioned in the recipe card, you can use half coconut sugar and half raw cane sugar for a more gooey cookie that’s crispy on the edges. Using all coconut sugar will create a more fluffy cookie, which is still delicious! But I just wanted to give you the option!
- Add slivered almonds to the cookie dough for some crunch and extra almond flavor.
- If you don’t like almond flavor, then substitute the almond extract with more vanilla extract.
- To make this recipe dairy-free, substitute the softened butter for softened coconut oil. I don’t recommend avocado oil unless you’re okay with much lighter/fluffier cookies.
Other recipes you’ll love
Cranberry Muffins with Streusel
Soft Gingerbread Cookies with Orange Glaze
I hope you love these Delicious Cranberry Cookies! Please be sure to leave a comment and rating if you try them out. I would love to hear what you think!
PrintAlmond Cranberry Cookies
- Prep Time: 15
- Chill Time: 30
- Cook Time: 11
- Total Time: 56 minutes
- Yield: 18 cookies 1x
- Category: Dessert, winter
- Method: oven
Ingredients
Dry:
2 1/2 cups (350g) white flour, I use non-GMO & unbleached by Sunrise Flour Mill
1 tsp baking soda (make sure it’s fresh!)
1 tsp salt
Wet:
1 1/3 cup coconut sugar (225g) – sub half of it with raw cane sugar for a more gooey cookie!*
1 1/2 sticks salted butter (170g), softened/room temperature NOT melted
2 Tbsp maple syrup (32g), room temperature
1 tsp pure almond extract
1 tsp pure vanilla extract
2 large eggs, room temperature
Extra:
1 1/3 cups fresh cranberries, roughly chopped
Instructions
- In a small bowl, combine the flour, baking soda, and salt.
- In a large mixing bowl, beat the coconut sugar (and cane sugar if using), softened butter, almond extract, vanilla extract, and maple syrup until creamy and lightened in color, about 2 minutes. Use an electric mixer. Add one egg and beat well. Add the remaining egg and beat well again. Gradually beat in the flour mixture, 1/2 cup at a time.
- Fold in the chopped cranberries.
- Transfer to the refrigerator and cool for 30-60 minutes, or up to 2 days if you want to prep ahead of time (make sure it’s covered well if storing for more than 30-60 mins).
- Preheat the oven to 350ºF.
- Roll the dough into balls, about 2 Tbsp (40g by weight) for each cookie. I used a #40 cookie scoop and did rounded scoops. Put them directly on the pan. Do not use parchment paper.
- Bake 10-13 minutes until slightly browned on the bottom edges.
- Let the cookies cool on the baking sheet for 10 minutes before enjoying. It’s well worth the wait because the cookies have time to set!
- Repeat for the leftover dough, or you can freeze the dough. Read through the post to see instructions for freezing the dough (and also for freezing cookies). Enjoy!
- Please leave a review and a comment if you made this recipe! It helps my website more than you know and I truly appreciate it!
Notes
*I find that coconut sugar has a tendency to create more of a fluffy texture in cookies. If you are wanting a more gooey cookie with crispy edges, then you can sub half the coconut sugar for raw cane sugar.

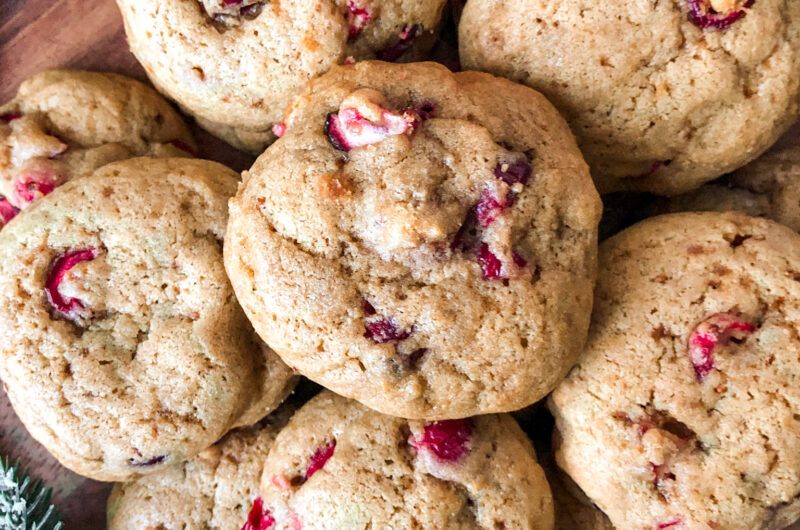
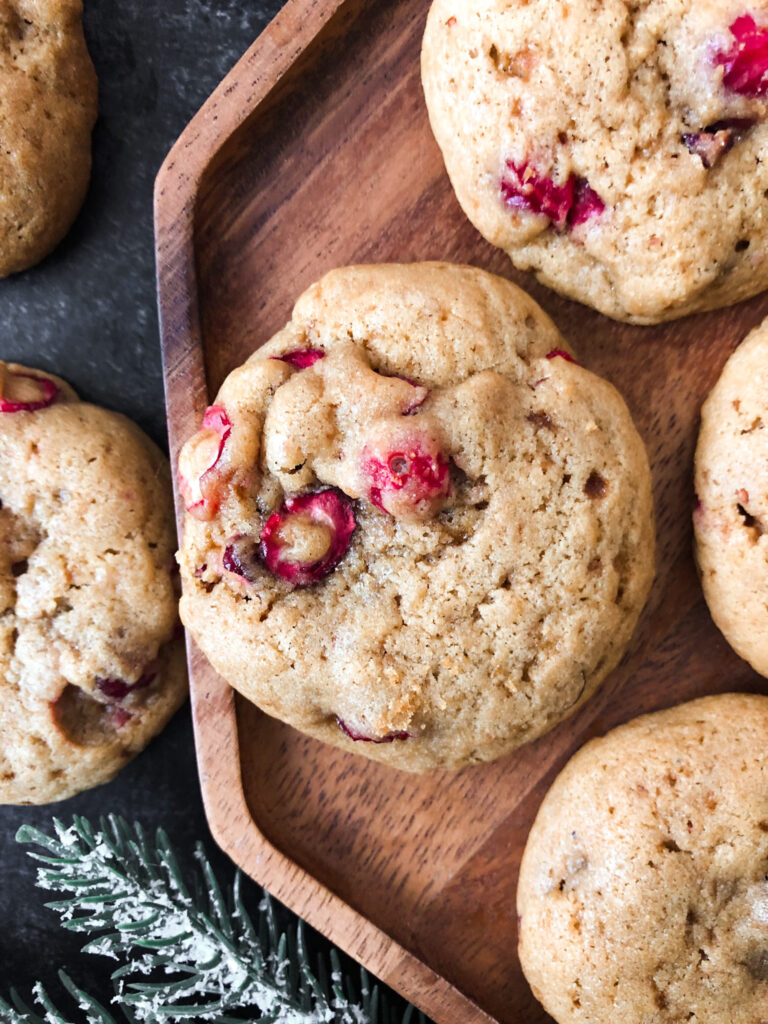



These cookies are delicious!!! They were the perfect amount of sweet and tartness! It’s a perfect treat for those of us who have diet restrictions.
Beyond glad that you enjoyed them!! Thanks for taking the time to leave a review 🙂
These cookies are awesome! They are really moist and just the right amount of sweet.
Yay! That makes me so happy. Thanks so much!
These cookie are awesome! Just the right amount of sweetness and great texture. Love them.
I’m so glad you enjoyed them!! Thanks so much for the review.
Pingback: Cranberry Muffins with Streusel » Home-Cooked Living