This post may contain affiliate links, which means I make a small commission off items you purchase at no additional cost to you. Please read my disclaimer page.
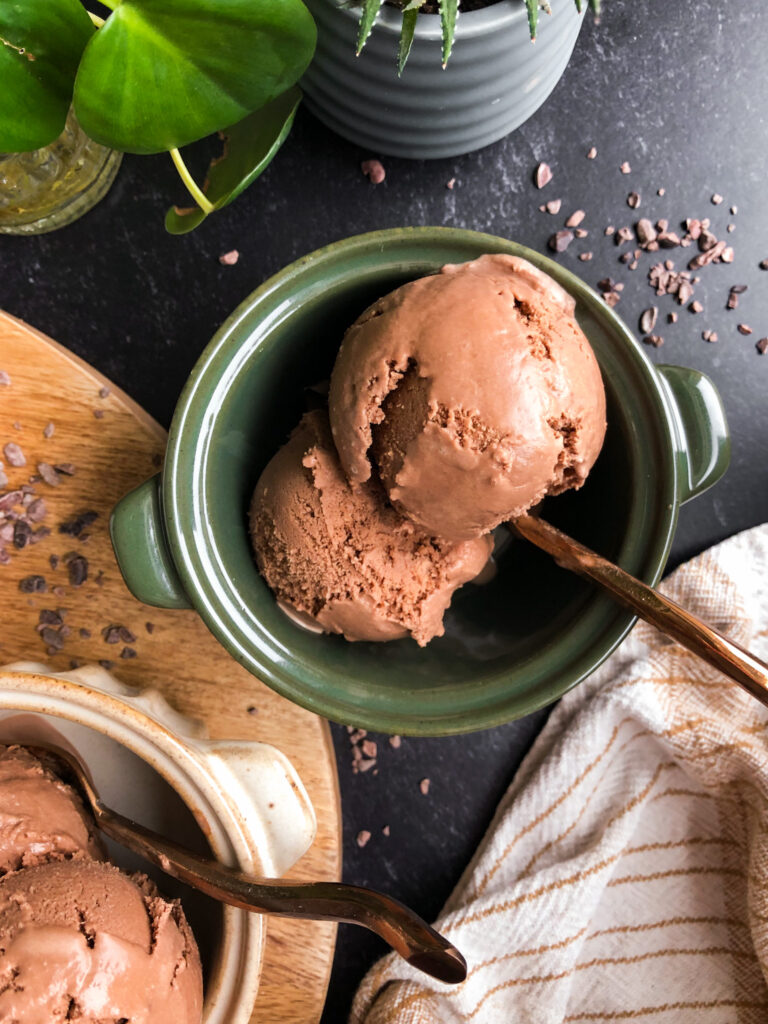
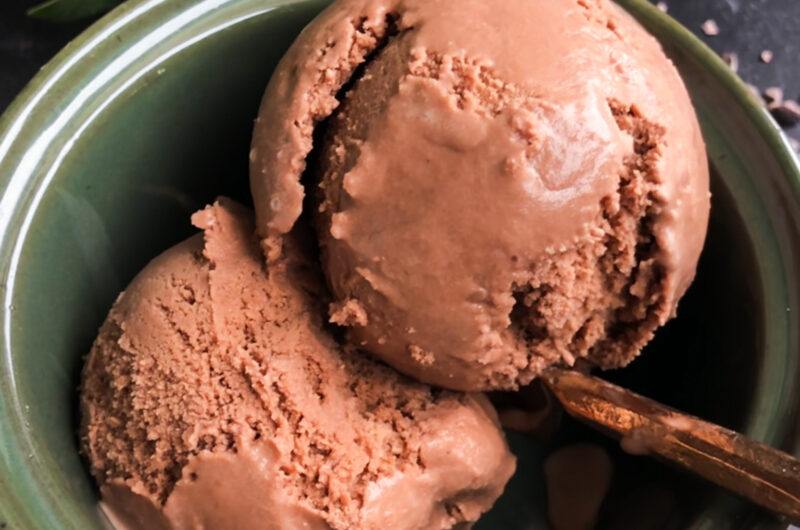
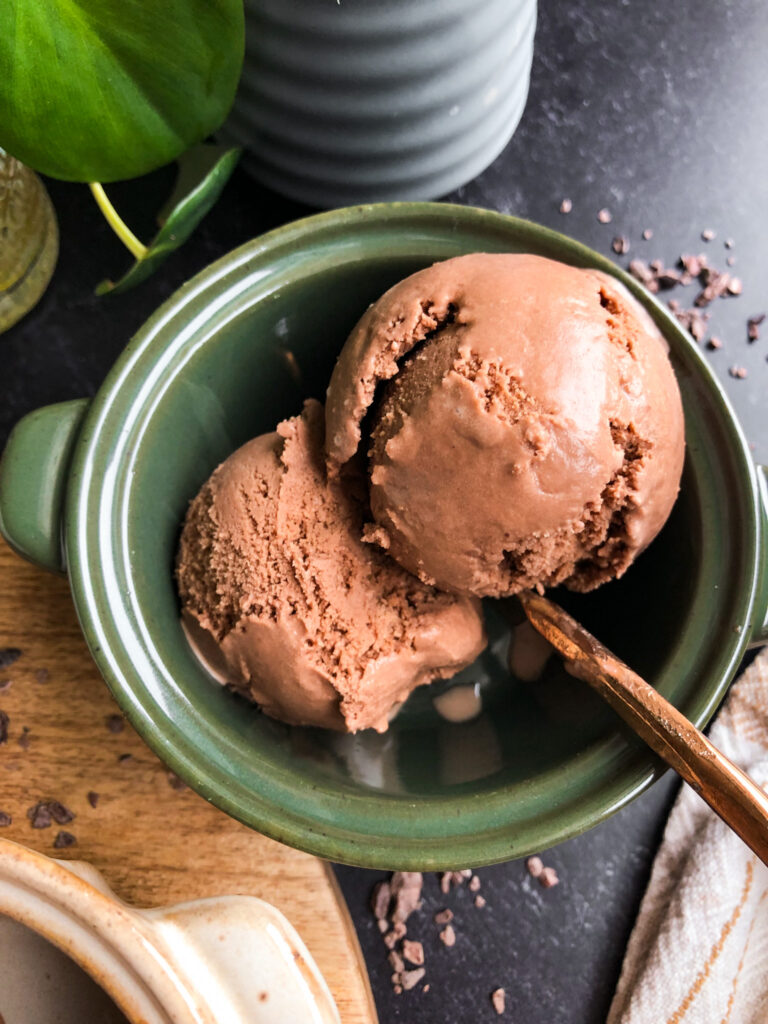
This Chocolate Ice Cream is seriously my new favorite ice cream recipe that’s super easy to make. It doesn’t have any egg yolks, so it’s much easier to prepare and is also a lighter ice cream texture. If you’ve been wanting an easy recipe that you can prep then have ready to eat within a few hours, then this one is for you. If you do want egg yolks in your ice cream (because it makes ice cream MUCH thicker/richer), then follow the notes section of the recipe card. I’ve been obsessing over this recipe, and for good reason! Not only is it delicious (especially for all the chocolate lovers), but it’s healthier than any traditional ice cream you would find in the grocery store. It’s sweetened using coconut sugar, which is much healthier compared to refined sugars because it’s just the sap from coconut trees that is dehydrated. It’s my go-to sweetener for my recipes, especially ice cream.
Nutritional benefits of this recipe
- Cacao powder is rich in magnesium, zinc, iron, and antioxidants. One of my favorite superfoods, especially for hormone health. I use cacao powder rather than cocoa powder. Cacao is the raw, unprocessed version and it’s truly amazing!
- I use coconut sugar in my desserts, which is natural, lower glycemic, and unrefined. It’s just the dehydrated sap from coconut trees!
- Using milk and cream from grass-fed cows gives you a much purer, nutrient-dense milk. The cows live a more natural, healthy lifestyle and therefore their milk products are going to be more nutrient dense and healthier. I’m all for sustainable and regenerative farming, and using grass-fed dairy is a great way to do that.
Is making ice cream difficult?
Not at all! It may seem daunting at first, but it’s way easier than you think. Most of the time for the ice cream is just chilling it, so you are only spending about 30 minutes or so actively working on it.
What tools are needed to homemake ice cream?
An ice cream maker – I use the Ice-70 by Cuisinart. I have no complaints about it whatsoever!
A large bowl – I prefer using one with a spout on the side to make it easier to pour.
A whisk, or if doing the egg yolk method it would be much easier with an electric mixer with a whisk attachment
Insulated ice cream container for storage. This helps significantly to keep the ice cream the proper texture. You can use a regular freezer-friendly Tupperware, but the ice cream will harden more.
Ingredients for homemade Chocolate Ice Cream
Heavy cream – I always recommend grass-fed dairy products instead of conventional.
Whole milk – I always recommend grass-fed dairy products instead of conventional.
Cacao powder – I recommend raw cacao powder instead of cocoa powder because it’s not refined and is much more nutrient-dense.
Vanilla extract
Salt
Optional if you want a thick/creamy ice cream: egg yolks
How to make Chocolate Ice Cream
- Make sure your ice cream bowl has been frozen for at least 24 hours (this is for the Cuisinart ICE-70 Series). You can also pre-freeze the container you plan to put the ice cream in if you want. I use this insulated ice cream container and it’s the best! It helps keep a perfect ice cream texture, rather than freezing too hard.
- In a large mixing bowl, whisk together the milk, cream, vanilla extract, coconut sugar, cacao powder, and salt until thoroughly combined. Cover and refrigerate 2 hours, or overnight.
- Whisk the mixture together again before pouring in to the ice cream maker. Press Ice Cream and then Start/Stop. Pour the mixture through the spout and then cover with the cap. Let mix until thickened, about 25 minutes. The ice cream will have a soft, creamy texture. If a firmer consistency is desired, transfer the ice cream to an insulated ice cream container and place in the freezer for a couple hours. See notes if you don’t have an ice cream container.
- Please let me know if you try this recipe by leaving a comment and rating! Your engagement on my website allows me to continue creating recipes for you and I absolutely love hearing from you!
How to always make the best homemade ice cream
- Be sure to follow the directions on the recipe card to a T for the best turnout.
- Freeze the ice cream bowl for several days, or at least 24 hours before making the ice cream.
- Use an insulated ice cream container for storage. This keeps it a much better texture than using another container that’s not designed for ice cream.
- Place the insulated ice cream container in the freezer several days before, or at least 24 hours before making the ice cream to create a better environment for the ice cream.
- Use egg yolks if you like a thick, creamy ice cream. If you prefer a lighter ice cream, then no need to add egg yolks.
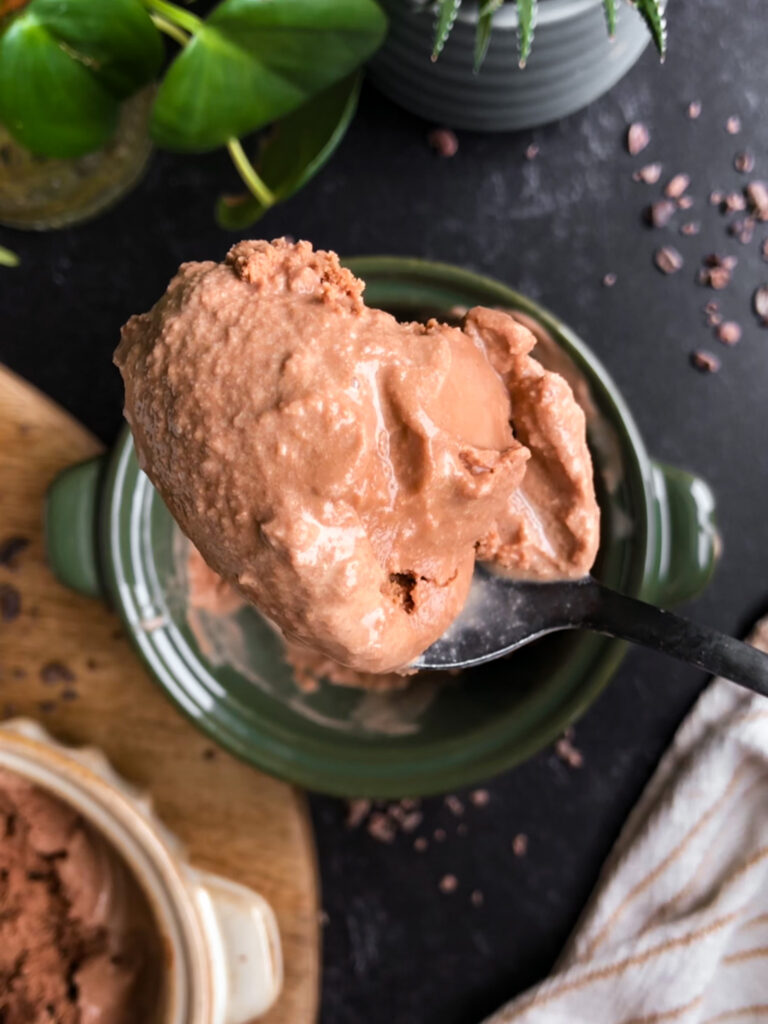
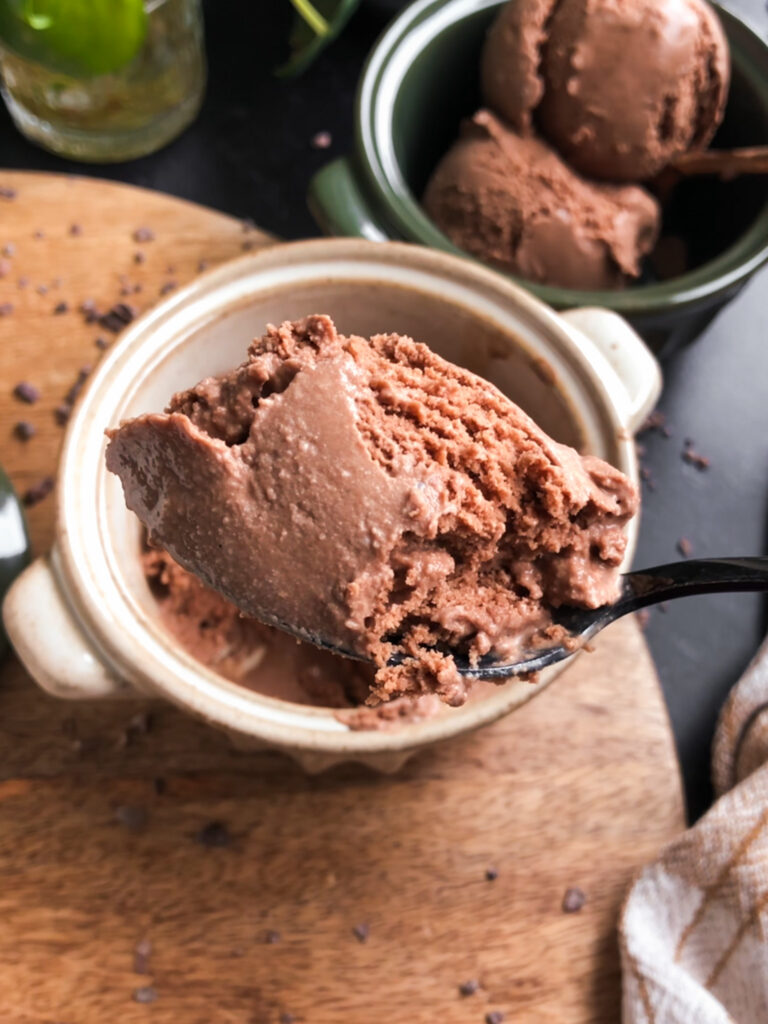
- Keep in mind, the ice cream is more of a soft-serve after it is done churning – this is totally normal. You can eat it this way if you would like, but you can also place it in the insulated ice cream container and put it in the freezer for at least 6 hours or overnight for it to harden to true ice cream texture.
Modifications
- To make this a lower-fat ice cream, you can swap the milk and cream ratios (use 2 1/2 cups milk and 1 1/2 cups cream instead of the ratios called for in the recipe). The ice cream won’t be as creamy, but it’s still delicious as a lower fat option.
- If you want a thick, rich ice cream, then add 4-5 egg yolks to the recipe and heat the mixture on the stove. Do NOT boil, just heat until very lightly simmering then remove, strain through a fine mesh sieve, and refrigerate for at least 6 hours or overnight to fully cool down.
Does coconut sugar taste like coconut?
Not at all! Coconut sugar is the dehydrated sap from coconut trees, and has more of a brown sugar flavor than anything. It also doesn’t show through in this recipe at all – it literally just tastes like chocolate ice cream! Coconut sugar is my go-to sweetener for my ice cream recipes because it is unrefined, lower-glycemic, and so much healthier than refined sugars from GMO crops.
How to store homemade ice cream
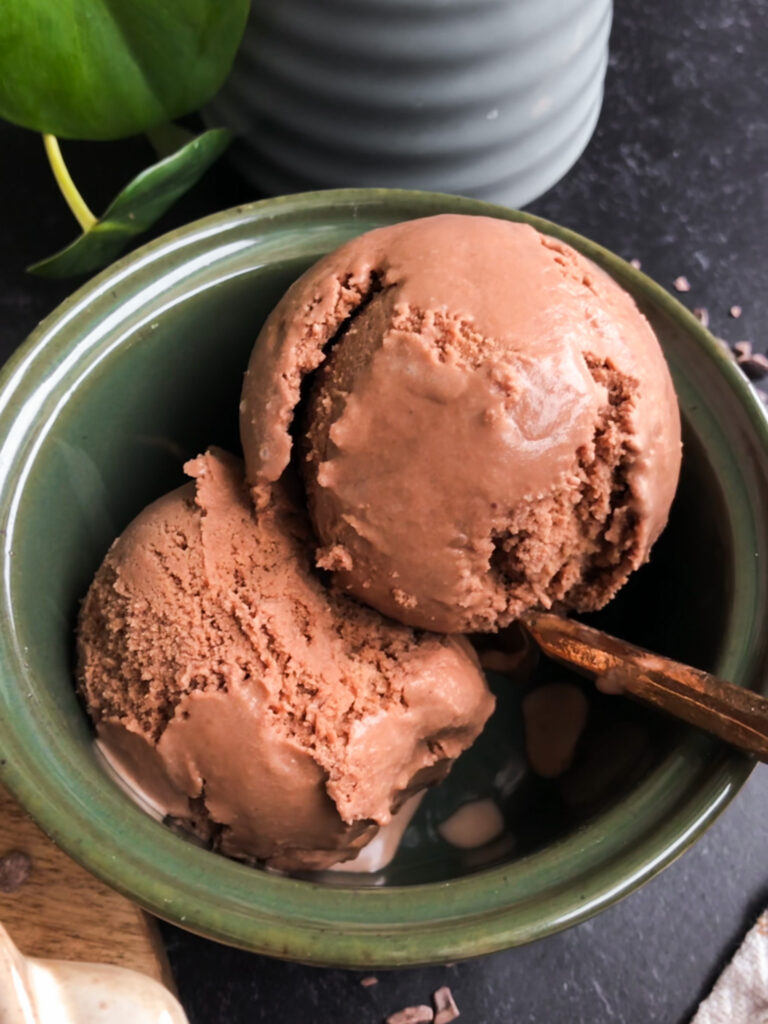
I prefer to store mine in this insulated container because it helps the ice cream stay the perfect texture, rather than hardening too much. Otherwise, you can use a regular, airtight container you have on hand that is freezer-friendly. If using a regular container, then let the ice cream sit out for 5-15 minutes before scooping. If using an insulated container like this one, then you can scoop immediately. Enjoy it within 2-3 weeks for best results.
Other recipes you’ll love
I hope you love this Chocolate Ice Cream sweetened with coconut sugar! Please be sure to leave a comment and rating if you give it a try. Your engagement on my website allows me to continue creating recipes for you, and I absolutely adore hearing what you think! I truly cannot express how much gratitude I have for those who leave a comment on my posts.
PrintChocolate Ice Cream (with coconut sugar)
Ingredients
3 cups heavy cream (from grass-fed cows)
2 cups whole milk (from grass-fed cows)
1/2 cup raw cacao powder
1 rounded cup coconut sugar
2 tsp vanilla extract
Optional for thick/creamy ice cream: 5 egg yolks (see notes for how to do this version)
Instructions
- Make sure your ice cream bowl has been frozen for at least 24 hours (this is for the Cuisinart ICE-70 Series). You can also pre-freeze the container you plan to put the ice cream in if you want. I use this insulated ice cream container and it’s the best! It helps keep a perfect ice cream texture, rather than freezing too hard.
- In a large mixing bowl, whisk together the milk, cream, vanilla extract, coconut sugar, cacao powder, and salt until thoroughly combined. Cover and refrigerate 2 hours, or overnight.
- Whisk the mixture together again before pouring in to the ice cream maker. Press Ice Cream and then Start/Stop. Pour the mixture through the spout and then cover with the cap. Let mix until thickened, about 25 minutes. The ice cream will have a soft, creamy texture. If a firmer consistency is desired, transfer the ice cream to an insulated ice cream container and place in the freezer for a couple hours. See notes if you don’t have an ice cream container.
- I truly cannot begin to express how much gratitude I have for those who leave comments/ratings on my posts. Your engagement on my website allows me to continue creating recipes for you and I absolutely love hearing from you!
Notes
Egg yolks make ice cream much more thick and creamy. I always prefer egg yolks in my ice cream, but it does take a bit longer to make because you have to cook some of the mixture on the stove, and you also have to let it chill for several more hours.
Instructions for using egg yolks in the ice cream:
- Make sure your ice cream bowl has been frozen for at least 24 hours (this is for the Cuisinart ICE-70 Series). You can also pre-freeze the container you plan to put the ice cream in if you want. I use this insulated ice cream container and it’s the best! It helps keep a perfect ice cream texture, rather than freezing too hard.
- In a pot, heat the milk, cream, vanilla extract, and 1/2 rounded cup coconut sugar until simmering. Remove from heat once it starts simmering.
- While waiting for the mixture to simmer: In a large bowl, whisk together the egg yolks, cacao powder, and 1/2 cup coconut sugar until fluffy and lightened in color (use electric mixer if you have it).
- Pour 1/3 of the hot mixture from the pot into the fluffy egg mixture, mixing as you pour. Add another 1/3 of the mixture and whisk in, then pour all of the mixture back into the pot and mix together.
- Return to heat and cook on low for 2 minutes to thicken. DO NOT boil the mixture or the egg yolks will overcook and curdle.
- Pour the mixture through a fine mesh strainer. Let the mixture cool at room temp for an hour then refrigerate for at least 5 hours, or overnight.
- Whisk the mixture together again before pouring in to the ice cream maker. Press Ice Cream and then Start/Stop. Pour the mixture through the spout and then cover with the cap. Let mix until thickened, about 25 minutes. The ice cream will have a soft, creamy texture. If a firmer consistency is desired, transfer the ice cream to an insulated ice cream container and place in the freezer for a couple hours. See notes if you don’t have an ice cream container.
- I truly cannot begin to express how much gratitude I have for those who leave comments/ratings on my posts. Your engagement on my website allows me to continue creating recipes for you and I absolutely love hearing from you!



This ice cream was amazing! The taste, texture, and consistency were perfect! It was very easy to make, which is nice. And I used my KitchenAid ice cream attachment to make it, and it worked great.
So glad to hear it turned out well for you! And I’m glad it worked with the KitchenAid ice cream attachment. Thanks so much for taking the time to leave a review!