This post may contain affiliate links, which means I make a small commission off items you purchase at no additional cost to you. Please read my disclaimer page.
You have not lived until you have tried these truffles. Really though, think of a decadent mint chocolate dessert that’s perfect for whipping out after Christmas dinner. YUM!!
And want to know something awesome?? This recipe is featured in a Christmas ebook! Karen Berrios, a dear friend and the owner of a wonderful superfood company, put together a 19 recipe Christmas ebook that is full of delicious recipes like these truffles. The recipes are all made by fellow health food accounts and they all look MAGICAL.
Every recipe features one of Karen’s superfoods such as cacao powder (a nutrient-dense version of cocoa powder), cacao nibs, and lucuma (a low-glycemic, natural, super-food sweetener).
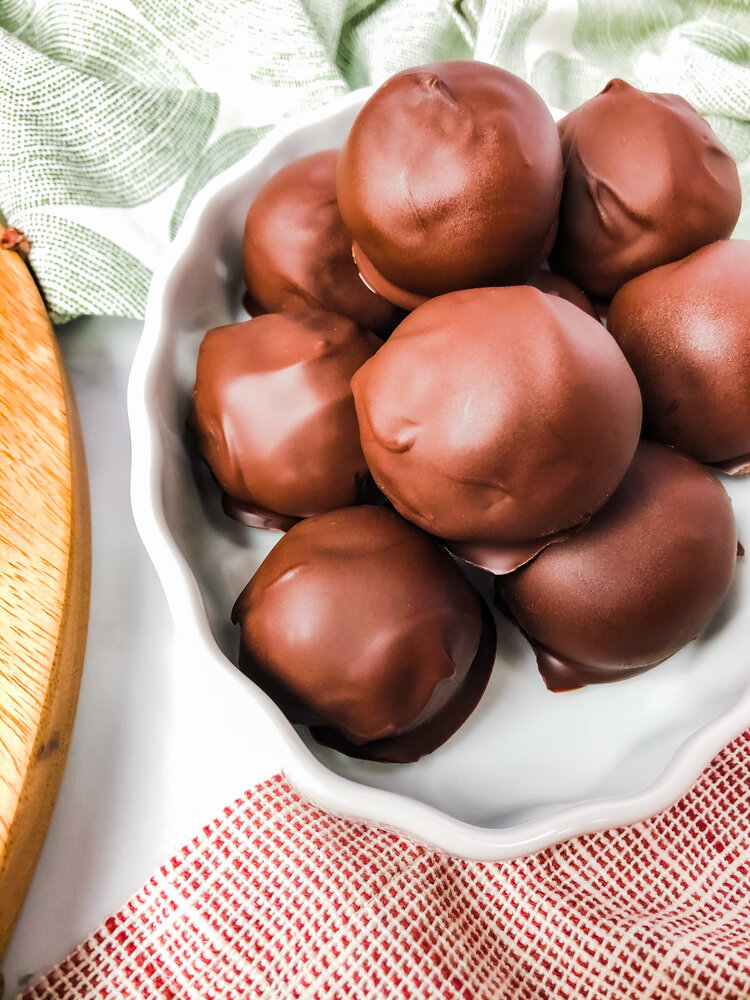
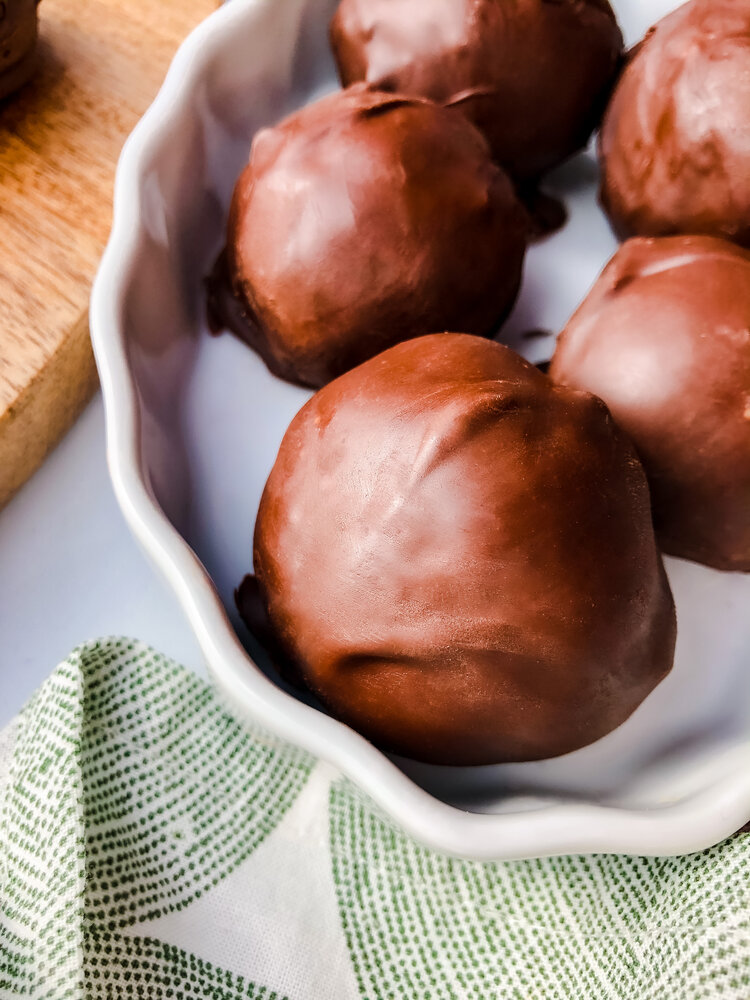

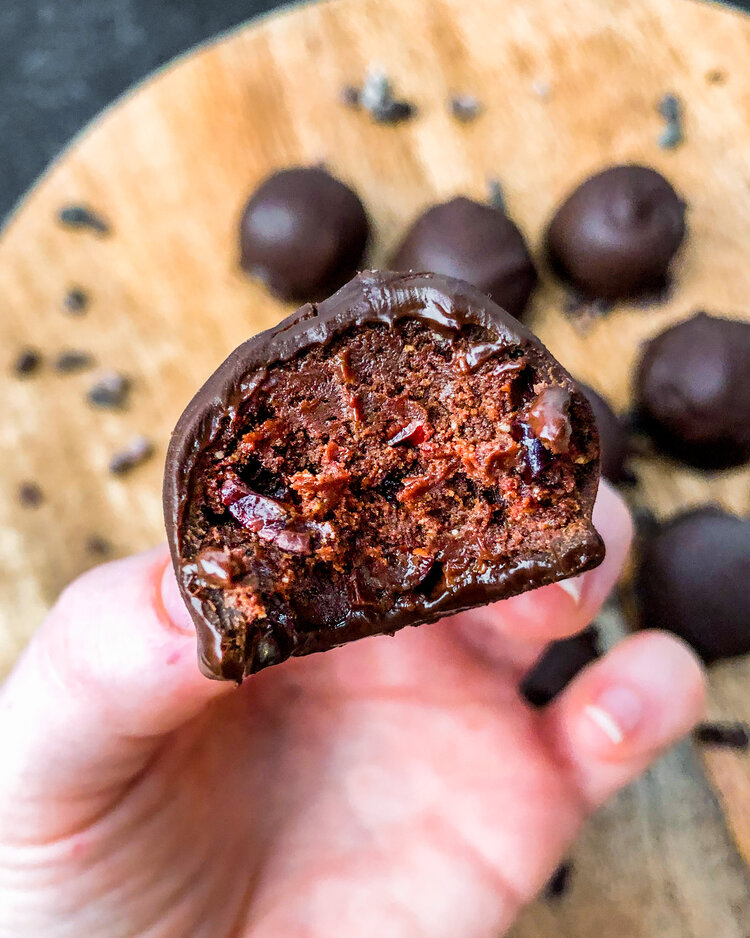
Chocolate Peppermint Truffles
- Yield: 12 truffles
- Category: Dessert
Ingredients
1/2 cup cashew butter
5 Tbsp maple syrup
1/2 tsp pure peppermint extract
1/3 cup Karen Berrios cacao powder
3–7 Tbsp oat flour*
1 Tbsp Karen Berrios lucuma powder
2 Tbsp Karen Berrios cacao nibs
A few pinches of salt
Chocolate Coating:
1/2 heaping cup chocolate chips
2 tsp avocado oil (or coconut oil)
Instructions
- Mix all ingredients (except chocolate coating) well in a medium bowl until a dough forms.
- Place a piece of parchment paper onto a plate.
- Roll dough into 12-13 small balls and place onto the parchment paper. Put in the freezer for 30 minutes to harden.
- Gently melt the chocolate coating together. To do in a double broiler: Put the chocolate and oil together in a small pot then place the small pot into a larger pot that is 1/2 full with water. Bring the water to a boil then turn to a simmer. Stir until the chocolate is melted. For the microwave: Mix the chocolate and oil in a microwave safe bowl and microwave for 30 seconds. Stir together, allowing the chocolate to continue melting. Microwave another 15 seconds if needed.
- Coat the truffles in the melted chocolate then place back onto the parchment paper.
- Put in the freezer for 30 minutes before eating.
- Please leave feedback and your review if you made this recipe!
Notes
*How much oat flour you need depends on the consistency of your cashew butter. Start off with 3 Tbsp and add more as needed to roll the dough into balls.
Store in the freezer or refrigerator. If stored in the freezer for more than a day, then you’ll have to let them sit for a couple minutes outside of the freezer before eating.





Pingback: Peppermint Hot Chocolate » Home Cooked Living
Pingback: Gingerbread Cookie Ice Cream » Home Cooked Living