 Buy Now →
DIY Autumn Beeswax Candles
Tired of using chemical-filled candles but still want to enjoy the cozy feel that a glowing candle brings? Beeswax candles are the answer! They are easier to make than you may think – they only take 15-30 minutes to make, then you have beautiful, delicious smelling candles ready to burn whenever you feel like it.
- Prep Time: 5 minutes
- Cool Time: 1 hour
- Cook Time: 10 minutes
- Total Time: 1 hour 15 minutes
- Yield: 2 (6-oz) candles 1x
- Category: DIY
- Method: Stovetop
Ingredients
8 oz beeswax
75g refined coconut oil* (1/3 cup)
2.5 ml essential oils (1/2 tsp) – I used Warm Citrus by Primally Pure
7-oz candle jars with 3-inch opening
Instructions
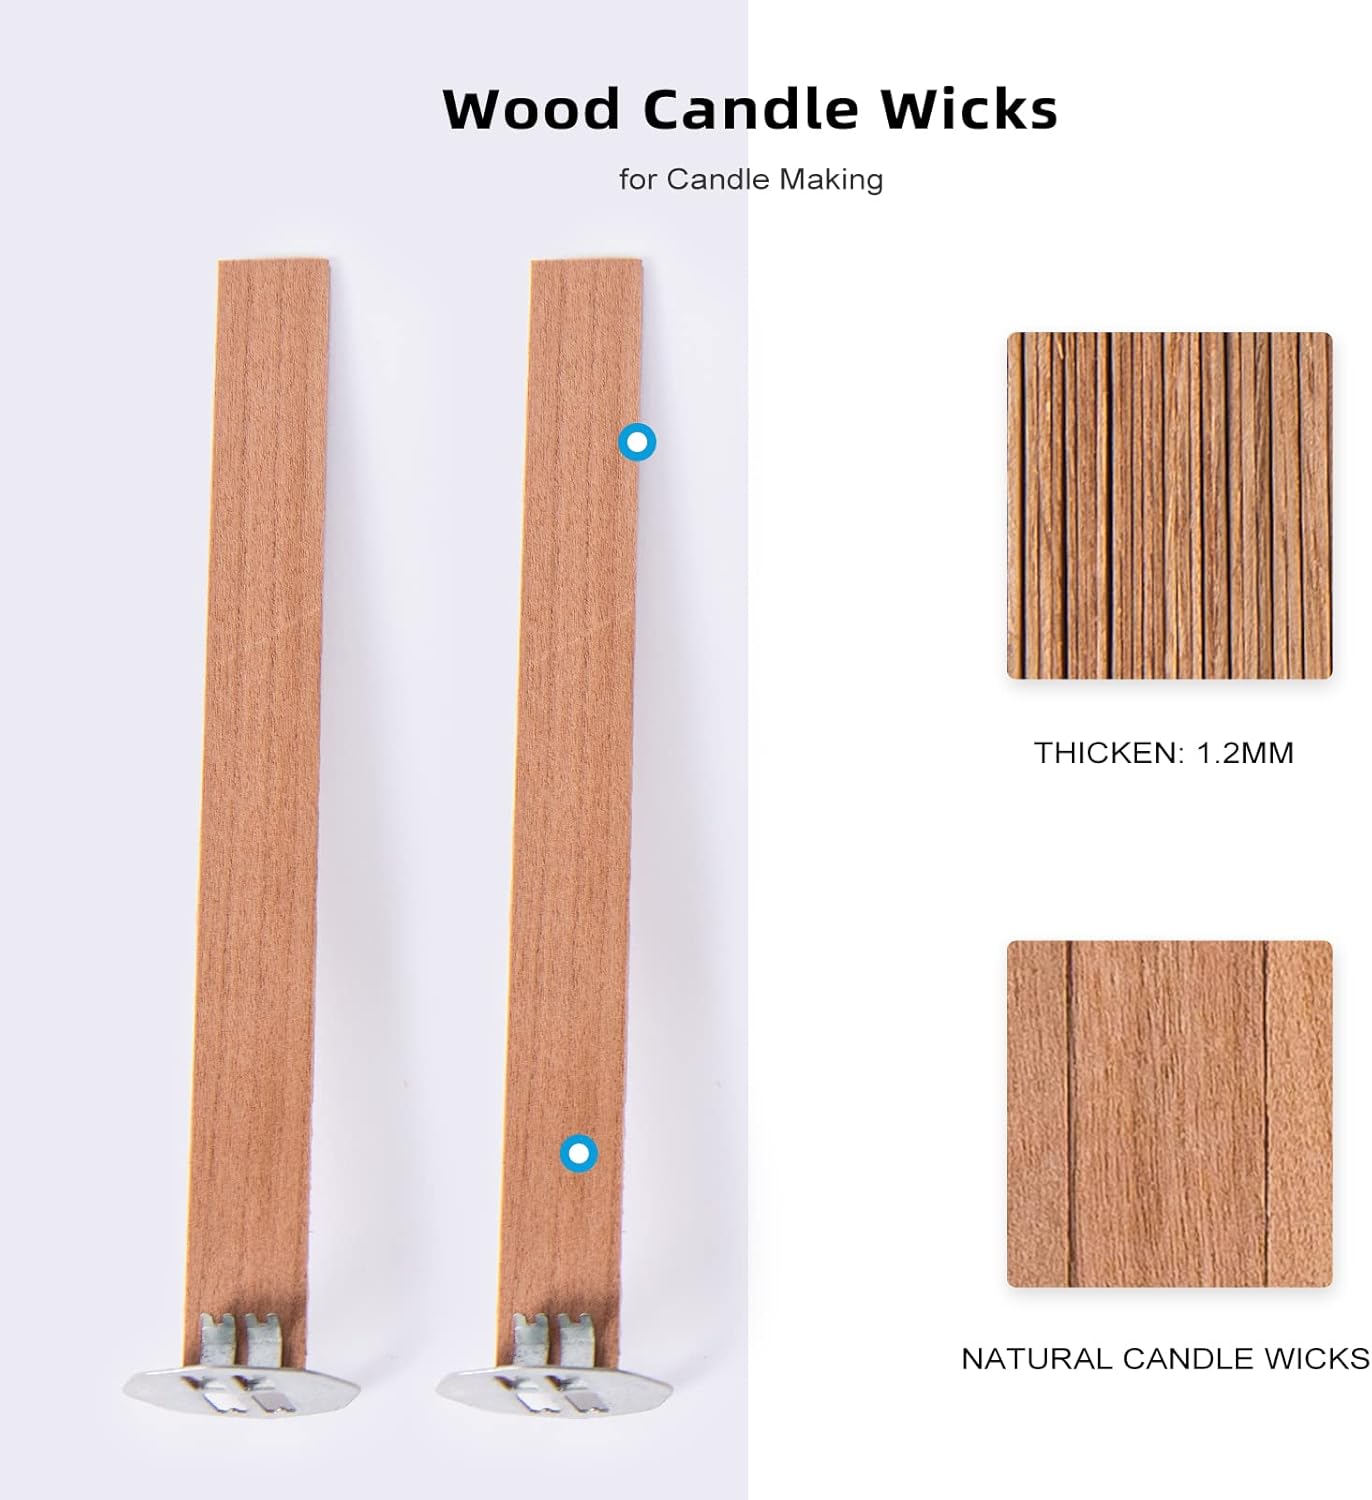
- Prepare the candle jars: Stick the wicks to the bottom in the center of the candle. If the candle jar is wider than 4″, then consider placing two wicks in it to make sure the edges melt as well. The wick will likely be too long, but you’ll trim it as needed. I prefer to trim it now because it makes it much easier (just remove it and cut with scissors to desired length).
- Set up a double boiler on the stove with the heat on med-high. You want the water to be hot or to very lightly simmer, but do not boil. If you don’t have a double boiler, you can create your own by putting water in a large pot (about 1/3-1/2 full), then placing a smaller pot into the water.
- In the top pot, add the beeswax and coconut oil and stir until melted. It’ll take about 15 minutes. You don’t want it to get too hot, so a slow melt is good. If it gets too hot, then it may damage the beeswax and it will end up drying incorrectly in the jar. If you have a kitchen or candy thermometer, then keep it in the wax and make sure it doesn’t go above 145ºF.
- Once melted, remove from heat. Add the essential oils and stir until incorporated. Let it cool for 5 minutes.
- Carefully pour the wax mixture into the prepared candle containers, making sure the wick stays straight. Leave about 1/4-1/2″ of wick above the wax. Let the candle rest for an hour or two for the wax to harden. Trim the wick as needed. Let the candle sit for at least a day before lighting.
- Be sure to trim the wick after every use.
- Tip for easy cleanup: Put the top pot (that had the candle wax in it) back onto the bottom pot of hot water – this will melt any residual wax in the pot, then you can wipe it off with a paper towel. Then clean as normal with hot water and dish soap.
Notes
*You can used unrefined coconut oil, but keep in mind that it’ll have a coconut scent to it. This is great if you want a fruity candle! Since I was making an Autumn-inspired candle, I opted for refined coconut oil.
Find it online: https://homecookedliving.com/diy-autumn-beeswax-candles/


