This post may contain affiliate links, which means I make a small commission off items you purchase at no additional cost to you. Please read my disclaimer page.
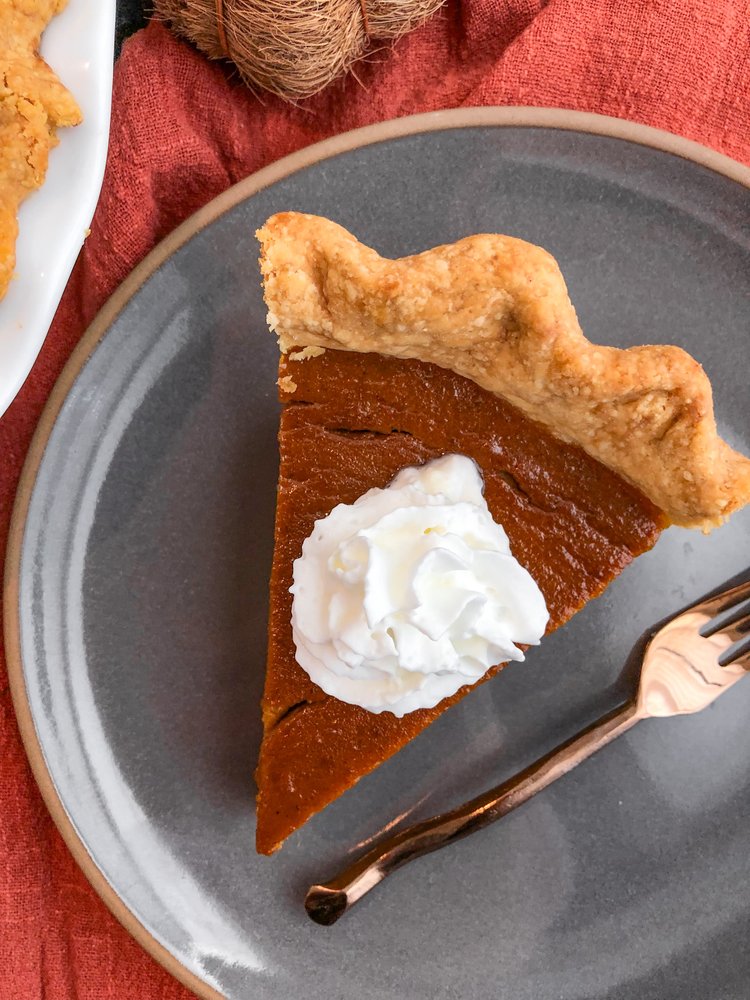
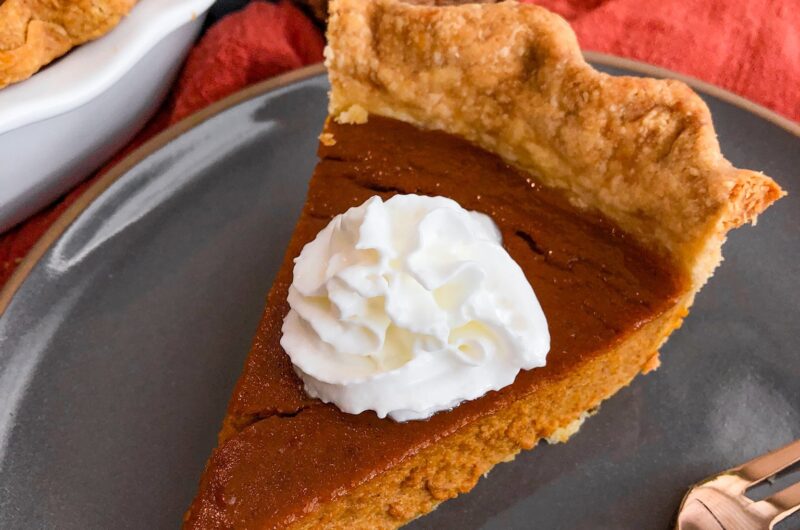
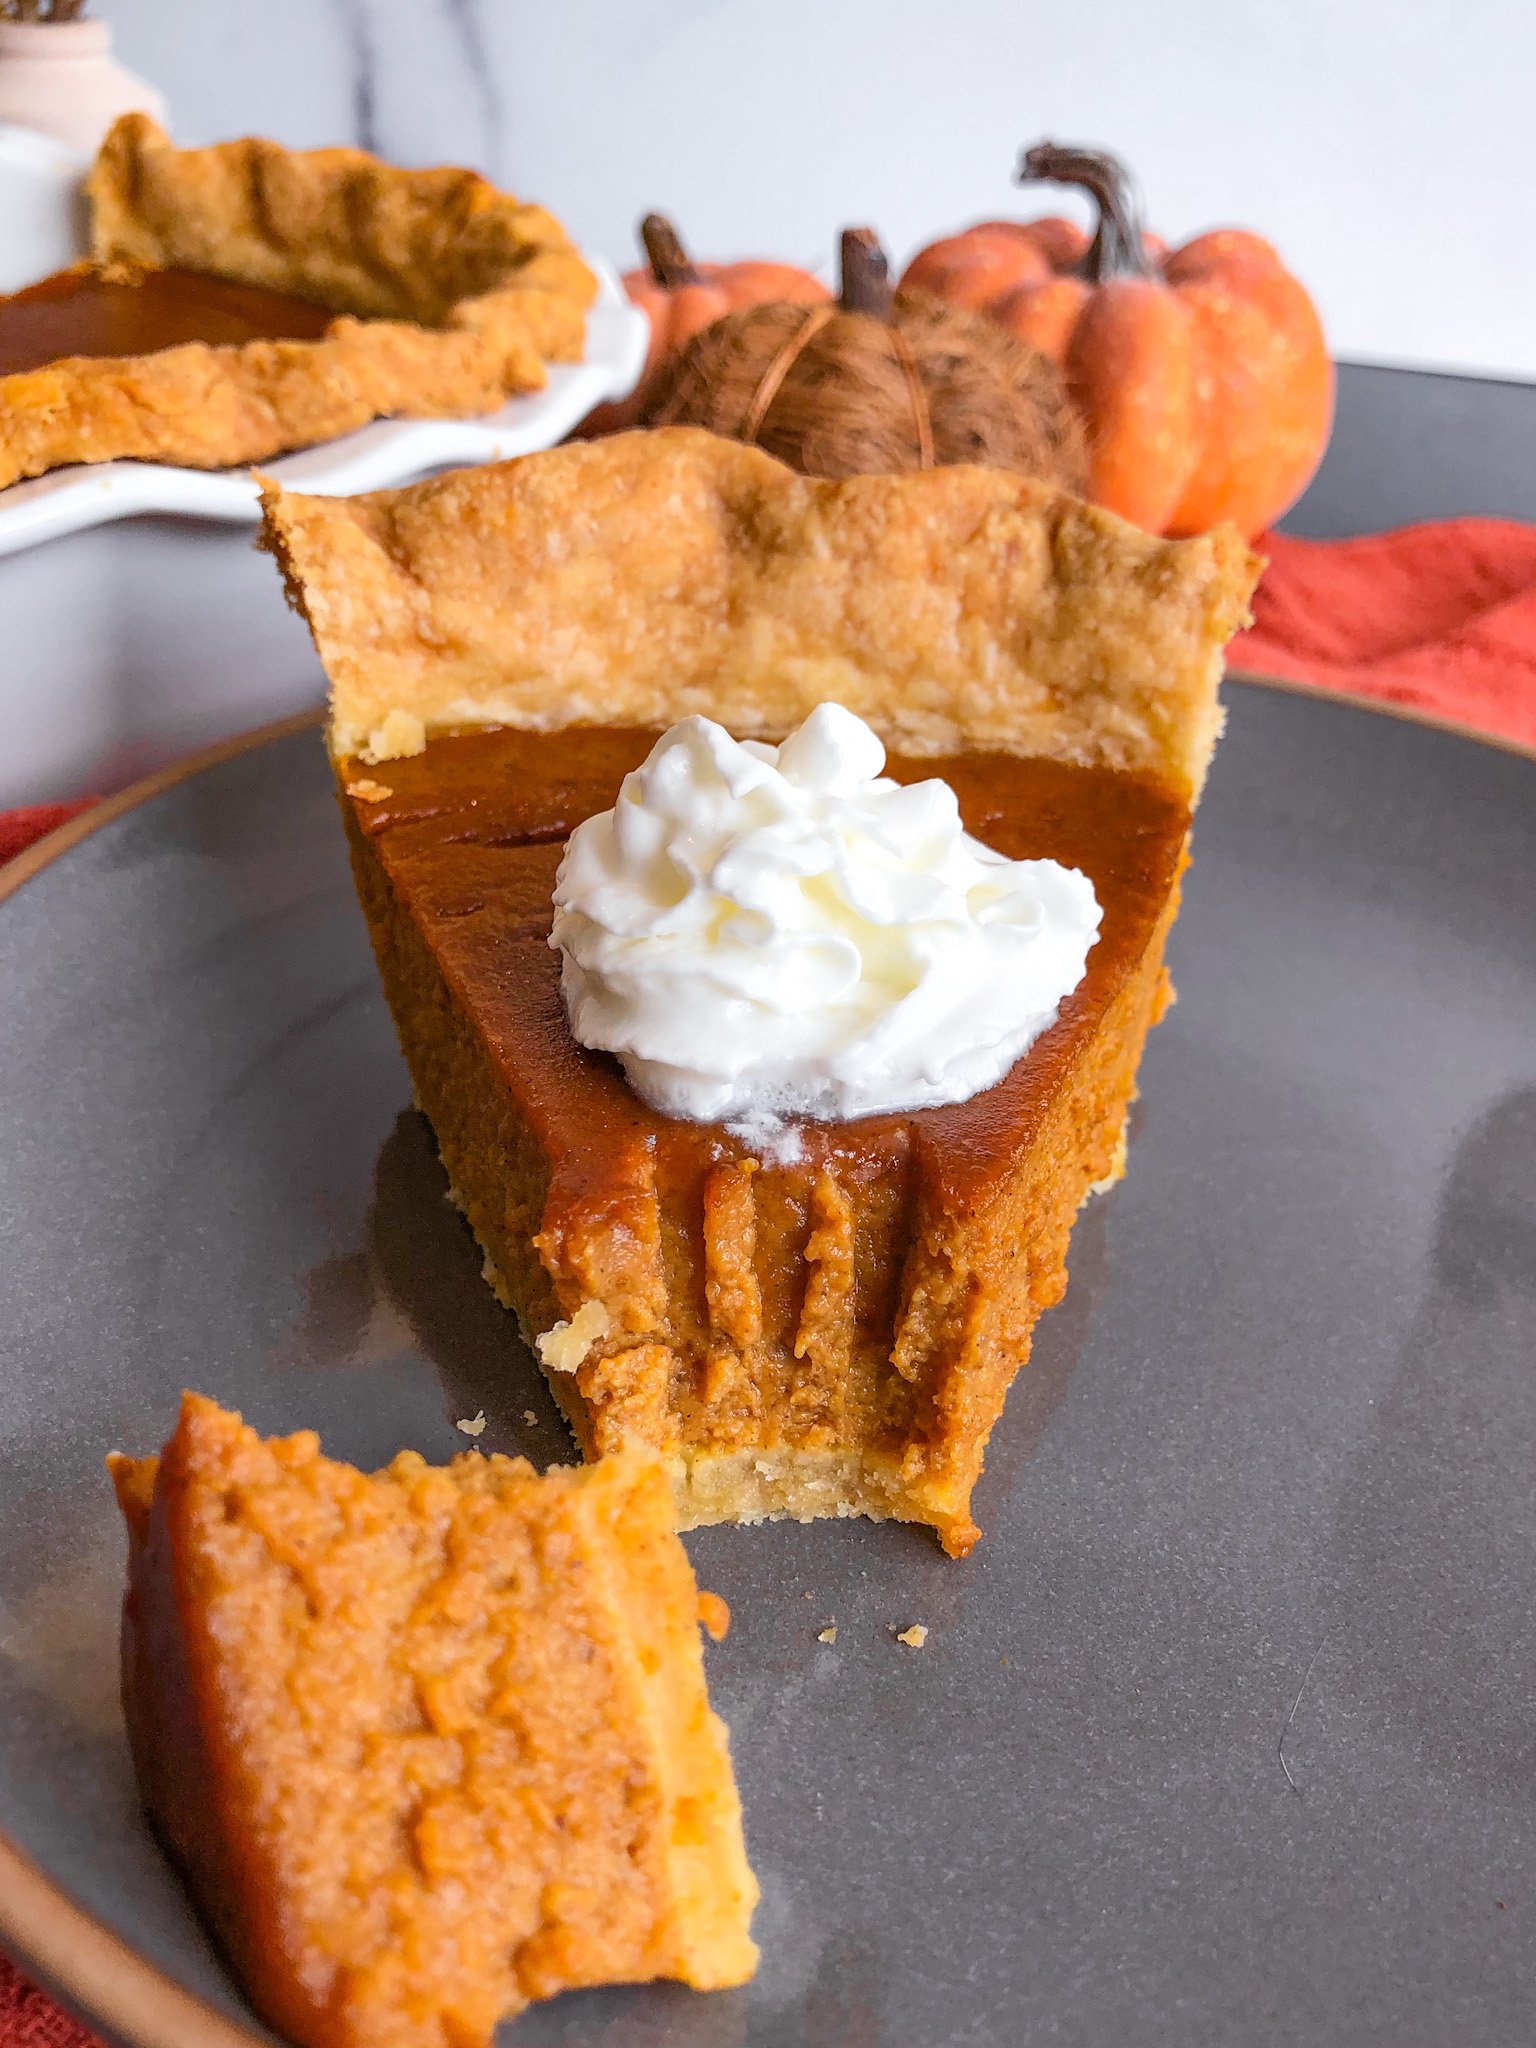
Your favorite holiday dessert – healthified! It is JUST as delicious as regular pumpkin pie, but without all the refined sugar. We’re using maple syrup and coconut sugar for the sweetener – and it does not disappoint!!
Ingredients:
Pie crust:
Flour or gluten-free flour blend – The base of the crust.
Coconut sugar – For a touch of sweetness. This crust isn’t gonna be bland!
Salt – For flavor.
VERY COLD butter – It’s important for it to be VERY cold because you do not want it melting into the dough at all or it will mess with the texture of the crust. Be sure it has been stored in the refrigerator and place in the freezer for 15 or so minutes before using.
Apple cider vinegar – to help with a flaky texture.
Ice cold water – Place ice cubes in a bowl and add some water. You’ll use a few tablespoons of this water for the crust. You want it to be ice cold so that it does not melt the butter.
Pie Filling:
Pumpkin puree – do NOT use pie filling, use 100% pure pumpkin puree.
Maple syrup, coconut sugar – the sweeteners for the filling.
Heavy cream – You can also sub with milk or a milk alternative.
Vanilla extract – for flavor.
Pumpkin pie spice, cinnamon – for the pumpkin flavor!
Notes on the method
You may be intimated by the long steps listed on the recipe card, but please just know that it’s NOT hard to make a pie! It seems hard, but it’s actually easy and fun. I listed out the steps very detailed for you, which is why it seems complicated (but it’s not!). Just follow the recipe card closely and you will make the best pie of your life!
Does there need to be a blind bake?
There is no need for a blind bake, You’ll just bake the crust after you add the filling.
Pie crust prep ahead of time
Keep in mind, the pie crust has to be refrigerated for at least an hour before you form it into the pie pan and cook it. This is important to keep the crust in the best shape during the baking process because you want the butter to be as cold as possible before baking.
If you want, you can refrigerate the crust overnight or even for a couple days before baking. This comes in handy for decreasing your prep time on Thanksgiving.
How to store the pumpkin pie
Let it cool to room temperature then cover it tightly and store in the refrigerator. Enjoy within 3-4 days.
You can also freeze the pie – wait until it reaches room temperature, cover it tightly and freeze for up to a month. Thaw it by letting it thaw in the refrigerator overnight. Do not thaw at room temperature.
Other recipes you’ll love
Here are other recipes I’m sure you’ll love for Thanksgiving!
Pumpkin Bread w/Pecan Streusel
Soft Gingerbread Cookies with Orange Glaze
PrintHealthier Pumpkin Pie
Your favorite thanksgiving dish – healthified! It is JUST as delicious as regular pumpkin pie, but without all the refined sugar. We’re using maple syrup and coconut sugar for the sweetener – and it does not disappoint!!
- Prep Time: 30 minutes
- Inactive Time: 1 hour
- Cook Time: 55 minutes
- Total Time: 2 hours 25 minutes
- Yield: 8 servings
- Category: Dessert
- Method: oven
- Cuisine: American
Ingredients
Pie Crust
1 1/4 cup flour, spooned and leveled (169g) (you can sub gluten-free)
1 Tbsp coconut sugar (9g)
1/8 tsp salt
1 stick of cold butter (you want it to be VERY cold!)
1/2 Tbsp apple cider vinegar
3 Tbsp ice cold water
Pumpkin Filling
1 (15 oz) can 100% pumpkin puree (not pie filling)
3 large eggs
1/4 cup maple syrup
1/4 cup heavy cream
3 Tbsp coconut sugar
1 tsp vanilla extract
1 1/2 tsp pumpkin pie spice
1 tsp ground cinnamon
1/4 tsp salt
Instructions
Prep and refrigerate the pie crust
- Start by making the pie crust. You can do this about an hour before baking or as far out as a couple days before baking. I made mine the night before.
- Make sure your butter is VERY cold, and has been stored in the refrigerator. You don’t want it room temperature. Remove from the refrigerator, slice the butter into cubes, place in a small bowl, then place in the freezer for a few minutes while you follow the next two steps.
- Also put about 1/2 cup of water into a small bowl and add ice.
- Set up a food processor, Then add the the flour, coconut sugar, and salt and pulse until well combined.
- Add the cold butter and pulse until it is beaded and incorporated – about 30 pulses.
- Add the apple cider vinegar and the ice cold water (just scoop water from the ice water bowl). Pulse until combined and it forms a moist but crumbly dough, about 15-20 pulses. Test it by pinching some of it between your fingers. It should easily stick together. If it’s too dry, add 1/2 Tbsp of ice cold water at a time until it sticks. (you do NOT want it sticking to your fingers, just to itself – if it sticks to your fingers then it’s too sticky, add a bit of flour if this is the case).
- Flour a clean surface and dump the dough onto it, mold it into a flat disk about 13-14 inches wide, then place it on a plate, tightly cover, and refrigerate for at least 30 minutes (or if you want to prep it 1-2 days ahead of time, then don’t roll it out completely quite yet, just roll into a small, thick disk (1/2″ or so) and place in an airtight bag and refrigerate up to two days)
Assemble and bake the pie
- Once ready, preheat the oven to 350ºF.
- Make the pie filling by mixing together the filling ingredients in a large bowl until well combined. Set aside.
- Working fairly quickly (you don’t want the crust at room temp for too too long), place the rolled out crust into the pie dish. Fold the excess edges of the dough under itself to create a thicker crust around the edges. Fix any cracks by squeezing the dough together in the cracked areas. For any areas that have a ton of excess dough, either trim it off or transfer it to an area that is thinner. Create pattern of your liking with the crust, whether with a fork or by pinching it to create a fluted pattern.
- Pour the filling into the prepared pie crust and smooth out the top.
- Bake for 50-60 minutes, until the center is no longer jiggly. At the 20 minute mark, add a pie shield or aluminum foil around the edges of the crust to prevent it from browning too much / burning.
- Let the pie rest for at least one hour before serving.
How to store the pie
- To store it: Cover it and store it in the refrigerator once it cools completely, do not store at room temperature. Eat within 3-4 days.
- Please leave a review on this recipe if you made it! I would love to hear your feedback and the engagement on my website is super helpful. Thanks in advance!!
Notes
If using a gluten free flour blend, you may need to adjust the water ratio. Adjust by only 1/2 Tbsp at a time to get the desired consistency.
You can also use a store-bought pie crust.
Another note – I did test this recipe using oat flour. It was delicious but the crust was very crumbly and did not hold together well when trying to remove pie slices from the dish. I recommend adding an extra tablespoon of butter if using oat flour, and possibly an extra tablespoon of ice cold water.



So delicious! Even the kids gobbled it up!
That’s so great to hear!! Love a healthier kid-approved dessert!
Delish! I love this recipe because of its healthy ingredients with just the right amount of sweetness. Yummy!
Yay! Thanks so much 🙂
Pingback: Healthy Homemade Green Bean Casserole » Home Cooked Living
Pingback: Pumpkin Crumb Cake (no refined sugar) » Home Cooked Living