 Buy Now →
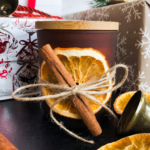
Homemade Christmas Beeswax Candles
These candles are the perfect DIY gift to give for Christmas, or just a non-toxic gift to yourself to enjoy a cozy candle during the holidays without all the chemicals!
- Prep Time: 15 minutes
- Set Time: 24 hours
- Cook Time: 20 minutes
- Total Time: 30-45 minutes working time, 1 day candle hardening time
- Yield: 2 (7-oz) candles 1x
- Category: DIY
- Method: Stovetop
Ingredients
80g naturally refined coconut oil* (1/3 tightly packed cup - make sure there are no empty spaces)
226g (8oz) beeswax** - the quality of beeswax is VERY important - read notes!
2.5 ml essential oil (1/2 tsp) - I used Christmas Morning by Revive, Increase to 3/4-1 tsp if using a mild scent like orange
Two 7-oz candle jars with 2.5-inch opening - using the right candle jar is also important, read notes
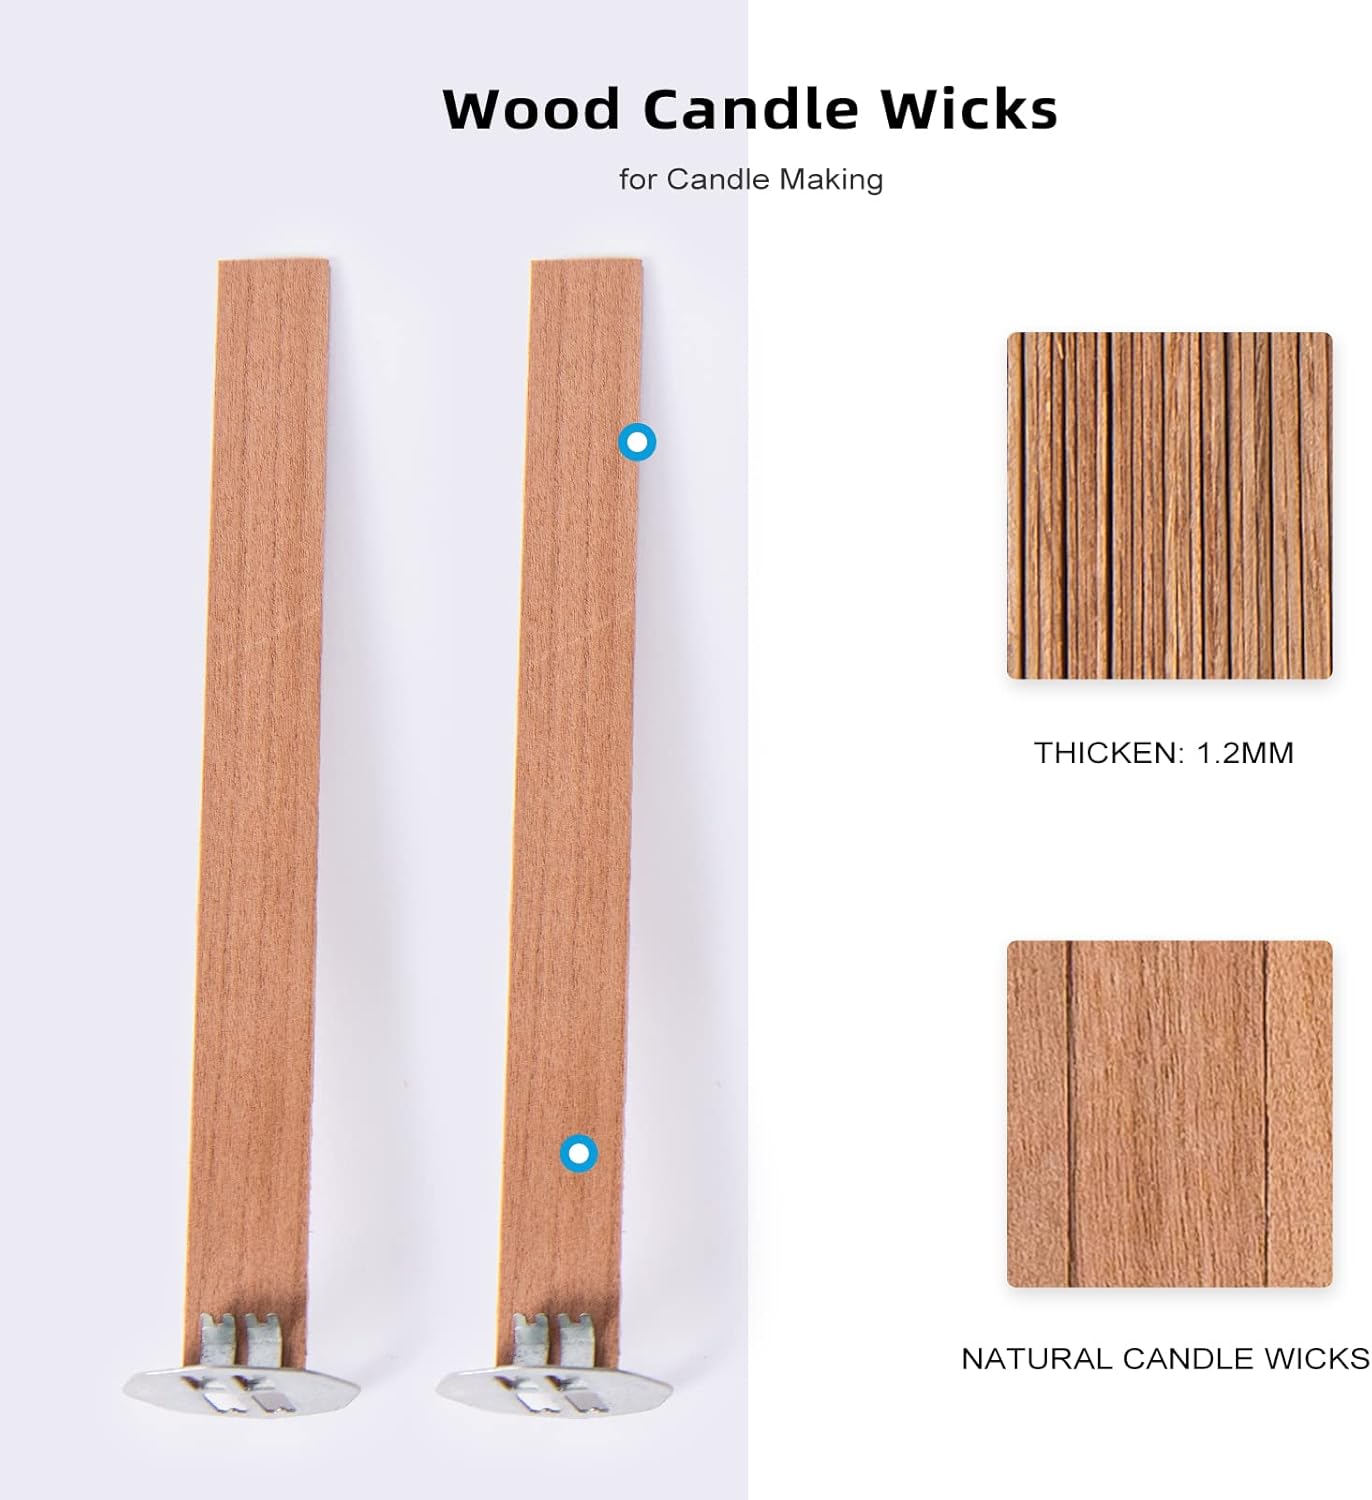
2 Wooden wicks or 6 tea light wicks
Instructions
Advice for wicks in different sized candles: One prepped wooden wick should melt a 2.25-2.5″ pool after 3-4 hours, and THREE tea light candle wicks should melt a 2.5″ pool after 3-4 hours. My general rule of thumb is to use 1 prepped wooden wick for every 2-2.5 inches of candle width and one tea light wick for every 0.75-1″ of candle width. So for example, if you end up using a 4″ wide candle jar, then you’ll want to use two wooden wicks, or 4 tea light wicks. For this specific recipe that uses a 2.5″ wide candle, you can either use one prepped wooden wick, or three tea light wicks.
- Set up a double boiler on the stove with the heat on medium heat. You want the water to be steaming, but do NOT simmer or boil. If you don’t have a double boiler, you can create your own by putting water in a large pot (about 1/3-1/2 full), then placing a smaller pot into the water.
- Turn your oven light on (you’ll place the candle containers in here to make them a little warmer).
- Prepare the candle containers: Stick the wick(s) into the bottom of the candle jar. The wick will be too long, but you’ll trim it as needed before lighting the candle, so leave it long for now. Place the candle jars in the oven with ONLY the light on. Do not turn the oven on. Just the light to keep the candles in a warm-ish place – this will help the wax pouring process. If the candle jar is cold and you’re pouring hot wax into it, then it can make the wax harden too fast and pull away from the sides of the candle.
- Put the top pot of the double boiler on a kitchen scale and reset the scale to 0. Add the coconut oil and beeswax, then return the pot to the double boiler bottom pot with the steaming water. Stir constantly until melted. You can use a silicone spatula, long wooden popsicle stick, or just simply a spoon to stir it. It’ll take up to 15 minutes to melt fully. You don’t want it to get too hot, so a slow melt is good. If it gets too hot, then it may damage the beeswax and it will end up creating air pockets in the candle jar. I recommend using a candy thermometer or meat thermometer to keep track of the temperature, making sure it doesn’t go above 145 or 150ºF. This will take being very careful and keeping an eye on the temperature as the wax starts to fully melt – remove from heat if needed to cool it down.
- Once melted, turn the heat down to low and/or remove from heat for several minutes if needed (if it’s 150ºF, then you’ll want to remove it so it doesn’t keep getting hotter).
- If using a wooden wick, you’ll want to prep it with a coating of wax: Remove the wooden wick from its metal holder to prepare the wooden wick by submerging the wick in the melted wax for a full minute – you can use tongs for this. The wooden wicks absorbs some of the wax, which makes it burn much easier and more evenly to create a better melt pool. Remove from the wax and hold in the air for 20 seconds or so to let it start hardening, then let it rest on a glass or metal surface (such as the counter or a plate) to harden further.
- Remove the beeswax and coconut oil mixture from the heat if you haven’t already. Add the essential oils and stir together. Make sure most of the mixture is melted and there’s not too much dried up on the sides of the pot – just scrape it down and melt it if needed before pouring into the candle jars.
- Put the prepped wooden wick back into the wick holder (if using).
- Once all wicks are in place, pour the wax mixture into the prepared candle containers, making sure the wicks stays straight. If the wax hardens on the edges of the double boiler, just return the pot to the hot water to re-melt it to pour again. Leave the candle in place and be careful not to bump it to prevent any craters or crooked wicks.
- The candle will be solid within an hour or two, but I recommend letting the candle sit for at least a day before lighting because although it looks ready to light, it’s good to let the beeswax settle more before lighting so that the melt pool is consistent. Trim the wicks as needed before lighting. For wooden wicks, trim the wick to a short length of 1/8″ for a hot flame that will make a full melt pool. For regular cotton wicks, be careful NOT to trim any lower than 1/4″ or else it may not be able to burn hot enough for a full melt pool! I personally keep mine closer to 3/8 of an inch. Wooden and cotton wicks are very different in terms of wick length.
- Keep in mind that a lot of cotton wicks self-trim and won’t need trimmings after the first burn. You’ll likely need to trim wooden wicks after each burn though.
- Let the candles burn for at least 3 hours the first 2-3 times you light it. Wax has a “memory” and if you blow it out before it reaches a full melt pool (or at least close to it), then it’s more likely to tunnel.
- Tip for easy cleanup: Put the top pot (that had the candle wax in it) back onto the bottom pot of hot water – this will melt any residual wax in the pot, then you can wipe it off with a paper towel. Then clean as normal with warm water and dish soap.
Notes
*You can used unrefined coconut oil, but keep in mind that it’ll have a coconut scent to it. This is great if you want a fruity candle! Since I was making an Autumn-inspired candle, I opted for naturally refined coconut oil.
**The quality of beeswax is very important because it needs to be pure and not denatured in any way. Using a beeswax that has not been overheated at any point is important for creating a candle that does not tunnel when hardening (which then also messes up how it melts). I have been loving the Beesworks brand.
Using a candle container that’s specifically designed for candles is important in my opinion. Having a candle jar with the right thickness of glass really helps to create a consistent result with flame on the wick burning at the right temperature. I’ve experimented with using other random jars and such, but it creates very inconsistent results and leads to either tunneling or a wick that burns way too hot or both.
Find it online: https://homecookedliving.com/homemade-christmas-beeswax-candles/

