This post may contain affiliate links, which means I make a small commission off items you purchase at no additional cost to you. Please read my disclaimer page.
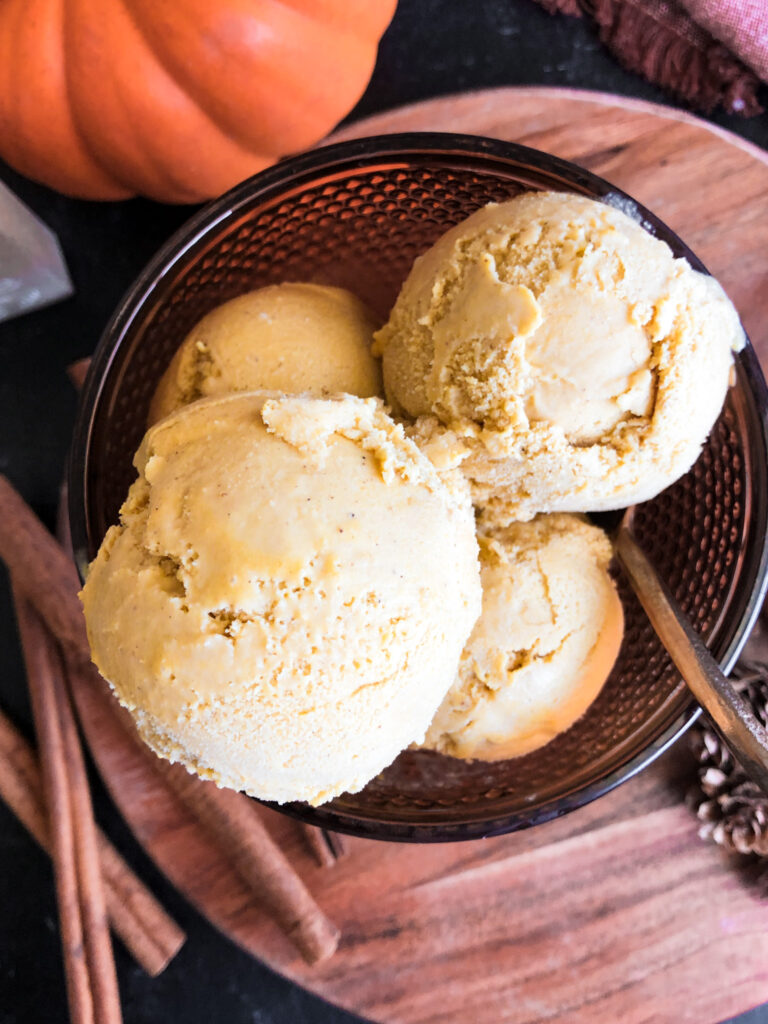
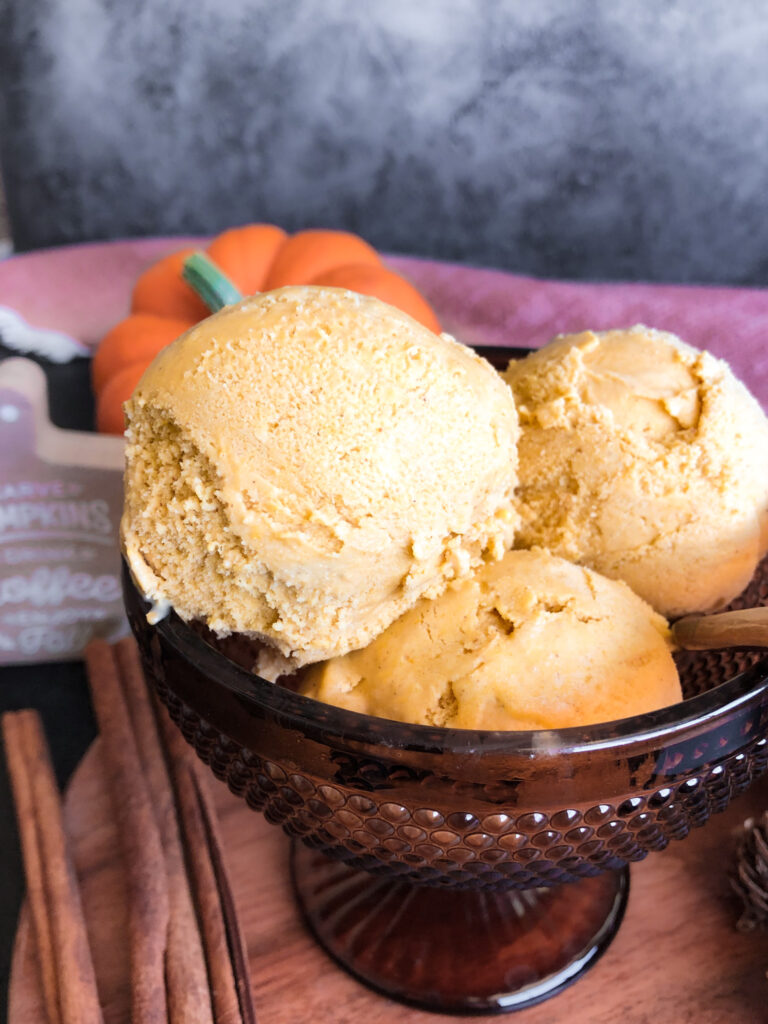
My goodness, I love fall and all things pumpkin!! This Homemade Pumpkin Ice Cream is the absolute perfect start to the season. If you love homemaking ice cream, then be sure to try this one out! And if you haven’t homemade ice cream yet, then you definitely need to. Just read through the post to learn how! It’s really super easy once you get the hang of it.
Ingredients
Heavy cream – I always recommend grass-fed dairy products instead of conventional.
Whole milk – I always recommend grass-fed dairy products instead of conventional.
Pumpkin puree – 100% pure pumpkin, not pumpkin pie filling
Coconut sugar – or sub date sugar
Maple syrup
Pumpkin pie spice
Salt
What tools are needed to homemake ice cream?
An ice cream maker – I use the Ice-70 by Cuisinart. I have no complaints about it whatsoever!
A large bowl – I prefer using one with a spout on the side to make it easier to pour.
A whisk, or if doing the egg yolk method it would be much easier with an electric mixer with a whisk attachment
A large saucepan – you’ll only need this if you choose to put egg yolks in the ice cream. The yolks make it thicker and creamier, but they’re totally optional. Read the post for instructions on how to omit the yolks.
Insulated ice cream container for storage. This helps significantly to keep the ice cream the proper texture. You can use a regular freezer-friendly Tupperware, but the ice cream will harden more.
Method
- Make sure your ice cream bowl has been frozen for at least 24 hours (this is for the Cuisinart ICE-70 Series). You can also pre-freeze the container you plan to put the ice cream in if you want. I use this insulated ice cream container and it’s the best! It helps keep a perfect ice cream texture, rather than freezing too hard.
- In a medium saucepan over medium heat, whisk together the milk, cream, vanilla, salt, and maple syrup. Bring to a slight boil. This will take 10 or so minutes, so continue to the next step. Be sure to keep an eye on it though because you don’t want it to boil for long.
- In a large bowl with an electric mixer using the whisk attachment, combine the egg yolks, pumpkin pie spice, pumpkin puree, and the coconut sugar. Whisk until it is fluffy and lightens in color. You can also do this by hand but it will take longer.
- Once the cream/milk mixture has come to a slight boil, turn the heat down to low.
- Pour 1/3 of the hot mixture into the egg/sugar mixture and whisk together. (you add just a little at a time because you don’t want it to overcook the egg yolks). Add another 1/3 and whisk in, then pour it all back into the saucepan. Using a wooden spoon, stir the mixture constantly over low heat for two minutes until it thickens slightly and coats the back of the spoon. DO NOT boil the mixture or the egg yolks will overcook and curdle.
- Pour the mixture through a fine mesh strainer.
- Let it cool at room temperature for an hour then cover and place in the refrigerator for at least 5 hours or overnight.
- Press Ice Cream and then Start/Stop. Pour the mixture through the spout and then cover with the cap. Let mix until thickened. I like to mix mine for 30 minutes.
- The ice cream will have a soft, creamy texture. If a firmer consistency is desired, transfer the ice cream to an insulated ice cream container and place in the freezer for a couple hours. See notes if you don’t have an ice cream container.
- Please let me know if you try this recipe by leaving a rating and a comment!
How to always make the best homemade ice cream
- Be sure to follow the directions on the recipe card to a T for the best turnout.
- Freeze the ice cream bowl for several days, or at least 24 hours before making the ice cream.
- Use an insulated ice cream container for storage. This keeps it a much better texture than using another container that’s not designed for ice cream.
- Place the insulated ice cream container in the freezer several days before, or at least 24 hours before making the ice cream to create a better environment for the ice cream.
- Use egg yolks if you like a thick, creamy ice cream. If you prefer a lighter ice cream, then omit the egg yolks.
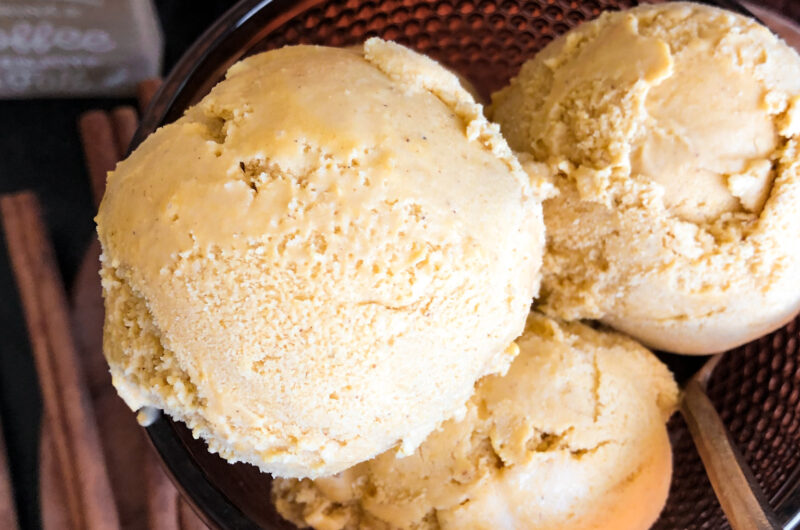
- Keep in mind, the ice cream is more of a soft-serve after it is done churning – this is totally normal. You can eat it this way if you would like, but you can also place it in the insulated ice cream container and put it in the freezer for at least 6 hours or overnight for it to harden to true ice cream texture.
Modifications
- This recipe calls for egg yolks to make it extra creamy and rich, but feel free to omit them if desired. Read further above in the post for instructions on how to omit them.
- To make this a lower-fat ice cream, you can swap the milk and cream ratios (use 2 1/2 cups milk and 1 1/2 cups cream instead of the ratios called for in the recipe). The ice cream won’t be as creamy, but it’s still delicious as a lower fat option.
- If you’d rather stick with one sugar instead of two, then you can use solely coconut sugar instead of the combo of coconut sugar and maple syrup.
Other recipes you’ll love
I hope you love this Pumpkin Ice Cream! Please be sure to leave a comment and rating. Your support helps me more than you know and I LOVE hearing from you!
PrintHomemade Pumpkin Ice Cream
- Category: Dessert
Ingredients
2 cups heavy cream (16 oz)
1 1/2 cups whole milk (12 oz)
1/3 cup coconut sugar
1/3 cup maple syrup
1 1/2 tsp pumpkin pie spice
1/4 tsp salt
1 tsp pure vanilla extract
4 large egg yolks optional – see notes for how to omit the yolks
1/2 cup pumpkin puree
Instructions
- Make sure your ice cream bowl has been frozen for at least 24 hours (this is for the Cuisinart ICE-70 Series). You can also pre-freeze the container you plan to put the ice cream in if you want. I use this insulated ice cream container and it’s the best! It helps keep a perfect ice cream texture, rather than freezing too hard.
- In a medium saucepan over medium heat, whisk together the milk, cream, vanilla, salt, and maple syrup. Bring to a slight boil. This will take 10 or so minutes, so continue to the next step. Be sure to keep an eye on it though because you don’t want it to boil for long.
- In a large bowl with an electric mixer using the whisk attachment, combine the egg yolks, pumpkin pie spice, pumpkin puree, and the coconut sugar. Whisk until it is fluffy and lightens in color. You can also do this by hand but it will take longer.
- Once the cream/milk mixture has come to a slight boil, turn the heat down to low.
- Pour 1/3 of the hot mixture into the egg/sugar mixture and whisk together. (you add just a little at a time because you don’t want it to overcook the egg yolks). Add another 1/3 and whisk in, then pour it all back into the saucepan. Using a wooden spoon, stir the mixture constantly over low heat for two minutes until it thickens slightly and coats the back of the spoon. DO NOT boil the mixture or the egg yolks will overcook and curdle.
- Pour the mixture through a fine mesh strainer.
- Let it cool at room temperature for an hour then cover and place in the refrigerator for at least 5 hours or overnight.
- Press Ice Cream and then Start/Stop. Pour the mixture through the spout and then cover with the cap. Let mix until thickened. I like to mix mine for 30 minutes.
- The ice cream will have a soft, creamy texture. If a firmer consistency is desired, transfer the ice cream to an insulated ice cream container and place in the freezer for a couple hours. See notes if you don’t have an ice cream container.
- Please let me know if you try this recipe by leaving a rating and a comment!
Notes
To omit the egg yolks: You can easily make the ice cream without the egg yolks. Just mix all the ingredients (except the yolks) in a large bowl and whisk well. Cover and refrigerate 2 hours or overnight. Then whisk it together again and put into the ice cream maker (no need to strain it in the mesh strainer).
A trick for using an insulated ice cream container – it helps to pre-freeze it for a few hours before putting ice cream in it. It creates a better environment for the homemade ice cream to stay the perfect texture.
You can use a regular, airtight container for storing, but the ice cream will harden more, so you may need to let it sit out for 5-10 minutes before serving. I definitely recommend getting an insulated ice cream container if you want the perfect ice cream texture!





Pingback: » Home Cooked Living