This post may contain affiliate links, which means I make a small commission off items you purchase at no additional cost to you. Please read my disclaimer page.
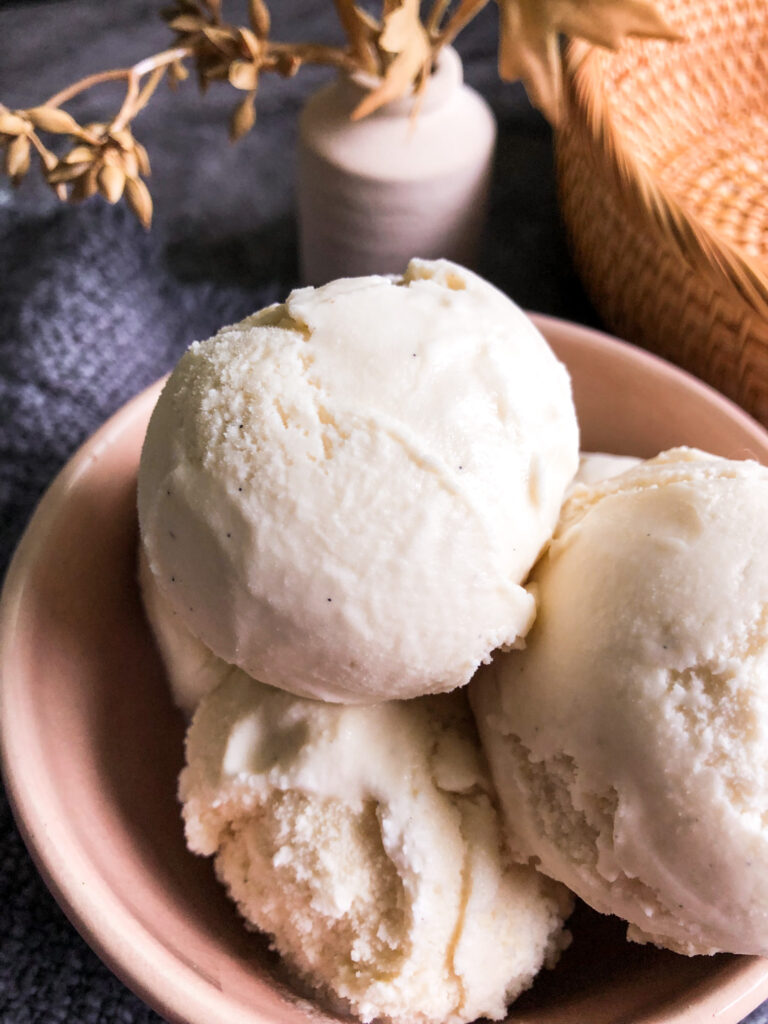
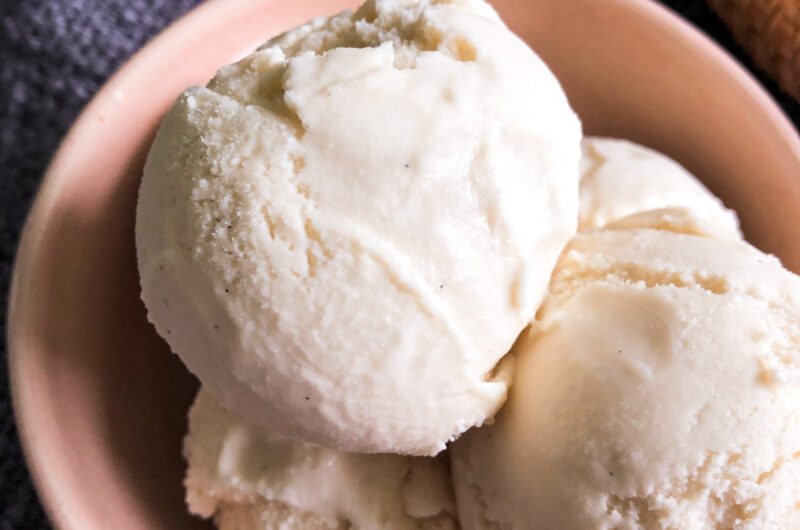
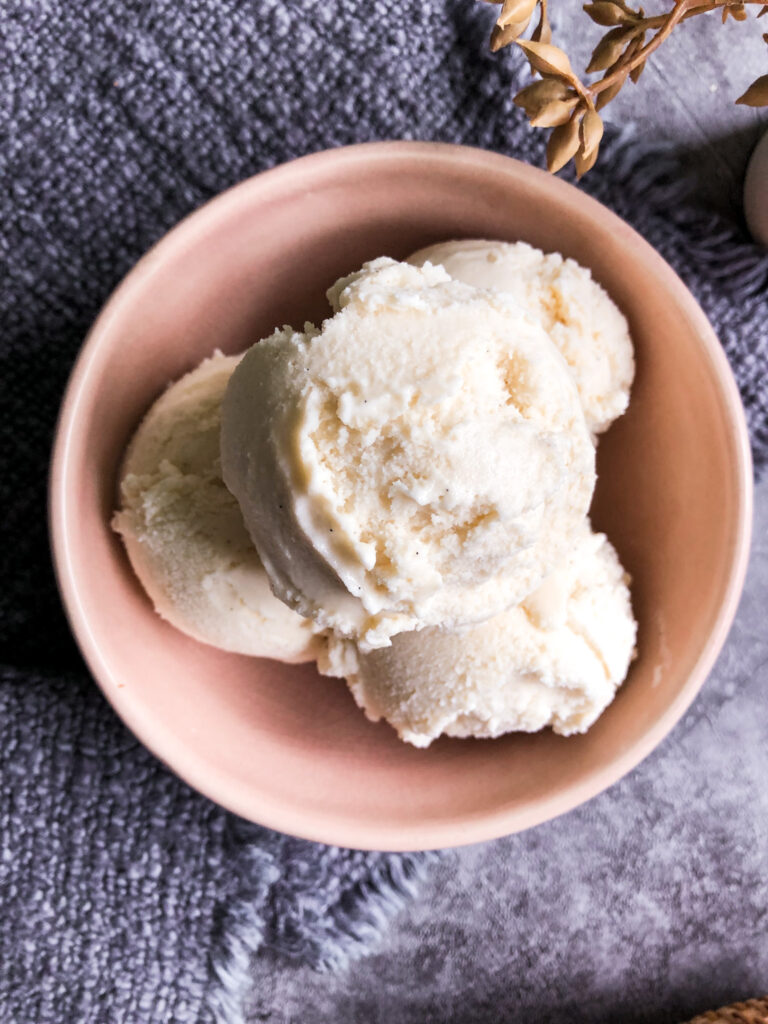
If you’re searching for a healthier version of ice cream, then this Homemade Vanilla Bean Ice Cream is it! It’s delicious and indulgent but it also prioritizes higher quality ingredients. The ingredient quality makes a huge difference for any meal, but especially dessert! There’s no need for highly refined white sugar, high fructose corn syrup, or other additives when you can stick with the basics.
Nutritional benefit of this Vanilla Bean Ice Cream:
Grass-fed milk products are higher in nutrients, and if you use raw or low-heat pasteurized, then may of the enzymes in the milk are still present which help with our bodies digestion of it.
Raw cane sugar is a better option compared to a refined white sugar. Although it’s not as healthy as coconut sugar (which I use in most of my recipes), it’s still significantly better than a highly refined, bleached sugar.
Vanilla beans are high in antioxidants and has anti-inflammatory and neuro-protective properties, enhancing brain and mood health.
Pink himalayan salt is rich in electrolytes and minerals, such as magnesium, calcium, potassium, and iron.
Ingredients for Vanilla Bean Ice Cream
Heavy cream – I recommend using heavy cream from grass-fed cows. I really like Kalona Supernatural.
Whole milk – I recommend grass-fed milk. I like Mill-King because it is low-temperature pasteurized, therefore having more of the nutrients in it compared to ultra-pasteurized.
Vanilla bean – Or you can use a pure vanilla bean paste.
Raw cane sugar – Although I typically opt for coconut sugar in my recipes, I didn’t have the best success with coconut sugar to create a vanilla flavor for the ice cream, so I opted for raw cane sugar on my final recipe. It’s definitely better than a highly refined sugar still! I loved the coconut sugar version too, but it tasted more like a dulce de leche or caramel flavor, so if you would like that then use coconut sugar!
Pink himalayan salt – For flavor.
Method
Make sure your ice cream bowl has been frozen for at least 24 hours (this is for the Cuisinart ICE-70 Series). You can also pre-freeze the container you plan to put the ice cream in if you want. I use this insulated ice cream container and it’s the best! It helps keep a perfect ice cream texture, rather than freezing too hard.
- In a medium saucepan over medium heat, add the cream, milk, raw cane sugar, and salt. Slice the vanilla bean in half, and using a knife, scrape the vanilla bean paste from each half and put into the mixture. Heat and stir for a few minutes until the raw cane sugar is dissolved. It should dissolve before the mixture even gets very warm.
- Transfer the mixture to the refrigerator and chill for 2-3 hours at least, or overnight.
- Pour the cold mixture into the prepped ice cream maker and churn until thickened, about 30-35 minutes.
- The ice cream will have a soft-serve texture. If a firmer consistency is desired, transfer the ice cream to an insulated ice cream container and place in the freezer for a few hours. See notes if you don’t have an ice cream container.
- Please let me know if you try this recipe by leaving a rating and a comment!
Modifications for Vanilla Bean Ice Cream
- Use 2 tsp vanilla bean paste instead of the vanilla bean.
- For a regular vanilla flavored ice cream, use 1 Tbsp vanilla extract.
- If you want to use coconut sugar in place of the raw cane sugar, then go for it! But keep in mind it’ll have a more caramel type flavor due to the coconut sugar. Sub it 1:1.
- You can sub the raw cane sugar 1:1 for date sugar as well.
- If you aren’t using an insulated ice cream container to store the ice cream, then it may become very hard after being in the freezer for a while. To keep ice cream from freezing rock-hard, stir in a couple of tablespoons of vodka after it has chilled in the refrigerator, right before pouring it into the ice cream maker. The alcohol will keep it softer. I don’t find it necessary to do this with the proper storage container, but it’s a great solution if you are storing it in a regular Tupperware!
Other recipes you’ll love
Peach Ice Cream with Maple Caramel Sauce
I hope you love this Healthier Vanilla Bean Ice Cream! Please leave a comment and rating if you try this recipe. It helps me out so much, and I love hearing from you!
PrintHealthier Vanilla Bean Ice Cream
- Prep Time: 15 minutes
- Chill Time: 2 hours
- Total Time: 2 hours 15 minutes
- Yield: 6 servings 1x
- Category: Dessert
Ingredients
2 cups heavy cream (from grass-fed cows)
1 1/2 cups whole milk (from grass-fed cows)
3/4 cup raw cane sugar
1 vanilla bean or 2 tsp vanilla bean paste (or 2 tsp vanilla extract for regular vanilla flavor)
1/4 tsp pink himalayan salt
Instructions
Make sure your ice cream bowl has been frozen for at least 24 hours (this is for the Cuisinart ICE-70 Series). You can also pre-freeze the container you plan to put the ice cream in if you want. I use this insulated ice cream container and it’s the best! It helps keep a soft ice cream texture, rather than freezing too hard.
- In a medium saucepan over medium heat, add the cream, milk, raw cane sugar, and salt. Slice the vanilla bean in half, and using a knife, scrape the vanilla bean paste from each half and put into the mixture. Heat and stir for a few minutes until the raw cane sugar is dissolved. It should dissolve before the mixture even gets very warm.
- Transfer the mixture to the refrigerator and chill for 2-3 hours at least, or overnight.
- Pour the cold mixture into the prepped ice cream maker and churn until thickened, about 30-35 minutes.
- The ice cream will have a soft-serve texture. If a firmer consistency is desired, transfer the ice cream to an insulated ice cream container and place in the freezer for a few hours. See notes if you don’t have an ice cream container.
- Please let me know if you try this recipe by leaving a rating and a comment!
Notes
If you aren’t using an insulated ice cream container to store the ice cream, then it may become very hard after being in the freezer for a while. To keep ice cream from freezing rock-hard, stir in a couple of tablespoons of vodka after it has chilled in the refrigerator, right before pouring it into the ice cream maker. The alcohol will keep it softer. I don’t find it necessary to do this with the proper storage container, but it’s a great solution if you are storing it in a regular Tupperware!



So easy and absolutely delicious. Will be making this all the time!
You just made my day! I’m really glad you loved it. Thank you so much for the review!
So delicious! The flavor and consistency are perfect!
That makes me ecstatic!! Thanks so much, April!
Tasty!!!!!
SO glad to hear that!!! 🙂
This recipe is unbelievable! You can’t tell it’s a healthier version, it’s SO delicious and the consistency is perfection.
Thank you so much, Jessica! I’m glad it was a hit!! 🙂
Creamy and delicious! Just can’t go wrong with this ice cream recipe. YUM!
I’m so glad you loved it!! Thanks for taking the time to write a review 🙂