This post may contain affiliate links, which means I make a small commission off items you purchase at no additional cost to you. Please read my disclaimer page.
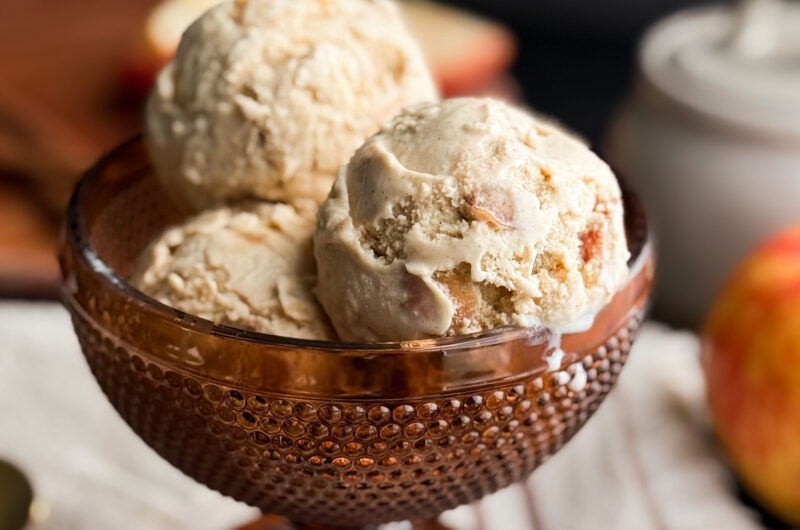
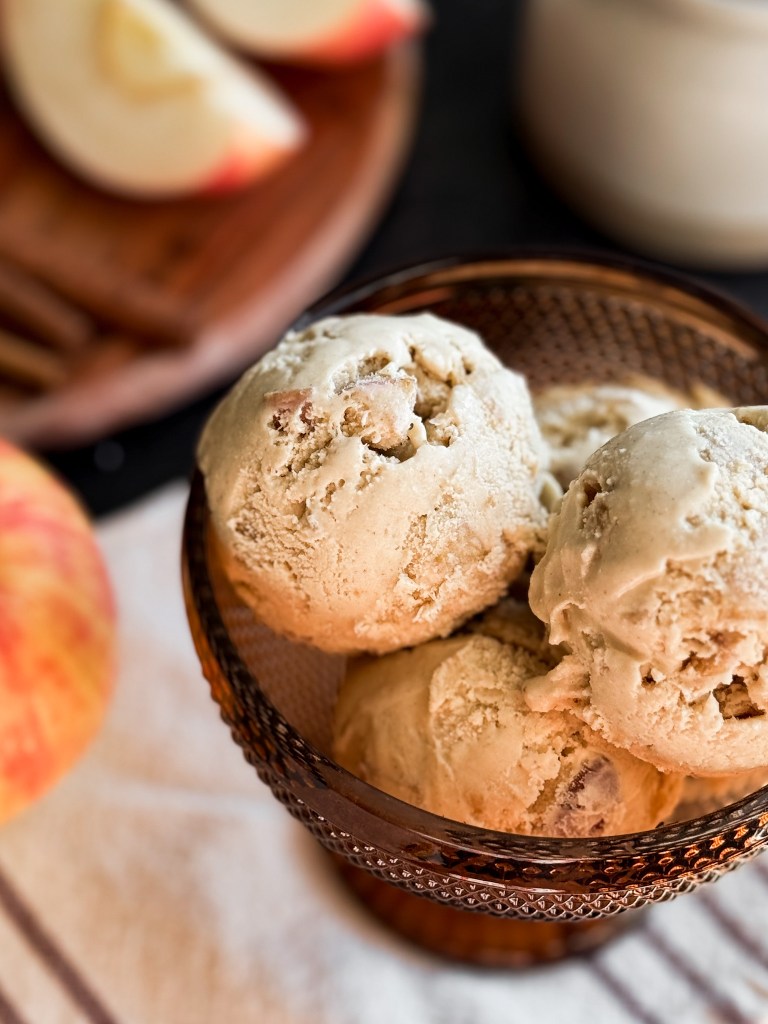
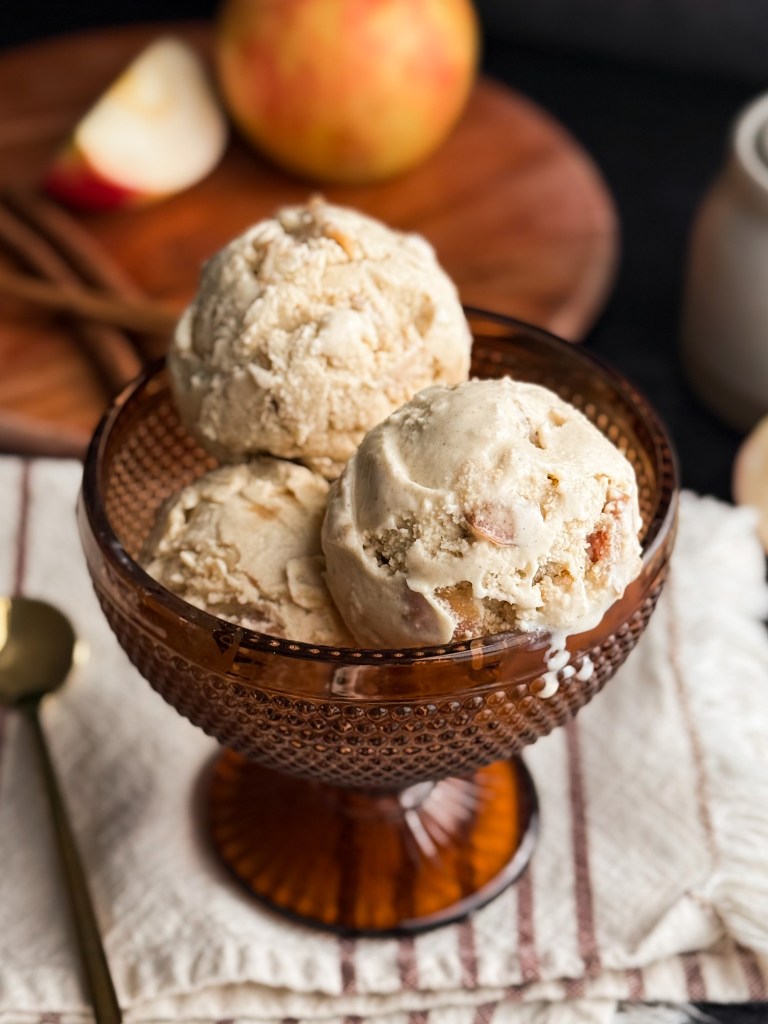
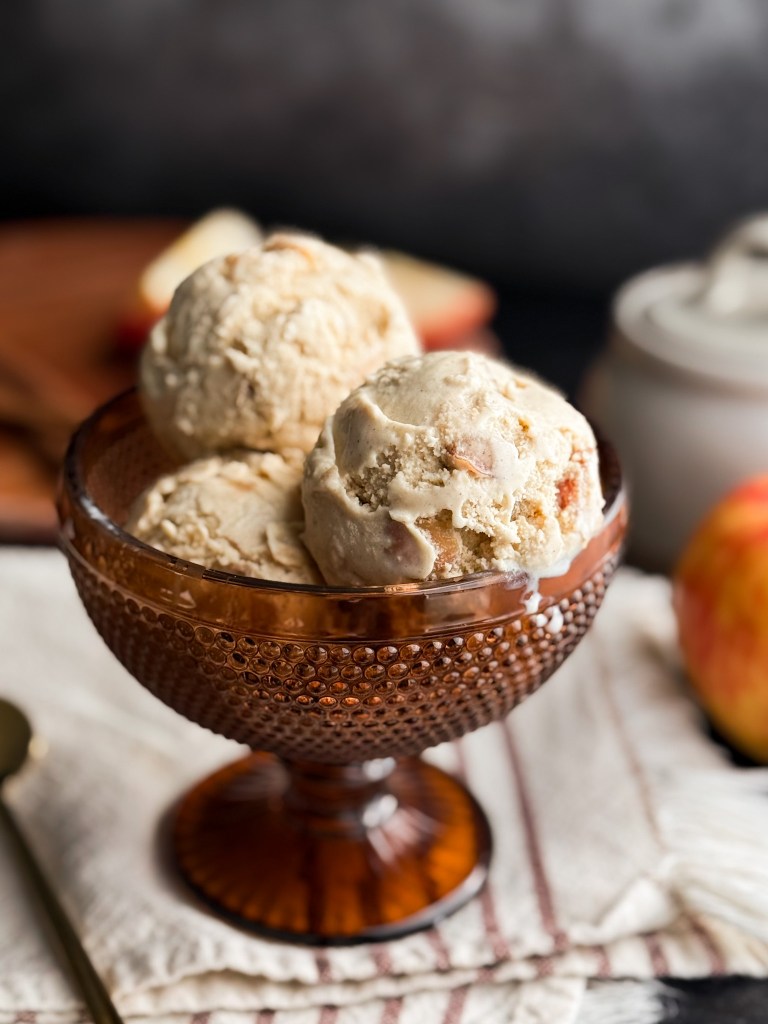
There’s a unique passion that develops when you homemake ice cream – not only is the process SO fun and rewarding, but you start thinking of so many flavor ideas that you’ve never tried before. And not only that, but then you can make it as healthy as you want! I love using real ingredients for my homemade ice cream – aka pure maple syrup, real fruit (not artificial flavors!), and grass-fed dairy from happy cows. This Maple Cinnamon Apple Ice Cream is truly a Fall dream come true. It is cozy, flavorful, and perfect for those looking for something a little more unique!
Some reasons why you’ll love this Healthy Mint Chip Ice cream:
- No refined sugar
- No artificial or natural flavors
- Zero gums or thickeners
- No dyes
- Just real maple syrup, ceylon cinnamon, fresh apples, and all real ingredients!
Nutritional benefits of this recipe
This isn’t all the benefits, but a few of my favorite!
- I always recommend buying grass-fed milk and cream. This ensures you are getting a healthier product (from healthier cows) and you are supporting a more regenerative farm. I love buying from a local farmer or from healthy brands like Kalona Supernatural or Mill-King that are low-heat pasteurized instead of ultra-pasteurized. The lower temps helps preserve many of the enzymes in the milk, which makes it easier to digest.
- Maple syrup is a natural sweetener (from the sap of maple trees) so it’s healthy and also rich in antioxidants and minerals such as manganese, riboflavin, and copper.
- Egg yolks are a good source of fat-soluble vitamins like A, D, E, and K, as well as B vitamins and choline, which is important for brain health. They also contain antioxidants like lutein and zeaxanthin, which are beneficial for eye health.
- Cinnamon is known keep blood sugar balanced, is rich in antioxidants, is anti-inflammatory and anti-microbial. I recommend using Ceylon instead of Cassia/Saigon/Vietnamese because it is up to 250 times lower in coumarin than the other varieties. The product will specify if the cinnamon is Ceylon, but if it just says “cinnamon” then it’s likely Cassia cinnamon like Saigon or Vietnamese cinnamon.
- Apples are rich in fiber, vitamin C, antioxidants, and more.
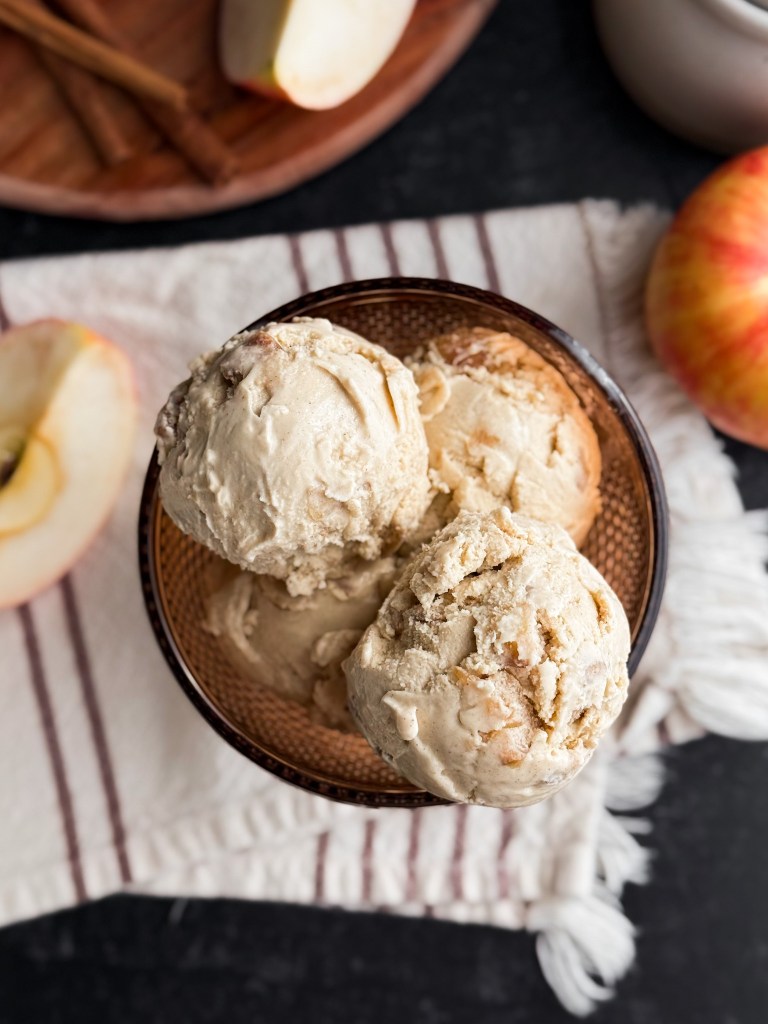
Tools needed for homemade Maple Cinnamon Apple Ice Cream
An ice cream maker – I use the Ice-70 by Cuisinart. I love it!
A large bowl – I prefer using one with a spout on the side to make it easier to pour.
An electric mixer with a whisk attachment
A handheld whisk
An ice cream container for storage. This helps significantly to keep the ice cream the proper texture. You can use a regular freezer-friendly Tupperware, but the ice cream may harden more.
Is making ice cream difficult?
Not at all! It may seem daunting at first, but it’s way easier than you think. Most of the time for the ice cream is just chilling it, so you are only spending about 45 minutes actively working on it.
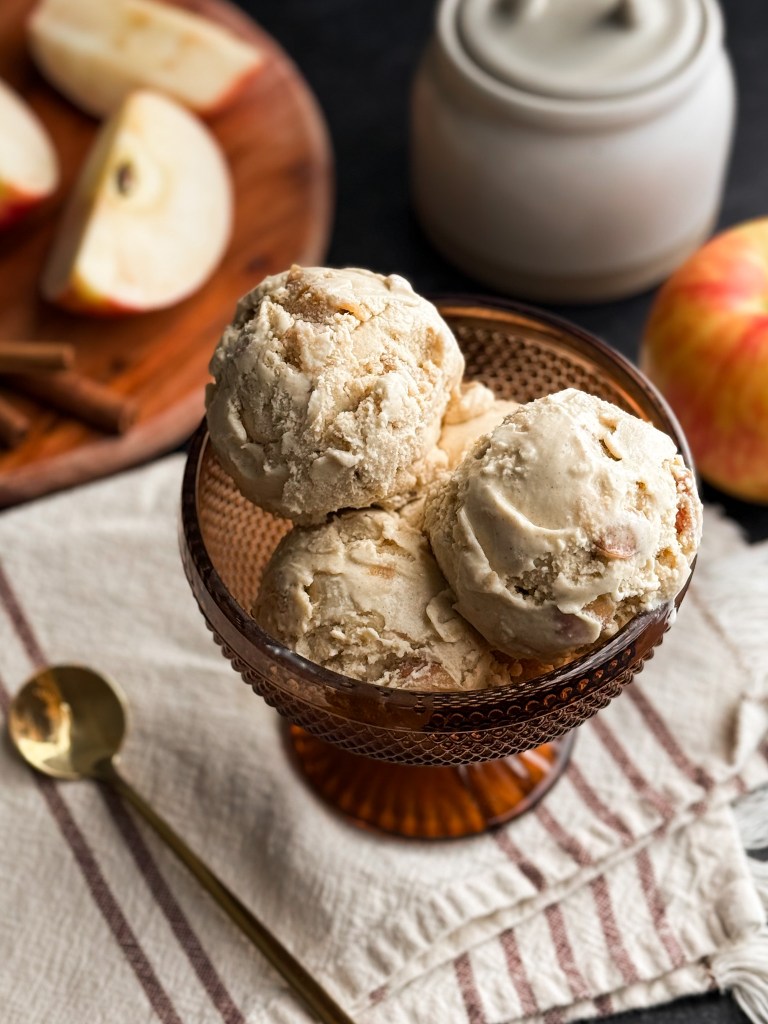
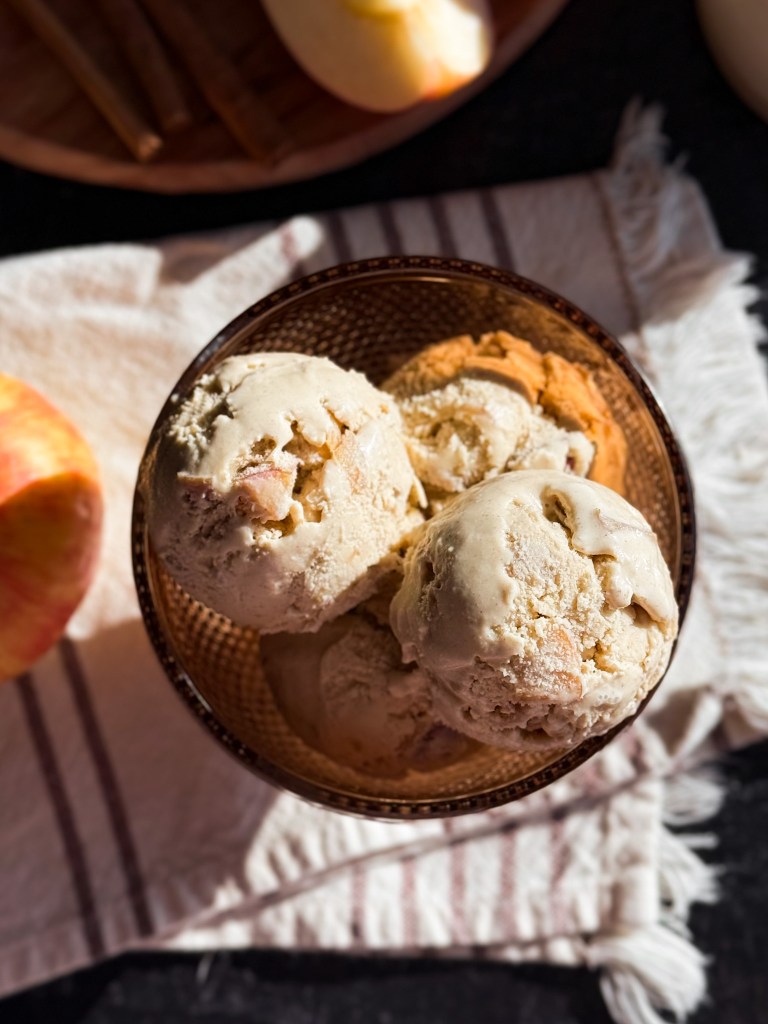
Ingredients for Maple Cinnamon Apple Ice Cream
Grass-fed heavy cream
Grass-fed whole milk
Pure maple syrup
Vanilla extract
Egg yolks – this makes the ice cream extra creamy – it’s essential in my opinion!
Ground cinnamon
Salt
Butter – for sautéing the apples to soften them and reduce their moisture content.
Apples – I used a medium pink lady apple.
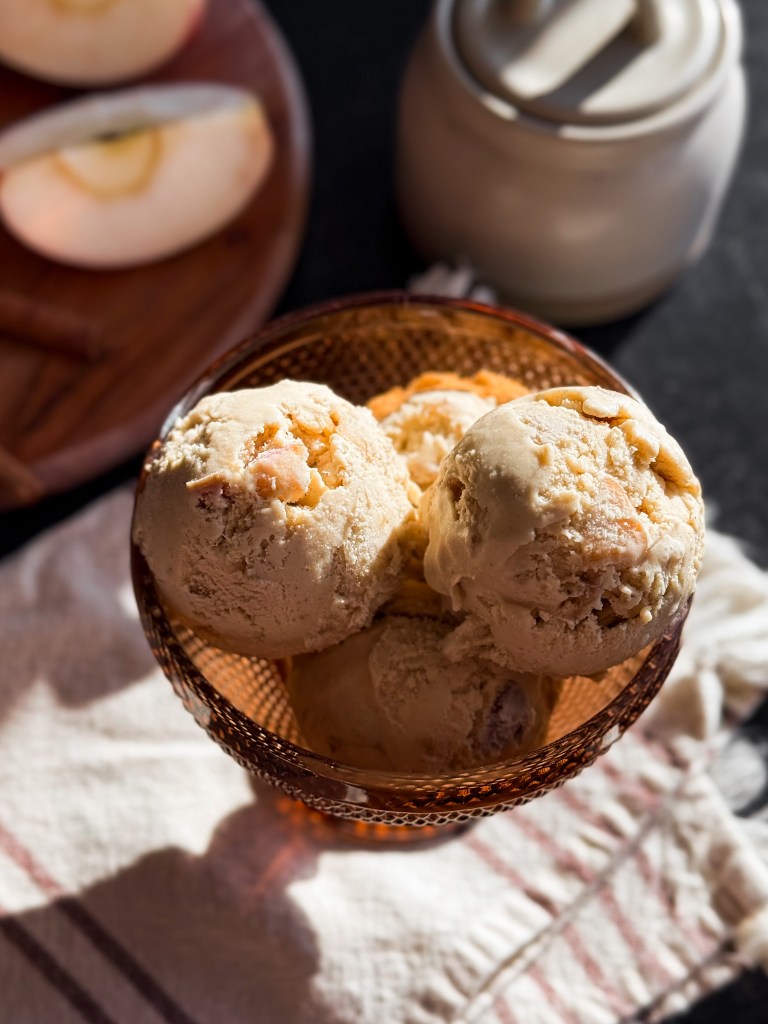
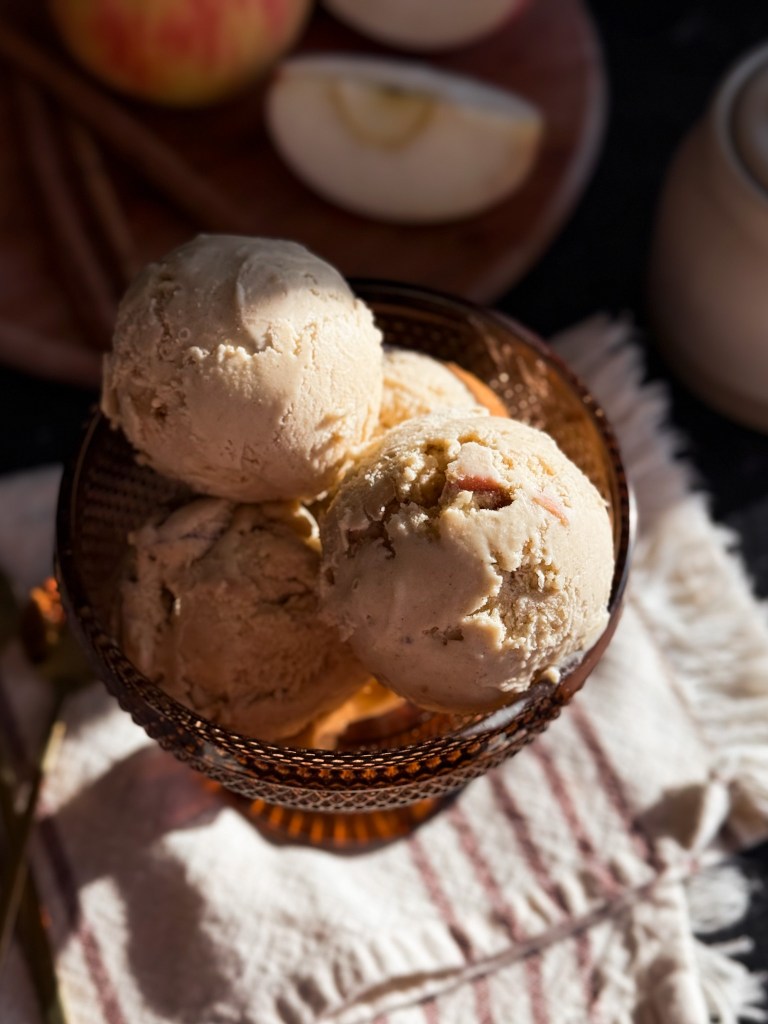
How to make Maple Cinnamon Apple Ice Cream
- Pre-freeze: ***Make sure your ice cream bowl has been frozen for at least 24 hours (this is for the Cuisinart ICE-70 Series).
- Making the ice cream: In a large saucepan, mix together the milk and cream. Heat over medium heat, stirring with a whisk often, until steaming. Do NOT allow a rolling boil.
- In a large bowl using an electric mixer, beat the egg yolks with the maple syrup, ground cinnamon, vanilla extract, and salt until it lightens in color.
- Once the cream/milk mixture is steaming: Using a hand whisk, start whisking the maple syrup mixture and very slowly pour 1/3 of the steaming milk/cream into the bowl. Whisk for a few seconds. Then, while continuing to whisk, slowly pour another 1/3 into the bowl. Then, pour everything back into the saucepan and place over LOW heat on the stove. Stir constantly on low heat for 2 minutes. Do not let it boil or the eggs will overcook.
- Strain: Remove from heat and pour the mixture through a fine mesh sieve into a large bowl. This will remove any pieces of egg that may have overcooked.
Let it chill before churning
- Let it cool: Let it cool at room temperature for an hour. Then place in the refrigerator for 2-3 hours to fully chill.
- Make the apple mixture: I sauté the apples in a pan to reduce their moisture content and soften them. This helps prevent them from freezing solid in the ice cream and being too icy. Dice the apple very small (about 1/4-3/8″, which will also help them not become too icy in the ice cream. Preheat a pan to medium heat with butter. Add the diced apple, 2 Tbsp coconut sugar, and 1/4 tsp of cinnamon. Sauté for about 5-7 minutes. Put in the refrigerator and let it cool fully before adding to the ice cream.
For churning the ice cream:
- Press Ice Cream and then Start/Stop. Pour the mixture through the spout and then cover with the cap. Let mix 25-30 minutes until thickened (or according to your ice cream maker). Add the apples during the last couple minutes of churning.
- You can serve as soft-serve, or transfer the ice cream to an ice cream container and place in the freezer for 3-5 hours to harden before serving.
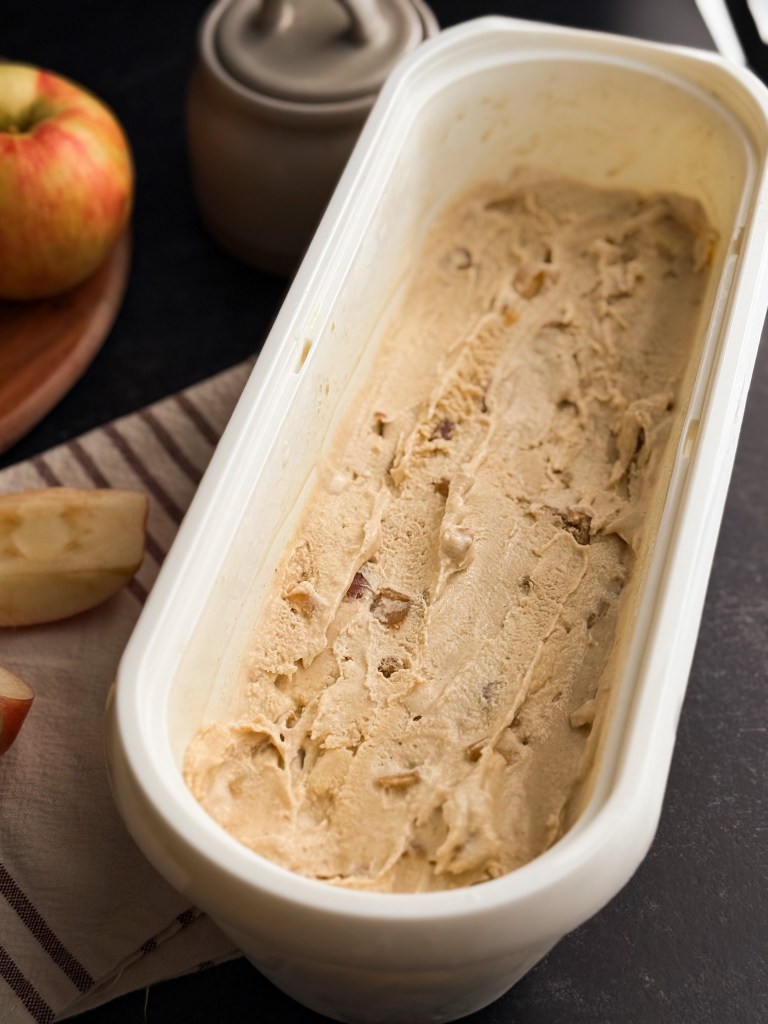
Modifications and variations
- Use apple jam instead of fresh apples for more apple flavor throughout.
- Omit the apples for just a Maple Cinnamon Ice Cream – I absolutely LOVE this version and plan to post it on my website as its own recipe because it’s just that good!
- Substitute coconut sugar in place of the maple syrup if that’s what you prefer! Coconut sugar gives more of a “golden” brown sugar flavor, and it makes the ice cream more of a taupe/brown color instead of cream. It’s absolutely delicious! I do find that coconut sugar is slightly less sweet than maple syrup, so you can increase it to 3/4-1 cup if desired!
Other homemade ice cream recipes you’ll love:
Chocolate Chip Cookie Dough Ice Cream
Mint Chip Ice Cream (with Fresh Mint Leaves!)
Chocolate Cherry Almond Ice Cream
Peach Ice Cream with Maple Caramel Sauce
I hope you love this Maple Cinnamon Apple Ice Cream! Please be sure to leave a comment and a rating if you give this recipe a try. I would LOVE to hear what you think of it!
PrintMaple Cinnamon Apple Ice Cream
- Prep Time: 30 minutes
- Chill time: 3 hours for soft-serve, 8 hours for normal consistency
- Total Time: 4 hours
- Category: dessert, fall
- Method: Churning, ice cream maker
Ingredients
2 1/2 cups grass-fed heavy cream (20oz)
1 cup whole grass-fed milk (8oz)
2/3 cup maple syrup (230g)
1 1/4 tsp ground ceylon cinnamon (2.5g)
1/4 tsp salt (1g)
5 egg yolks
Apple mixture:
1 Tbsp grass-fed butter (14g)
1 medium Pink Lady apple, diced very small about 1/4-3/8″ (150-200g, 1 1/4 – 1 1/2 cup, to preference on how much apple you want) I recommend a lower moisture apple like Pink Lady for less icy texture
2 Tbsp coconut sugar (26g)
1/4 tsp ground ceylon cinnamon
Instructions
Time references: The ice cream takes about 30-40 minutes for initial prep, then 3 hours for chilling (1 hour at room temp, 2 hours in fridge). Then it takes 25 minutes to churn for soft-serve consistency. If you desire it to be classic ice cream texture, then give time for it to harden in the freezer for 3-5 hours after churning.
- Pre-freeze: ***Make sure your ice cream bowl has been frozen for at least 24 hours (this is for the Cuisinart ICE-70 Series).
- Making the ice cream: In a large saucepan, mix together the milk and cream. Heat over medium heat, stirring with a whisk often, until barely steaming. Do NOT allow a rolling boil.
- In a large bowl using an electric mixer, beat the egg yolks with the maple syrup, ground cinnamon, vanilla extract, and salt until it lightens in color.
- Once the cream/milk mixture is steaming: Using a hand whisk, start whisking the maple syrup mixture and very slowly pour 1/3 of the steaming milk/cream into the bowl. Whisk for a few seconds. Then, while continuing to whisk, slowly pour another 1/3 into the bowl. Then, pour everything back into the saucepan and place over LOW heat on the stove. Stir constantly on low heat for 2 minutes. Do not let it boil or the eggs will overcook.
- Strain: Remove from heat and pour the mixture through a fine mesh sieve into a large bowl. This will remove any pieces of egg that may have overcooked.
- Let it cool: Let it cool at room temperature for an hour. Then place in the refrigerator for 2-3 hours or overnight to fully chill.
- Make the apple mixture: I sauté the apples in a pan to reduce their moisture content and soften them. This helps prevent them from freezing solid in the ice cream and being too icy. Dice the apple very small (about 1/4-3/8″, which will also help them not become too icy in the ice cream. Preheat a pan to medium heat with butter. Add the diced apple, 2 Tbsp coconut sugar, and 1/4 tsp of cinnamon. Sauté for about 5-7 minutes. Put in the refrigerator and let it cool fully before adding to the ice cream.
- Churn the ice cream: Press Ice Cream and then Start/Stop. Pour the mixture through the spout and then cover with the cap. Let mix 25-30 minutes until thickened (or according to your ice cream maker). Add the apples during the last couple minutes of churning.
- You can serve as soft-serve, or transfer the ice cream to an ice cream container and place in the freezer for 3-5 hours to harden before serving.
Modifications and variations:
- Use apple jam instead of fresh apples for more apple flavor throughout.
- Omit the apples for just a Maple Cinnamon Ice Cream – I absolutely LOVE this version and plan to post it on my website as it’s own recipe because it’s just that good!
- Substitute coconut sugar in place of the maple syrup if that’s what you prefer! Coconut sugar gives more of a “golden” brown sugar flavor, and it makes the ice cream more of a taupe/brown color instead of cream. It’s absolutely delicious! I do find that coconut sugar is slightly less sweet than maple syrup, so you can increase it to 3/4-1 cup if desired!
- For a lighter ice cream, you can use 2 cups heavy cream and 1 1/2 cups whole milk. Keep in mind it won’t be as creamy.
key words: Maple Cinnamon Apple Ice Cream, cinnamon maple apple ice cream, maple apple cinnamon ice cream, apple ice cream recipe, ice cream recipe using fresh apples, recipes with pink lady apples, recipes with apples, fall recipe ideas, fall ice cream ideas, fall ice cream recipes, fall ice cream, healthy ice cream recipes, healthy homemade ice cream, how to homemake ice cream, healthy recipe for ice cream, grass-fed ice cream recipes, grass-fed ice cream, the best grass-fed ice cream, naturally sweetened ice cream, cuisinart ice cream, refined sugar free ice cream, maple syrup ice cream, ice cream with maple syrup, maple ice cream, cinnamon ice cream, no refined sugar, ice cream with natural sweeteners, healthy dessert, healthy fancy dessert

