This post may contain affiliate links, which means I make a small commission off items you purchase at no additional cost to you. Please read my disclaimer page.
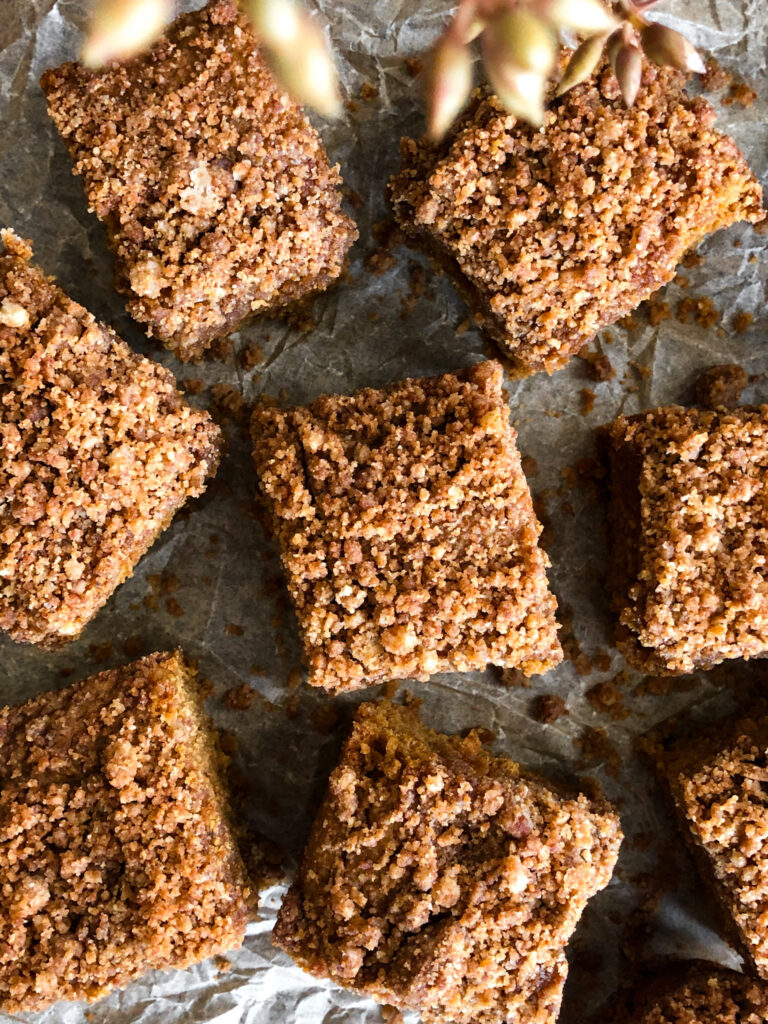
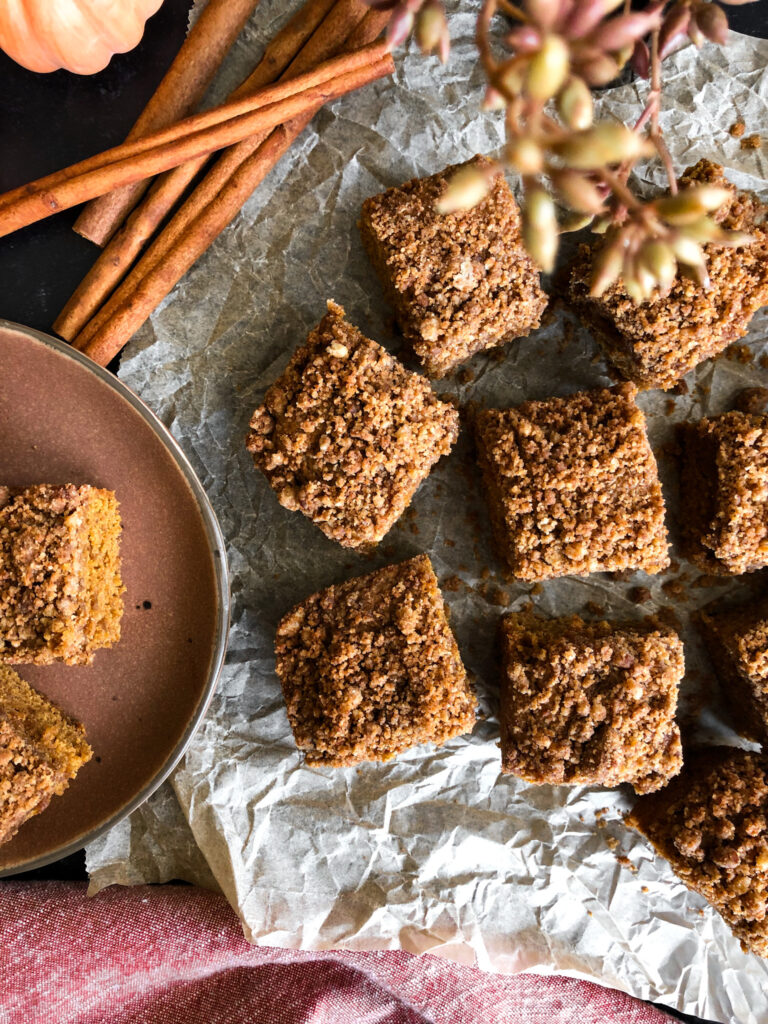
This Pumpkin Crumb Cake is absolutely delicious, refined sugar free, easy to make, and a crowd pleaser. You’ll be craving it all Fall! It’s perfect to make for any get-togethers that you have soon. If you’re not the biggest fan of pumpkin, but are still interested in a healthier crumb cake, then be sure to look at the medications section in this post – I explain how to make it a regular crumb cake with no pumpkin flavor. If you love pumpkin like me, then you’ll be obsessed with this recipe!
Nutritional benefits of this Pumpkin Crumb Cake
- We’re using natural sweeteners in this recipe: Coconut sugar and a tad bit of pure maple syrup. These sweeteners are natural, unrefined, and generally lower-glycemic compared to refined sugars.
- Cashew butter adds healthy fats which make this dessert more satiating and lower glycemic.
- Grass-fed butter is much healthier compared to conventional butter from grain-fed, barn-raised cows. Grass-fed butter is higher in omega-3 fatty acids, conjugated linoleic acid (CLA), Vitamin A, Vitamin K2, and more. Generally, it’s less inflammatory compared to other dairy products from conventional cows. Just think of it this way – butter from a cow that is fed a nutrient-poor diet and therefore inflamed and unhealthy is not the same as a cow that was raised on pastures and living it’s best life, therefore not inflamed or unhealthy.
- I’m a big believer in high-quality flour. I use Sunrise Flour Mill for all my baking because it’s non-GMO, unbleached, properly grown, properly milled, and organic. Wheat products in America are highly sprayed with Glyphosate which is shown to wreak havoc on our gut microbiome. Properly grown and prepped wheat products are not inflammatory, are easier to digest, and are actually nutrient-dense.
Ingredients for Pumpkin Crumb Cake
Pumpkin puree – This is 100% pumpkin, not pumpkin pie filling.
Cashew butter – See my post here about homemaking nut butter – it’s SO much cheaper and super easy to do in just a few minutes! You can also sub almond butter. See “modifications” section to make it nut-free.
Grass-fed butter – Or sub coconut oil or avocado oil for a dairy-free version.
Egg – I used a large egg at room temperature.
Heritage flour – I use a heritage flour from Sunrise Flour Mill, but any wheat flour should work.
Coconut sugar – Or use granulated date sugar.
Pure maple syrup – For moisture and a tad more sweetness. You can omit, or substitute date syrup.
Vanilla extract – Optional. Adds more flavor and depth.
Baking soda
Pumpkin pie spice
Salt
Method
- Preheat the oven to 325ºF and oil an 8×8 ceramic baking dish with avocado oil or butter. I used ceramic for this recipe, so use that if you have it. If using metal, it may be done quicker so be sure to check on it at the 25-30 minute mark. If using glass, you may need to cook it longer or the center may turn out gooey.
- In a large bowl, mix the wet ingredients until thoroughly combined.
- In a medium bowl, mix together the dry ingredients.
- Add the dry ingredients to the wet ingredients and fold together with a spatula.
- Transfer the batter to the prepped baking dish and flatten out with the spatula.
- In a small bowl, mix together the crumb ingredients with a fork until a crumb forms.
- Sprinkle the crumb mixture on top.
- Bake for 37-40 minutes until a toothpick comes out mostly clean. Check sooner than this if your oven runs hot.
- Let it cool in the pan for an hour before slicing! I know it’s a long wait, but it’s worth it. It’ll continue cooking slightly and the texture will set better. Slice into 16 pieces.
- Store leftovers covered at room temperature for 1-2 days, then transfer to the refrigerator to store in an airtight container for up to 4 days. You can also freeze the pieces individually tightly wrapped and in a freezer-friendly container for up to 3 months – thaw at room temperature when ready to eat or warm in the oven for a few minutes.
- Be sure to leave a comment and rating! Thank you so much for your support <3
Equipment needed
8×8 ceramic baking dish – I prefer ceramic for this recipe because it helps create a more moist center. If using metal, it may be done quicker so be sure to check on it at the 25-30 minute mark. If using glass, you may need to cook it longer or the center may turn out gooey rather than moist (which is great if you prefer that!).
Mixing bowls
Spatula
Modifications
- If you don’t want it pumpkin flavored, just omit the pumpkin pie spice then substitute the pumpkin puree for either sour cream or greek yogurt. Coconut yogurt will also work here. Just make sure you’re not using a super thin, runny yogurt.
- To make this recipe dairy free: Replace the grass-fed butter with avocado oil or coconut oil.
- To make this recipe nut free: You have a few options: 1) You can omit the cashew butter if you want, and the cake will be more fluffy and less moist/dense. You’ll also want to bake it for a shorter period of time – start with 25 minutes and go from there. 2) Another option is to substitute pumpkin seed butter, but just be aware that the color of the crumb cake will be different since pumpkin seed butter is green. Don’t do this if you are also allergic to seeds. 3) You can substitute 1/4 cup sour cream or yogurt in place of the cashew butter to keep some of the moisture but make it nut-free. You can use a thick, dairy-free yogurt too if dairy-free.
What’s the texture and flavor of this Pumpkin Crumb Cake?
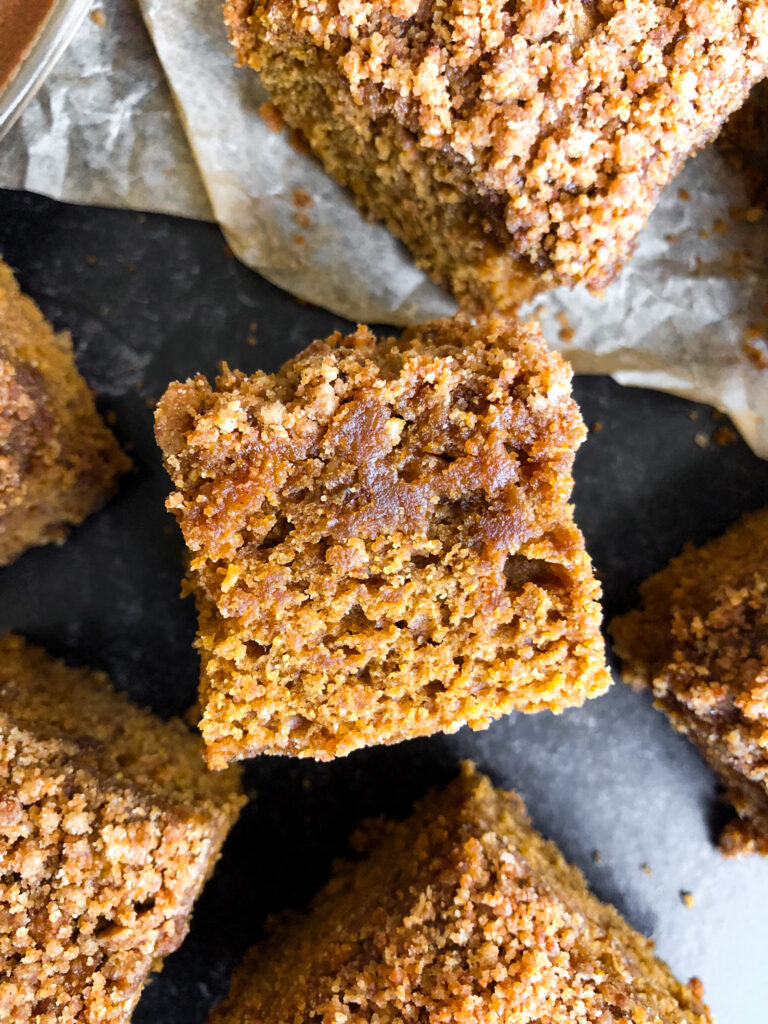
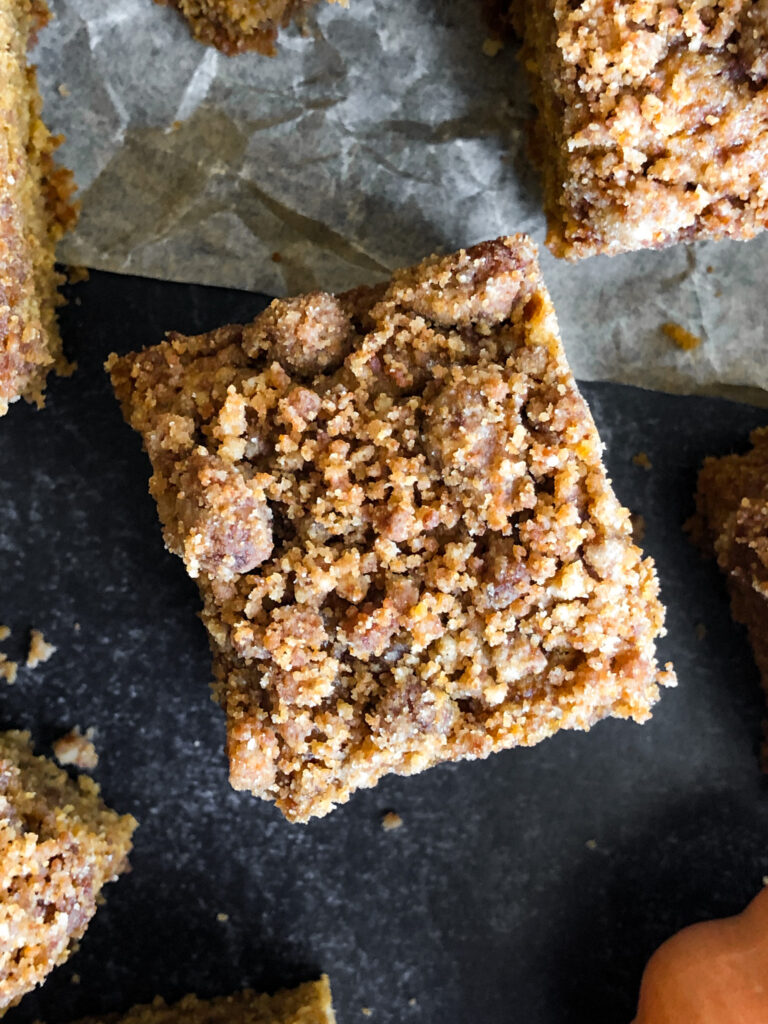
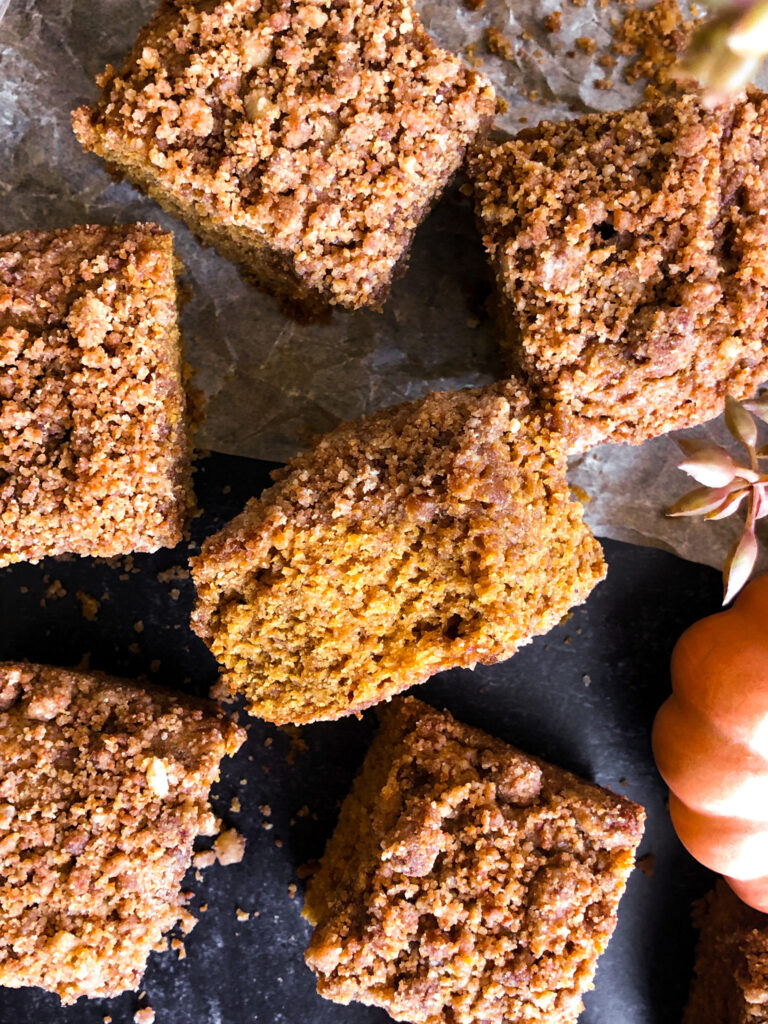
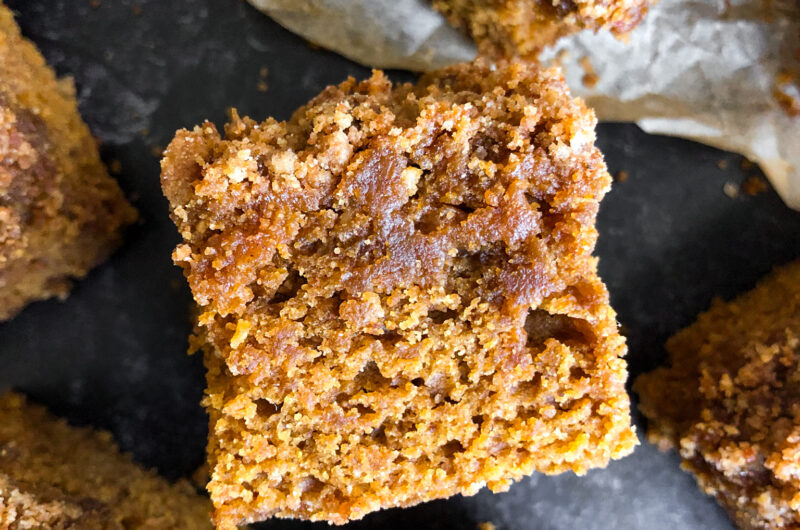
This Pumpkin Crumb Cake is fluffy, dense, and moist all at the same time. The topping gives it a delicious sweet buttery crumb texture with a bit of crunch, while the cake portion itself is soft. The flavor is the perfect amount of pumpkin – it’s noticeable but not overpowering. It also tastes sweet, buttery, and slightly nutty from the cashew butter.
Using homemade cashew butter
You can use store-bought cashew butter, or homemake it yourself to save some money. I almost always use homemade nut butters for my recipes because it’s super easy to make, and saves lots of money. You can see my post here about how to homemake nut butter. Cashew butter in particular seems to be expensive at the grocery store, so homemaking it can come in handy for recipes like this!
Other pumpkin-inspired recipes you’ll love
Pumpkin Bread with Pecan Streusel
Pumpkin Muffins with Coconut Sugar
Oat Flour Pumpkin Bread (gluten-free)
I hope you love this Pumpkin Crumb Cake! Please be sure to leave a comment and rating if you try this recipe. It helps my website more than you know, and I truly love hearing from you!
PrintPumpkin Crumb Cake (no refined sugar)
- Prep Time: 20 minutes
- Cook Time: 40 minutes
- Total Time: 1 hour
- Yield: 16 1x
- Category: Dessert
- Method: oven
Ingredients
Wet:
1/2 cup natural cashew butter, just cashews and salt (or almond butter) (135g)
1/2 cup 100% pumpkin puree (120g)
2 Tbsp pure maple syrup (40g)
4 Tbsp salted grass-fed butter, melted (58g)
1 large egg, room temperature
2 tsp pure vanilla extract
Dry:
1 1/4 cup heritage white flour, spooned and leveled (175g) – I use Sunrise Flour Mill
1 cup coconut sugar (170g)
2 tsp pumpkin pie spice
1/4 tsp baking soda
1/4 tsp salt
Crumb topping:
2 Tbsp grass-fed butter, melted (28g)
1/3 cup heritage white flour (45g) – I use Sunrise Flour Mill
4 Tbsp coconut sugar (42g)
1/4 tsp ground cinnamon
Pinch of salt
Instructions
- Preheat the oven to 325ºF and oil an 8×8 ceramic baking dish with avocado oil or butter. I used ceramic for this recipe, so use that if you have it. If using metal, it may be done quicker so be sure to check on it at the 25-30 minute mark. If using glass, you may need to cook it longer or the center may turn out gooey.
- In a large bowl, mix the wet ingredients until thoroughly combined.
- In a medium bowl, mix together the dry ingredients.
- Add the dry ingredients to the wet ingredients and fold together with a spatula.
- Transfer the batter to the prepped baking dish and flatten out with the spatula.
- In a small bowl, mix together the crumb ingredients with a fork until a crumb forms.
- Sprinkle the crumb mixture on top.
- Bake for 37-40 minutes until a toothpick comes out mostly clean. Check sooner than this mark if your oven runs hot.
- Let it cool in the pan for an hour before slicing! I know it’s a long wait, but it’s worth it. It’ll continue cooking slightly and the texture will set better. Slice into 16 pieces.
- Store leftovers covered at room temperature for 1-2 days, then transfer to the refrigerator to store in an airtight container for up to 4 days. You can also freeze the pieces individually tightly wrapped and in a freezer-friendly container for up to 3 months – thaw at room temperature when ready to eat or warm in the oven for a few minutes.
- Be sure to leave a comment and rating! Thank you so much for your support <3
Notes
- If you don’t want it pumpkin flavored, just omit the pumpkin pie spice then substitute the pumpkin puree for either sour cream or greek yogurt. Coconut yogurt will also work here. Just make sure you’re not using a super thin, runny yogurt.
- To make this recipe dairy free: Replace the grass-fed butter with avocado oil or coconut oil.
- To make this recipe nut free: You have a few options: 1) You can omit the cashew butter if you want, and the cake will be more fluffy and less moist/dense. You’ll also want to bake it for a shorter period of time – start with 25 minutes and go from there. 2) Another option is to substitute pumpkin seed butter, but just be aware that the color of the crumb cake will be different since pumpkin seed butter is green. Don’t do this if you are also allergic to seeds. 3) You can substitute 1/4 cup sour cream or yogurt in place of the cashew butter to keep some of the moisture but make it nut-free. You can use a thick, dairy-free yogurt too if dairy-free.




This cake was delicious! Very moist! I substituted sour cream for nut butter because I was out and it worked very well. My family loved it as well. A new favorite in our book.
I’m so glad substituting sour cream worked for you! Thanks so much for the sweet review. Glad to hear your family loved it as well 🙂
Wow!! I am obsessed with this recipe! I used Bob’s Red Mill gluten free flour and it turned out great! I didn’t have any cashew butter on hand, so I just put all of the wet ingredients into a blender with 135g of cashews and it was perfect. I love that Christine has the weight measurements – so much easier and precise! I made this for breakfast for a 3, 6, 7, and 9 year old and we all loved it! It keeps well in the fridge and tastes soooo yummy warmed up a bit! Thank you for another perfect recipe!
That’s so great to know that Bob’s Red Mill gluten-free flour works for this recipe!! Thanks so much for trying it out and leaving a review! I love your idea of blending the cashews with the wet ingredients – that makes it so easy! And that’s amazing that the kiddos loved it so much too! 🙂
I really am enjoying this cake. I made a double batch! My husband who is not typically a pumpkin fan loves this cake just as much as I do. It has the perfect amount of pumpkin to spice ratio for him. Bonus is that it’s made with healthier ingredients, so I don’t feel guilty eating cake.
Ahh yay!! I’m glad the flavor was perfect for your husband and that you’re both enjoying it so much.
The pumpkin crumb cake was delicious! I loved the moist texture of the cake with the mix of crunchy from the crumbs on the top. Bonus is the clean ingredients! Can’t wait to make it and eat it again!
Sooo glad you enjoyed it 🙂 Thanks so much for taking the time to leave a review!
I have not made it personally, but tried some of Christine’s and it is super yummy! A great sweet and pumpkin balance! Could be a great fall staple!
Ahh yay, beyond glad you loved it! Always gotta have a pumpkin fall staple!
Absolutely love the pumpkin crumb cake! It was so moist and just delicious. I always love pumpkin items in the fall and this one certainly didn’t disappoint. Also love the fact that it’s a healthy too!
I’m so happy you loved it, Sherry!! Thanks so much for the sweet review 🙂
Pingback: Recipe of the Month *Giveaway* » Home Cooked Living