As a nutritionist who’s passionate about healthy and delicious eating, I’m always on the lookout for new ways to incorporate fresh, whole foods into my diet. That’s why I’m so excited to share my recipe for homemade mango popsicles with you today! These popsicles are not only delicious and satisfying, but they’re also packed with nutrients that your body (and taste buds!) will love.
So whether you’re looking for a healthy snack to enjoy on a sunny afternoon or a fun dessert to share with friends, these mango popsicles are sure to hit the spot. They are also perfect for kids because they would never know that these popsicles are healthy – they are a great recipe to swap out for the store bought popsicles that tend to be full of refined sugar, artificial flavors (even if they claim to be natural!), and other unnecessary ingredients. So let’s get started and make some magic happen in the kitchen!
Are they difficult to make?
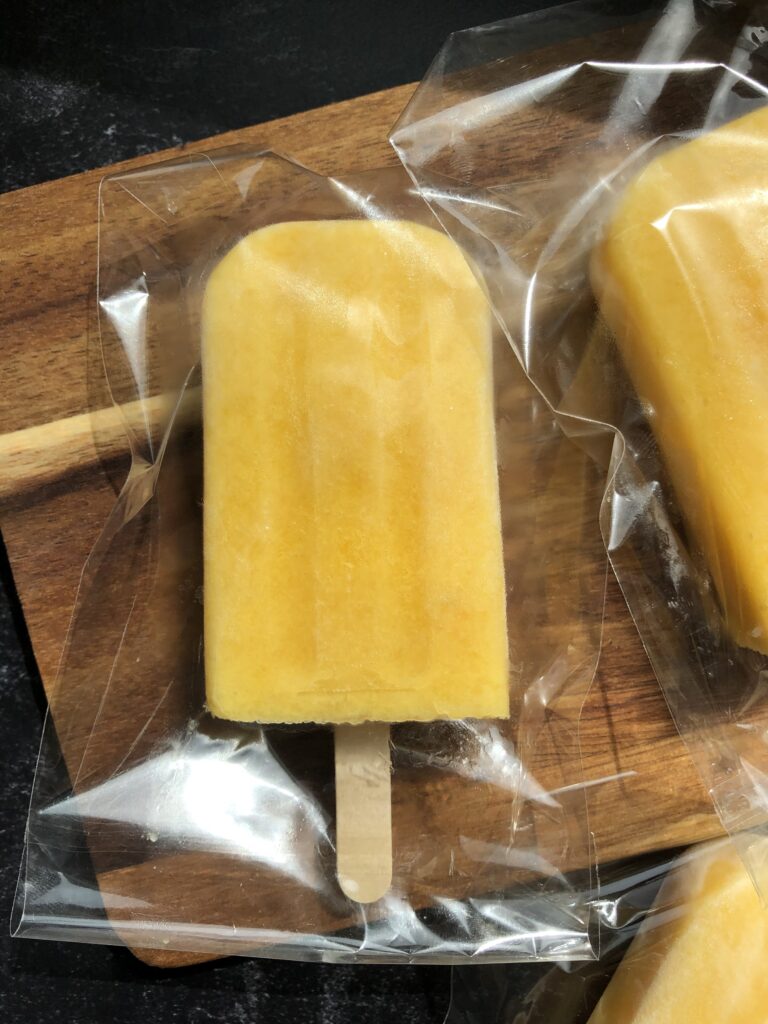
Not at all! They only take about 10-15 minutes to whip together then you just have to wait for them to harden in the freezer! If you make them in the morning, then you’ll have delicious popsicles ready to eat after dinner. Something that definitely makes these popsicles easier to make is to have a proper popsicle kit. I bought one specifically to try homemaking popsicles because they’re such a refreshing treat during the spring and summer. I loved it way more than I thought I would! I didn’t realize it also came with little individual wrappers to put the popsicles in. It makes it so easy to store them because they won’t stick together and because they’re so easy to grab out of the freezer. It also makes them feel more authentic, like they’re from the store!
Popsicle kit
This popsicle kit that I used made the project very easy. It has everything you need:
- Popsicle molds (the perfect amount for this recipe),
- Food-grade popsicle sticks
- Plastic storage bags to wrap each individual popsicle if desired (makes it super easy to store for a grab and go dessert)
- It also comes with a cleaning brush for the popsicle mold. I actually find that it’s still easy to clean it without the brush though!
What is canned coconut milk?
Canned coconut milk is NOT the same as the jugs of coconut milk you find in the refrigerated section of plant-based milks. Canned coconut milk is much creamier. It’s actually not refrigerated and it’ll typically be found in the Asian food section.
What’s the difference between “lite” and “classic” canned coconut milk?
The lite canned coconut milk has more water added and is therefore lower fat, and less creamy. I actually used lite coconut milk for this recipe and it turned out great! However, if you want the creamiest version of the popsicles, then you can use the classic, or full-fat, canned coconut milk. Keep in mind the full-fat version will give a stronger coconut flavor than the lite version.
Can I sub almond milk or oat milk for the canned coconut milk?
Technically you can but I don’t recommend it because it’ll likely create an “icy” popsicle rather than a more creamy popsicle. Those milks are much more watery than canned coconut milk which is creamy. If you don’t like coconut flavor, then I recommend substituting full-fat cows milk. If you’re dairy free but still don’t want to use canned coconut milk, then you can try using a plant-based milk but I would decrease the amount to 3/4 cup and add 1/2-1 cup of dairy-free creamy yogurt. I have not tested this yet so play around with it!
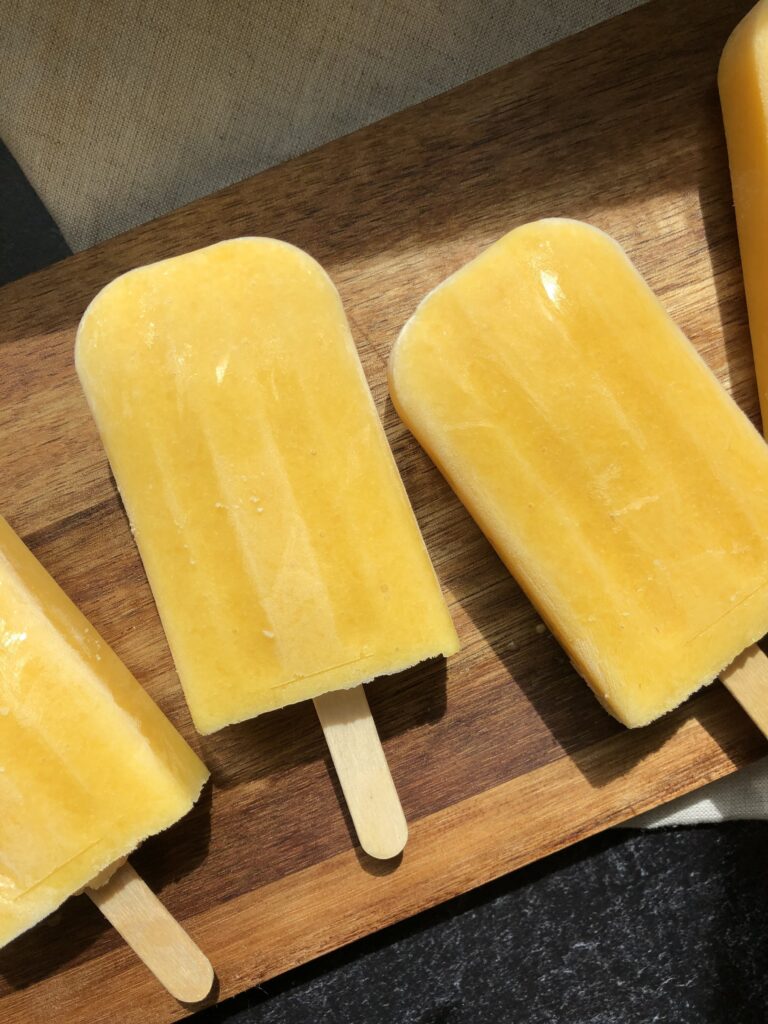
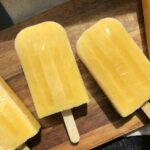
Super Easy Mango Popsicles
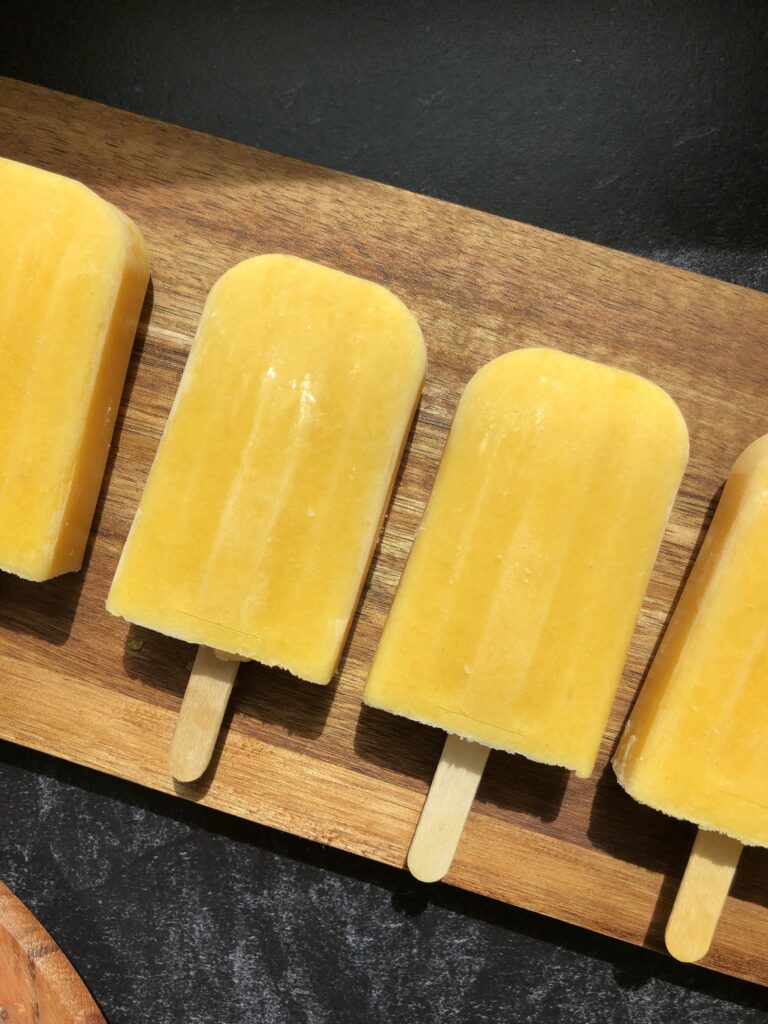
These popsicles are such a treat! The flavor is on point and they have the perfect amount of sweetness. They only take 10-15 minutes to whip together! If you make them in the morning, then you’ll have delicious popsicles ready to eat after dinner.
- Prep Time: 15 minutes
- Freeze Time: 6+ hours
- Total Time: 6 hours 15 minutes
- Yield: 12 popsicles 1x
- Category: Dessert
- Method: Freezer
Ingredients
2 ripe mangos, peeled and cubed
1 can (14.5oz) of coconut milk* (see notes)
1/4 cup honey (optional)
1/2 lime, juiced
1/2 tsp vanilla extract
Several pinches of salt
Instructions
- Put all ingredients into a blender and pulse until desired consistency. I recommend blending until mostly smooth but leaving some little mango pieces because it adds a nice texture when eating the popsicles.
- Pour into popsicle molds, insert a food-grade popsicle stick into each one, and freeze for at least 6-8 hours. I left mine until the next day.
- Remove from molds once completely hardened and wrap in the popsicle wrappers. Store in the freezer.
- Best flavor when eaten within a month.
- Please leave feedback and your review if you made this recipe, this helps me tremendously! Thanks!
Notes
*Keep in mind canned is different from the coconut milk you buy in cartons that are next to other milks. Canned coconut milk is creamier. Also be sure to shake it up before opening the can if using a full-fat version.
You’ll likely find the canned coconut milk in the Asian food section. I used the “lite” version, but you can use the full-fat version if you want it even creamier (seriously delicious!). The full-fat will have a stronger coconut flavor.





Pingback: Cherry Lime Popsicles » Home Cooked Living
Delicious and so easy! Made it a fun summer activity with my kids and they had so much fun and absolutely loved them!
Awwh that makes me so happy!! It’s definitely a fun summer activity, and I’m glad your kids loved them!!