This post may contain affiliate links, which means I make a small commission off items you purchase at no additional cost to you. Please read my disclaimer page.
Homemade ice cream will always win over store-bought ice cream. It’s fresh. It’s perfectly creamy. It’s customizable. It’s everything you could ask for. Wouldn’t you agree that’s the best kind of ice cream? I sure believe it is, and this Gingerbread Ice Cream is the perfect example.
I made this recipe a couple times to perfect it and let me tell you, the second batch came out better than I could imagine. I changed a few small things that made a huge difference! This ice cream will be the perfect Christmas treat or general wintertime dessert, because of course you can eat it any day you would like (I will be eating it every day for the next month fyi…). So let’s get into the recipe!
Is making ice cream difficult?
Not at all! It may seem daunting at first, but it’s way easier than you think. Most of the time for the ice cream is just chilling it, so you are only spending about 30 minutes or so actively working on it.
What tools are needed to homemake ice cream?
An ice cream maker – I use the Ice-70 by Cuisinart. I have no complaints about it whatsoever!
A large bowl – I prefer using one with a spout on the side to make it easier to pour.
A whisk, or if doing the egg yolk method it would be much easier with an electric mixer with a whisk attachment
A large saucepan – you’ll only need this if you choose to put egg yolks in the ice cream. The yolks make it thicker and creamier, but they’re totally optional. Read the post for instructions on how to omit the yolks.
Insulated ice cream container for storage. This helps significantly to keep the ice cream the proper texture. You can use a regular freezer-friendly Tupperware, but the ice cream will harden more.
Ingredients
Milk
Heavy cream – Makes it thicker and more rich.
Vanilla extract – for depth in flavor
Egg yolks – makes it extra creamy and thick. You can omit the egg yolks if desired. See later in the post for instructions on how to.
Spices – ground ginger, ground cinnamon, and salt are all you need for this delicious dessert!
Method
There may seem to be a lot of complicated steps, but it’s really not difficult! I just described each step thoroughly for you to have the best turnout. These steps are also listed on the recipe card at the end of the page.
- Make sure your ice cream bowl has been frozen for at least 24 hours (this is for the Cuisinart ICE-70 Series). You can also pre-freeze the container you plan to put the ice cream in if you want. I use this insulated ice cream container and it’s the best! It helps keep a perfect ice cream texture, rather than freezing too hard.
- In a medium saucepan over medium heat, whisk together the milk, cream, vanilla, salt, and 3/4 cup of the coconut sugar. Bring to a slight boil. This will take 10 or so minutes, so continue to the next step. Be sure to keep an eye on it though because you don’t want it to boil for long.
- In a large bowl with an electric mixer using the whisk attachment, combine the egg yolks, ginger, cinnamon, and the remaining 1/2 cup of coconut sugar. Whisk until it is fluffy and lightens in color. You can also do this by hand but it will take longer.
- Once the cream/milk mixture has come to a slight boil, turn the heat down to low.
- Pour 1/3 of the hot mixture into the egg/sugar mixture and whisk together. (you add just a little at a time because you don’t want it to overcook the egg yolks). Add another 1/3 and whisk in, then pour it all back into the saucepan. Using a wooden spoon, stir the mixture constantly over low heat for two minutes until it thickens slightly and coats the back of the spoon. DO NOT boil the mixture or the egg yolks will overcook and curdle.
- Let it cool at room temperature for an hour then cover and place in the refrigerator for at least 5 hours or overnight.
- Remove from the refrigerator and pour the mixture through a fine mesh strainer.
- Press Ice Cream and then Start/Stop. Pour the mixture through the spout and then cover with the cap. Let mix until thickened. I like to mix mine for 30-35 minutes. During the last few minutes, add in the cookie pieces and let it mix in.
- The ice cream will have a soft, creamy texture. If a firmer consistency is desired, transfer the ice cream to an insulated ice cream container and place in the freezer for a couple hours. See notes if you don’t have an ice cream container.
- Please let me know if you try this recipe by leaving a rating and a comment!
Method for yolk-free ice cream
You’ll be happy to hear that it’s significantly easier to make ice cream without the yolks! The prep is only a few minutes as opposed to about 30 minutes. The yolks add a wonderful texture to the ice cream because it makes it thicker and creamier, but they’re optional. Here are the instructions for making this ice cream recipe yolk-free:
- In a large bowl, whisk together the milk, cream, vanilla extract, ground ginger, ground cinnamon, and salt.
- Cover and place in the refrigerator for at least 2 hours, or overnight.
- Whisk together again just before pouring into the ice cream maker.
- Follow the instructions for the specific ice cream maker you have. For the Ice-70, you’ll press the ice cream button, then the start/stop button, then slowly pour the mixture through the top. Cover and let it churn 25-30 minutes.
- At the last two minutes, add the gingerbread cookie pieces to let it blend in.
- The ice cream will be a thick soft-serve type texture right off the bat, if you want it harder, then transfer the ice cream to an insulated container and store in the freezer for 5-6 hours or overnight.
- Keep it stored in the ice cream container in the freezer for up to 3 months.
Modifications
- Increase the ground ginger if you love a super strong ginger flavor. The first time I made the ice cream, I put a bit too much ginger. It was still delicious though! I had guests over at the house and they all said they loved it, but I still opted for less ginger on my second try. I personally love the more mild ginger flavor, but if you love it strong, then feel free to add more. Also, keep in mind that you can add more at the end of the churning, so give it a taste before adding more.
- You can add a hint of other spices such as allspice, nutmeg, and cloves. Flavor it to your liking!
- This recipe calls for egg yolks to make it extra creamy and rich, but feel free to omit them if desired. Read further above in the post for instructions on how to omit them.
What’s the texture of the ice cream?
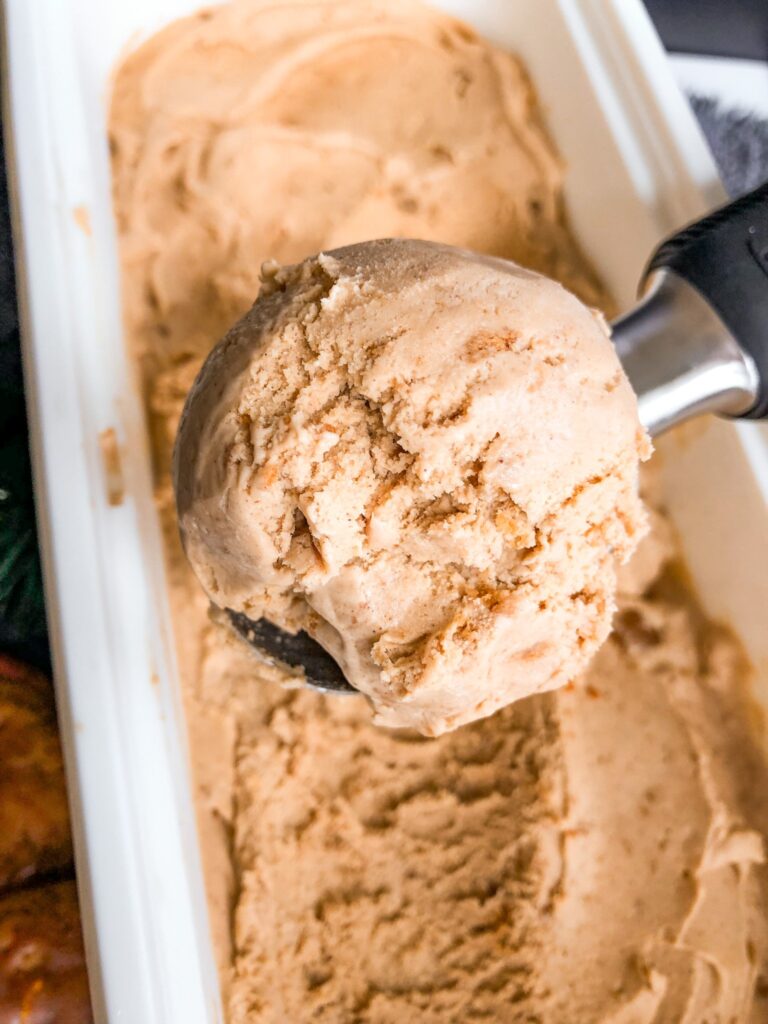
This ice cream is thick, creamy, and decadent. The texture mimics traditional ice cream, so you don’t need to worry about losing out on that! Keep in mind though, when it’s first done in the ice cream maker, it’s on the softer side (think soft-serve). If you want it harder, then remember to leave time to transfer it to an insulated ice cream container and store in the refrigerator for 5-6 hours or overnight for it to harden to the same texture as traditional store-bought.
How to always make the best homemade ice cream
- Be sure to follow the directions on the recipe card to a T for the best turnout.
- Freeze the ice cream bowl for several days, or at least 24 hours before making the ice cream.
- Use an insulated ice cream container for storage. This keeps it a much better texture than using another container that’s not designed for ice cream.
- Place the insulated ice cream container in the freezer several days before, or at least 24 hours before making the ice cream to create a better environment for the ice cream.
- Use egg yolks if you like a thick, creamy ice cream. If you prefer a lighter ice cream, then omit the egg yolks.
- Keep in mind, the ice cream is more of a soft-serve after it is done churning – this is totally normal. You can eat it this way if you would like, but you can also place it in the insulated ice cream container and put it in the freezer for at least 6 hours or overnight for it to harden to true ice cream texture.
Do I have to add the gingerbread cookies?
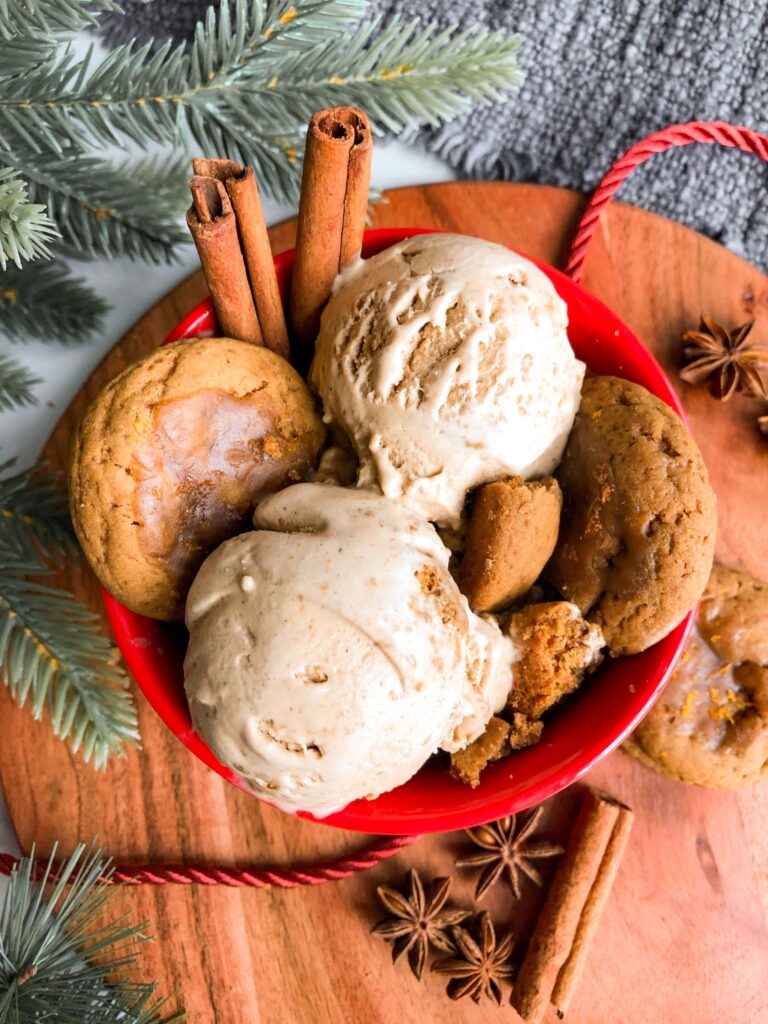
No you don’t, but they bring the ice cream to the next level! You’ve got plenty of time to make them while the ice cream is cooling before it goes into the ice cream maker. You won’t regret it! You can also use store-bought cookies as well, but I would be sure to by soft cookies for the best texture in the ice cream.
Other recipes you’ll love:
Another ice cream recipe I’ve posted:
Peach Ice Cream with Maple Caramel Sauce
Other Christmas recipes I’ve posted:
Soft Gingerbread Cookies with Orange Glaze (use these cookies for the Gingerbread Ice Cream!)
Gingerbread Muffins with Streusel
Mini Charcuterie Gingerbread Muffins
Baked Pears with Pecan Crumble
Chocolate Peppermint Truffles (gf, df)
Sweet Almond Cookies (gf)
Maple Cinnamon Oatmeal Cookies (gf, df)
Let me know what other Christmas season recipes you would like to see on my website! You can leave a comment on the post or shoot me an email!
Please be sure to leave a comment and a rating on this post / recipe card. It helps me significantly. Your support is what allows me to keep creating content for you, so I can’t express how much I appreciate it!
PrintGingerbread Cookie Ice Cream
- Prep Time: 15 minutes
- Inactive Time: 5 hours or overnight (for cooling)
- Total Time: 0 hours
- Yield: 10 servings
- Category: Dessert
- Cuisine: American
Ingredients
2 cups whole milk (16 oz)
2 1/2 cups heavy cream (20 oz)
1 1/4 cup dark brown coconut sugar (225g)
2 tsp ground ginger
1 1/2 tsp ground cinnamon
1/4 tsp salt
1 1/2 tsp pure vanilla extract
4 large egg yolks
Cookie pieces
1 heaping cup gingerbread cookie pieces (6 cookies) See recipe here
Instructions
- Make sure your ice cream bowl has been frozen for at least 24 hours (this is for the Cuisinart ICE-70 Series). You can also pre-freeze the container you plan to put the ice cream in if you want. I use this insulated ice cream container and it’s the best! It helps keep a perfect ice cream texture, rather than freezing too hard.
- In a medium saucepan over medium heat, whisk together the milk, cream, vanilla, salt, and 3/4 cup of the coconut sugar. Bring to a slight boil. This will take 10 or so minutes, so continue to the next step. Be sure to keep an eye on it though because you don’t want it to boil for long.
- In a large bowl with an electric mixer using the whisk attachment, combine the egg yolks, ginger, cinnamon, and the remaining 1/2 cup of coconut sugar. Whisk until it is fluffy and lightens in color. You can also do this by hand but it will take longer.
- Once the cream/milk mixture has come to a slight boil, turn the heat down to low.
- Pour 1/3 of the hot mixture into the egg/sugar mixture and whisk together. (you add just a little at a time because you don’t want it to overcook the egg yolks). Add another 1/3 and whisk in, then pour it all back into the saucepan. Using a wooden spoon, stir the mixture constantly over low heat for two minutes until it thickens slightly and coats the back of the spoon. DO NOT boil the mixture or the egg yolks will overcook and curdle.
- Let it cool at room temperature for an hour then cover and place in the refrigerator for at least 5 hours or overnight.
- Remove from the refrigerator and pour the mixture through a fine mesh strainer.
- Press Ice Cream and then Start/Stop. Pour the mixture through the spout and then cover with the cap. Let mix until thickened. I like to mix mine for 30-35 minutes. During the last few minutes, add in the cookie pieces and let it mix in.
- The ice cream will have a soft, creamy texture. If a firmer consistency is desired, transfer the ice cream to an insulated ice cream container and place in the freezer for a couple hours. See notes if you don’t have an ice cream container.
- Please let me know if you try this recipe by leaving a rating and a comment!
Notes
Optional spice additions:
1/2 tsp ground allspice
1/8 tsp ground nutmeg
1/8 tsp ground cloves
To omit the egg yolks: You can easily make the ice cream without the egg yolks. Just mix all the ingredients (except the yolks) in a large bowl and whisk well. Cover and refrigerate 2 hours or overnight. Then whisk it together again and put into the ice cream maker (no need to strain it in the mesh strainer).
A trick for using an insulated ice cream container – it helps to pre-freeze it for a few hours before putting ice cream in it. It creates a better environment for the homemade ice cream to stay the perfect texture.
You can use a regular, airtight container for storing, but the ice cream will harden more, so you may need to let it sit out for 5-10 minutes before serving. I definitely recommend getting an insulated ice cream container if you want the perfect ice cream texture!







This ice cream was the best! It had the perfect amount of ginger and had me going back for more.
Thank you so much, Hope! I’m glad you loved it 🙂