This post may contain affiliate links, which means I make a small commission off items you purchase at no additional cost to you. Please read my disclaimer page.
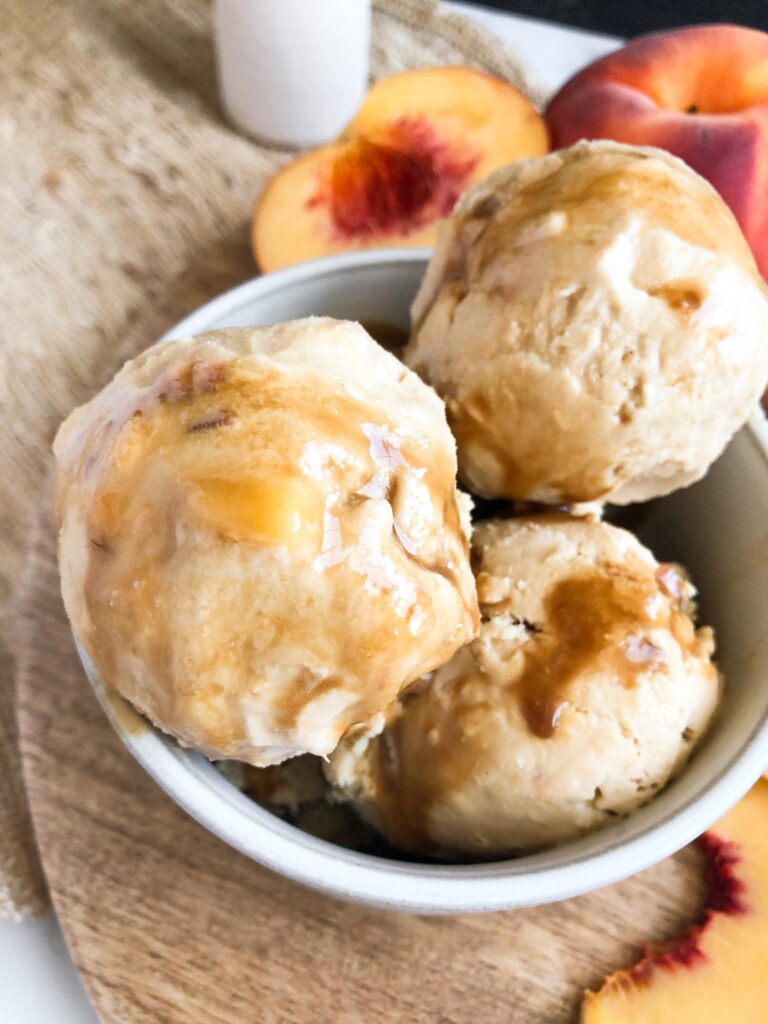
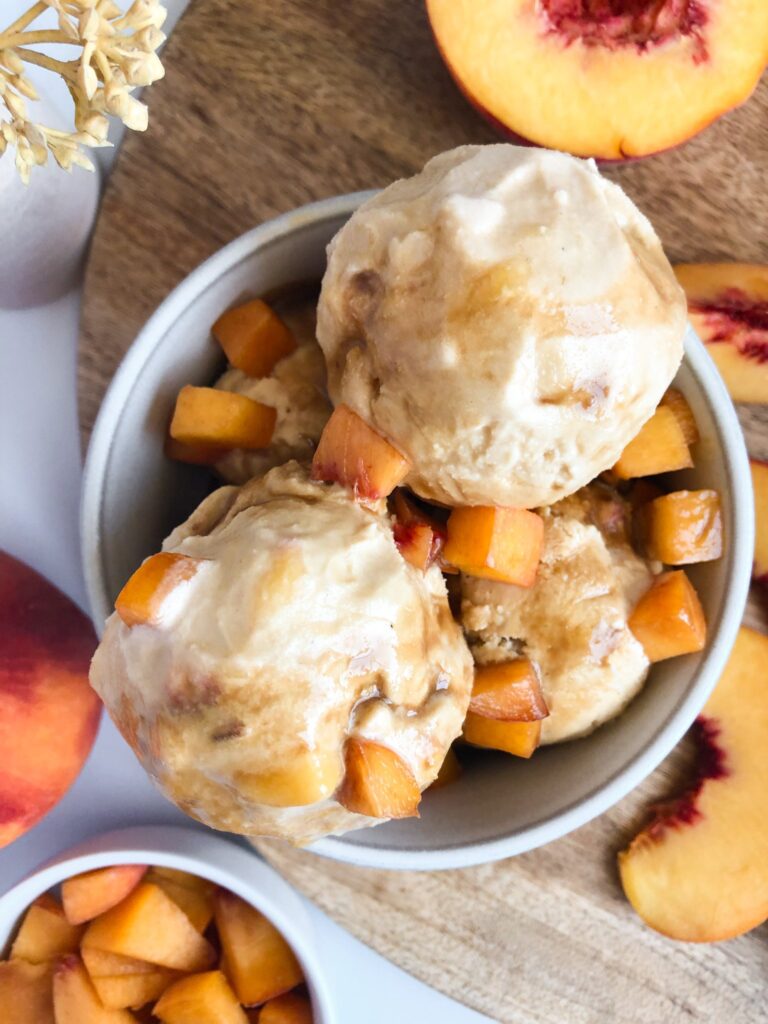
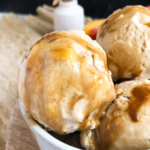
This homemade ice cream is the perfect treat after dinner. It is naturally sweetened using coconut sugar, but you wouldn’t ever even know, because it’s just THAT good. It uses only a handful of ingredients and comes together easily. Whip it up to impress guests or to enjoy with your family while watching a movie!
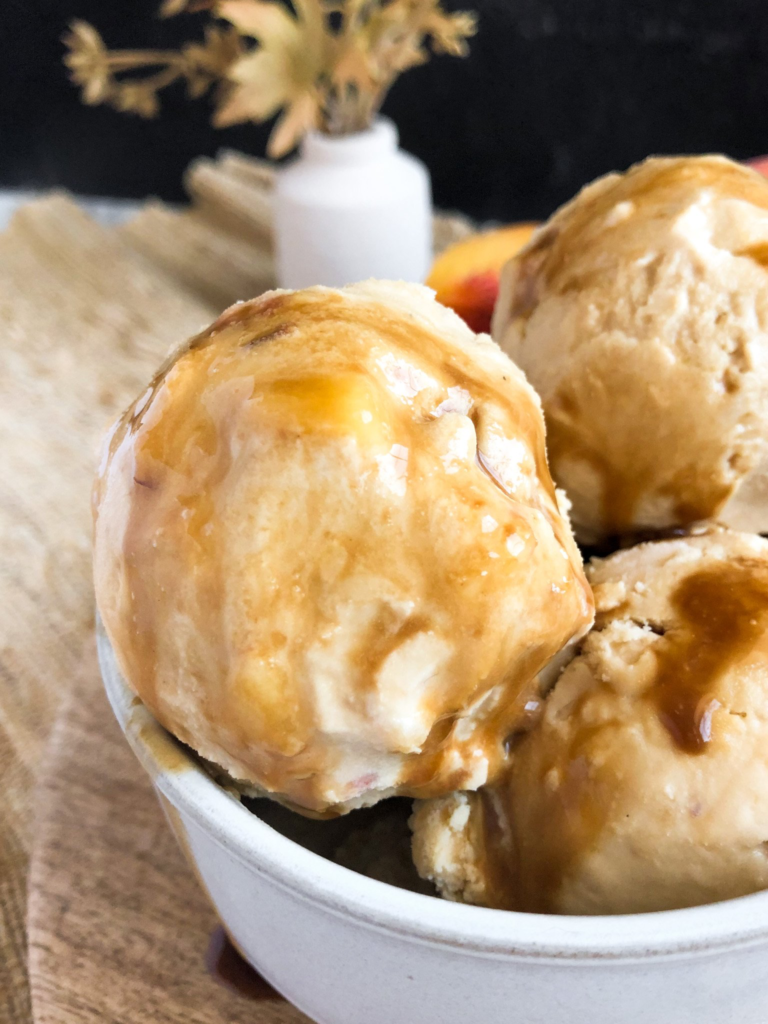
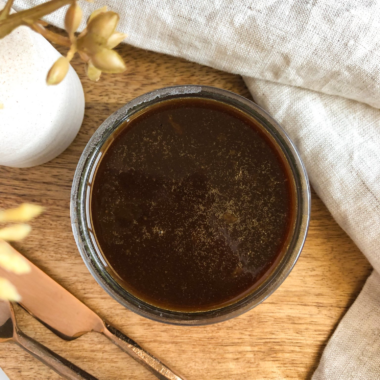
Another great part of this recipe? You can make the Maple Caramel Sauce to drizzle over top if you want. It adds even more delicious flavor and is the perfect final touch.
Equipment needed
Ice Cream Maker – I have the Cuisinart Ice-70 and I love it!
Medium Mixing Bowl – To mix together the ice cream mixture and refrigerate.
Insulated Ice Cream Container – This is the one I own and it helps with storage to keep the ice cream the perfect texture. You can use a regular, airtight container, but the ice cream will harden more in the freezer. If using a regular container, you may want to let the ice cream thaw for a few minutes before scooping. But if using the insulated container, you can scoop immediately!
Whisk – For mixing together the ice cream base.
Ice Cream Scoop – Not necessary, but I love having one!
Method
- First, you will freeze the ice cream bowl that comes with the ice cream maker and the ice cream storage container.
- Then you’ll mix together the ice cream mixture and refrigerate for a couple hours or overnight.
- Start the ice cream machine then add the ice cream mixture. Churn for 30 minutes and you’re done!
Ingredients needed
Heavy cream and whole milk – The combination of these two ingredients is what creates the ice cream we all know and love.
Coconut sugar – The sweetener for this recipe! I love using coconut sugar because it’s lower-glycemic and isn’t refined like many other sugars on the market. Otherwise, feel free to use white sugar or cane sugar, which will work perfectly as well.
Vanilla extract, salt – These add the perfect flavor.
Peaches – Can’t have peach ice cream without peaches! But if you’d rather have a different fruit, feel free to sub 1:1 for any you desire (My other favorite is to roughly blend up a pint of strawberries for strawberry ice cream!).
Optional additions:
Egg yolks – These are definitely not needed to make ice cream, but if you want an even creamier texture, then a few egg yolks help with that. They’re typically known for being in custard, but it doesn’t hurt to add to this recipe! Just keep in mind, it’ll make the color of the ice cream more yellow/orange.
Maple Caramel Sauce – If you want, you can make this Maple Caramel Sauce. It’s absolutely delicious! It has coconut milk, maple extract, coconut sugar, salt, and water.
Storage
I prefer to store mine in this insulated container because it helps the ice cream stay the perfect texture, rather than hardening too much. Otherwise, you can use a regular, airtight container you have on hand that is freezer-friendly. If using a regular container, then let the ice cream sit out for 5-15 minutes before scooping. If using an insulated container like this one, then you can scoop immediately. Enjoy it within 2-3 weeks for best results.
Other frozen desserts you’ll love
I hope you love this homemade peach ice cream as much as I do! Please be sure to write a review and leave a comment if you try it. I appreciate it very much!
PrintHomemade Peach Ice Cream with Maple Caramel Sauce
- Prep Time: 15 minutes
- Total Time: 2 hours 45 minutes
- Yield: 10 servings 1x
- Category: Dessert
Ingredients
1 cup whole milk
2 cups heavy cream
2 1/2 tsp pure vanilla extract
3/4 cup coconut sugar
Couple pinches of salt
1 large peach (seed and skin removed), diced or pulsed in a blender*
Maple Caramel Sauce
Instructions
- Make sure your ice cream bowl has been frozen for at least 24 hours (this is for the Cuisinart ICE-70 Series). You can also pre-freeze the container you plan to put the ice cream in if you want. I use this ice cream storage container and it’s the best! It helps keep a perfect ice cream texture, rather than freezing too hard.
- In a medium bowl, whisk together the milk, sugar, and salt until the sugar is dissolved. Stir in the heavy cream and vanilla extract. Stir in the diced peaches. Cover and refrigerate 2 hours, or overnight.
- Whisk the mixture together again before pouring in to the ice cream maker. Press Ice Cream and then Start/Stop. Pour the mixture through the spout and then cover with the cap. Let mix until thickened. I like to mix mine for 30-35 minutes. The ice cream will have a soft, creamy texture. If a firmer consistency is desired, transfer the ice cream to a storage container and place in the freezer for a couple hours. See notes if you don’t have an ice cream container.
- If you opt for using the maple caramel sauce with the ice cream, simply just scoop the ice cream into a bowl, then pour the sauce over it and enjoy!
- Please let me know if you try this recipe by leaving a rating and a comment!
Notes
*For the peaches – you can either dice them up (what I did for the recipe), or you can add the peach (seed removed) to a blender and pulse until chunky. It’s really your preference!
Optional addition to the ice cream: Add 3 egg yolks for creamier texture. Keep in mind it’ll make the ice cream more yellow/orange, but will give it a great texture!
You can use a regular, airtight container for storing, but the ice cream will harden more, so you may need to let it sit out for 5-10 minutes before serving. I definitely recommend getting an ice cream storage container if you want the perfect ice cream texture!



This is my go-to base recipe for ice cream. It’s just perfect! I’ve actually never made it with the peaches. My kids and husband love it! They add peanut butter and chocolate chips on top. The best!
This just made my day!! That’s awesome that you use this as your base recipe. Love that you make it your own flavor too – Peanut butter and chocolate chips on ice cream is divine!
Pingback: Homemade Pumpkin Ice Cream » Home Cooked Living